Getting started
สร้าง Project
เมื่อ login เข้าสู่ https://portal.netpie.io เรียบร้อยแล้ว หากเป็นการเข้าใช้งานระบบครั้งแรกและยังไม่มีการเปิดใช้งาน จะปรากฏหน้าจอดังรูปด้านล่าง ให้ทำการคลิกที่ปุ่ม “Start Billing Subscription” เพื่อให้ระบบทำการเริ่มต้นนับรอบการใช้งาน (ปกติ 1 รอบการใช้งาน คือ 1 เดือน) และเซ็ตโควต้าการใช้งานให้่ตามแพคเกจที่ได้รับจัดสรร โดยระบจะทำการรีเซ็ตโควต้าใช้งานให้ใหม่เมื่อขึ้นรอบการใช้งานถัดไป
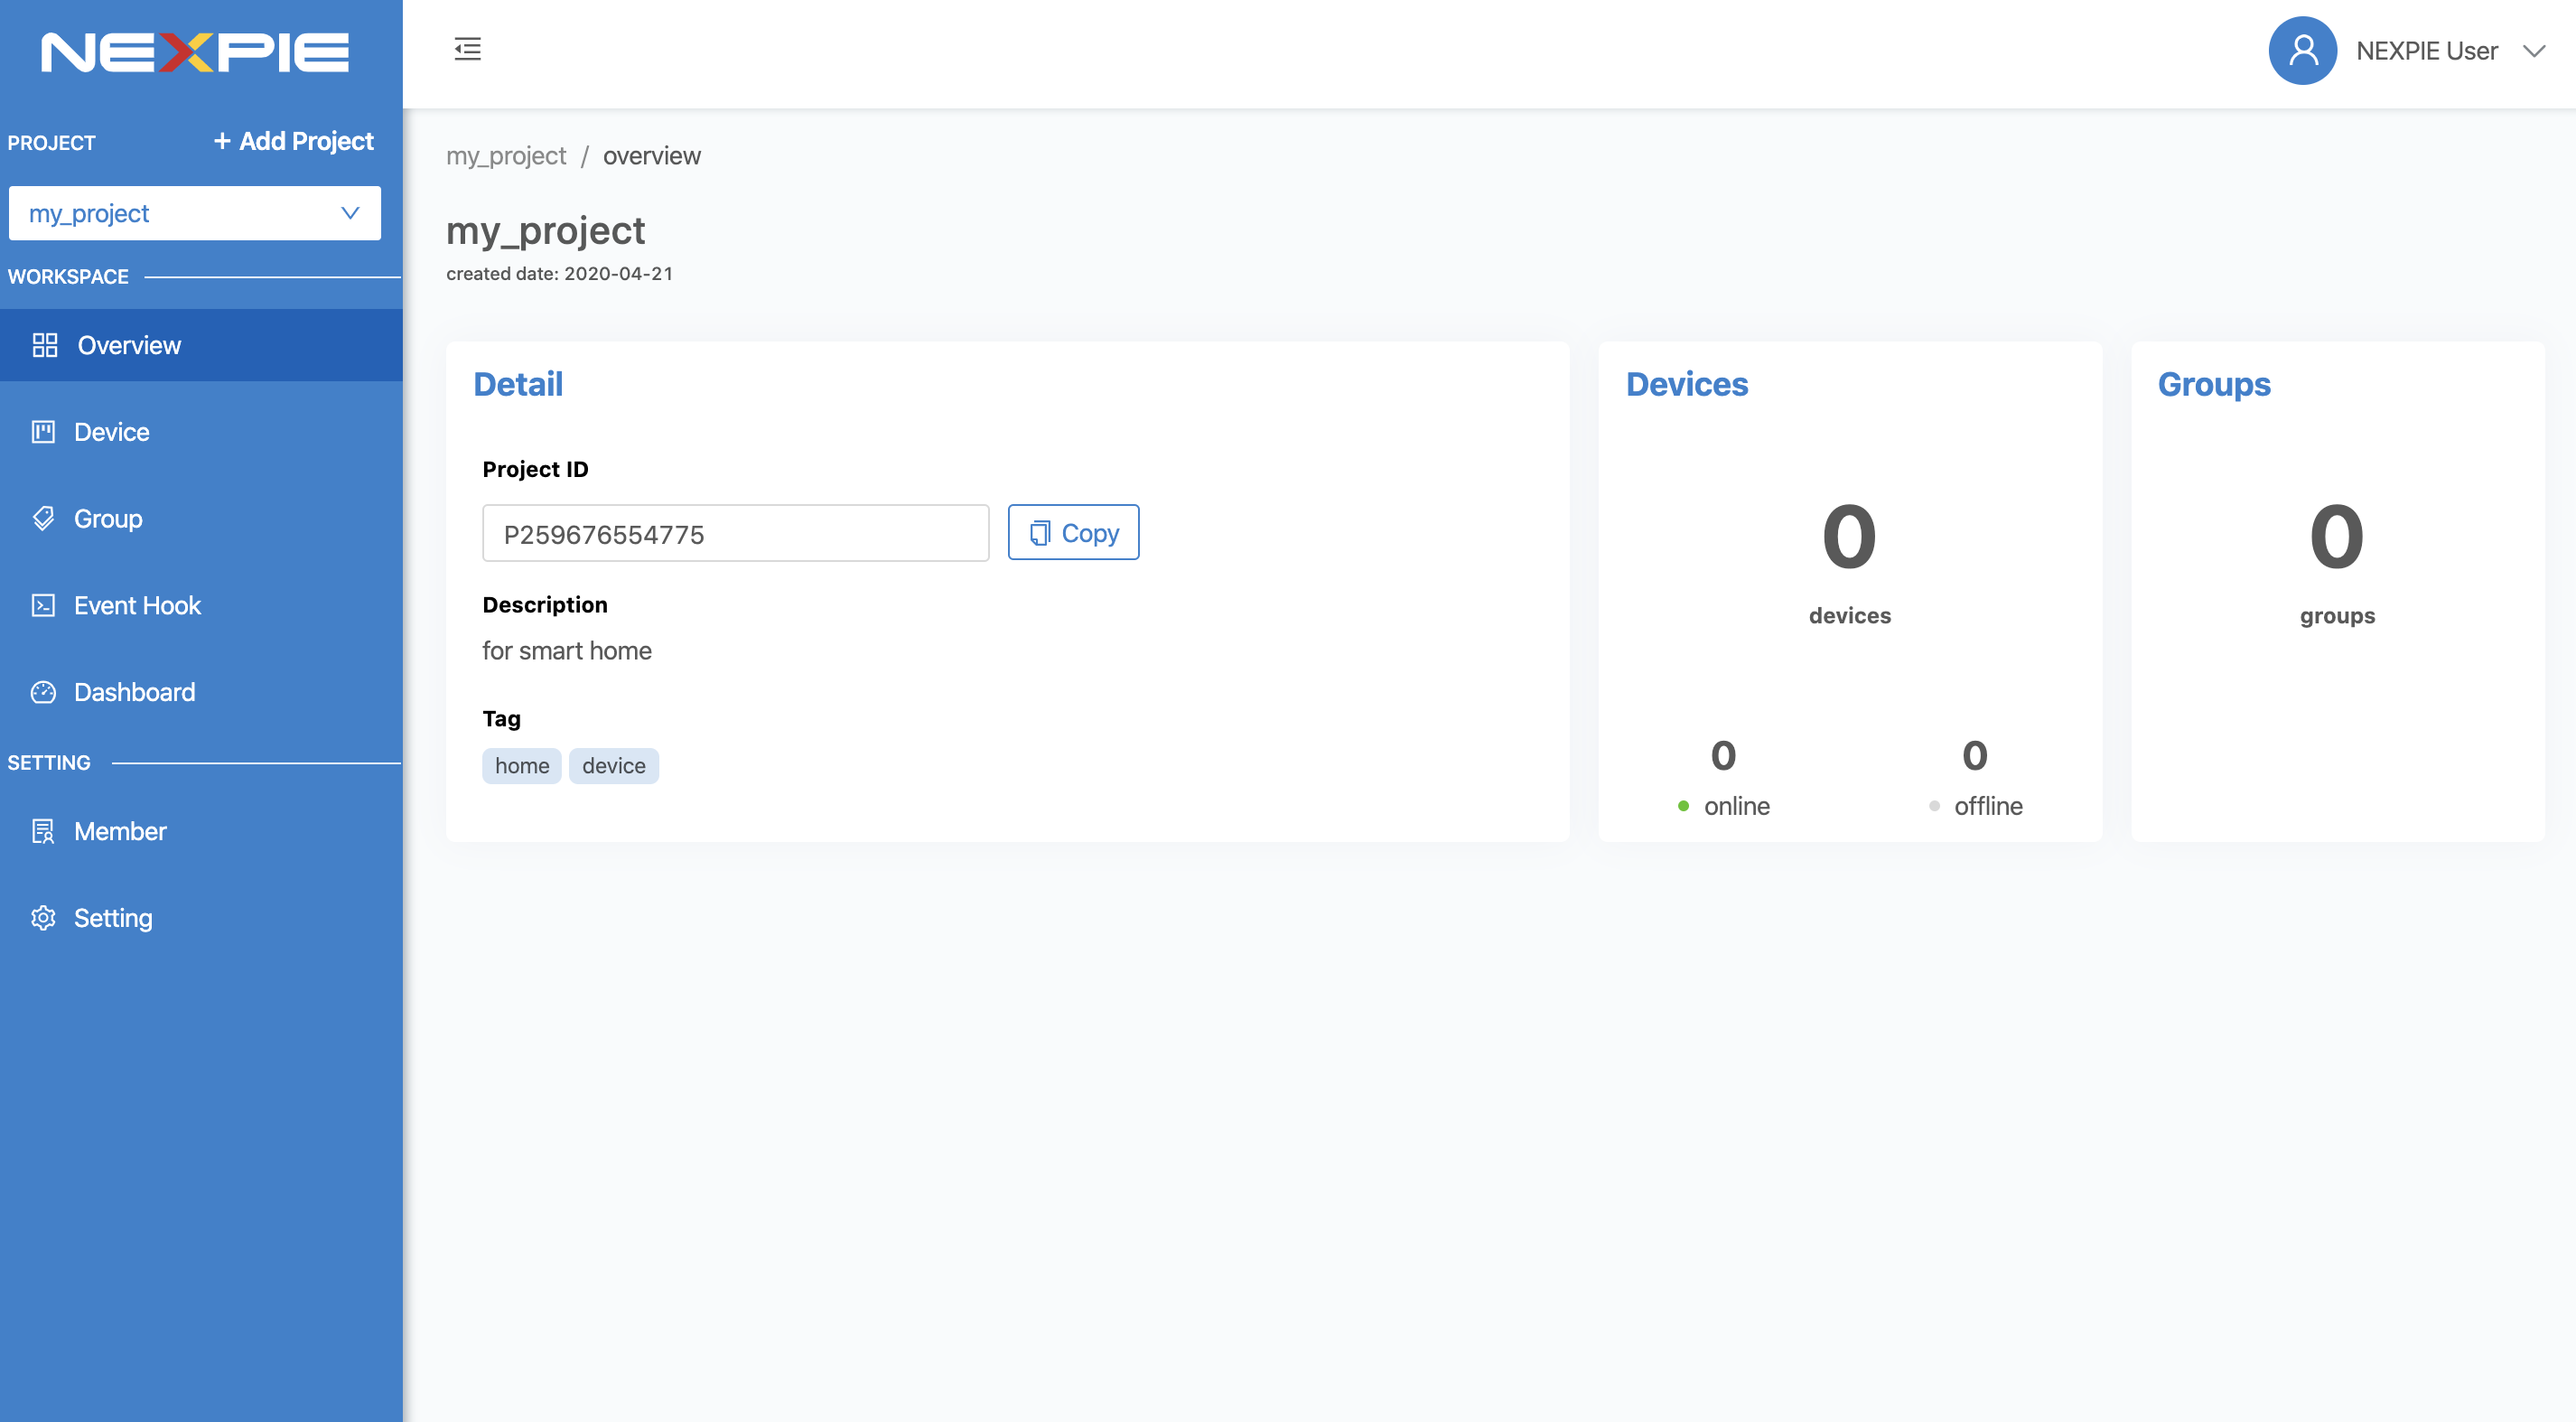
เมื่อเปิดการใช้งานแล้วระบบจะแสดงหน้าจอจัดการ Project สำหรับการสร้างหรือรายการ Project ที่ถูกสร้างไว้แล้ว
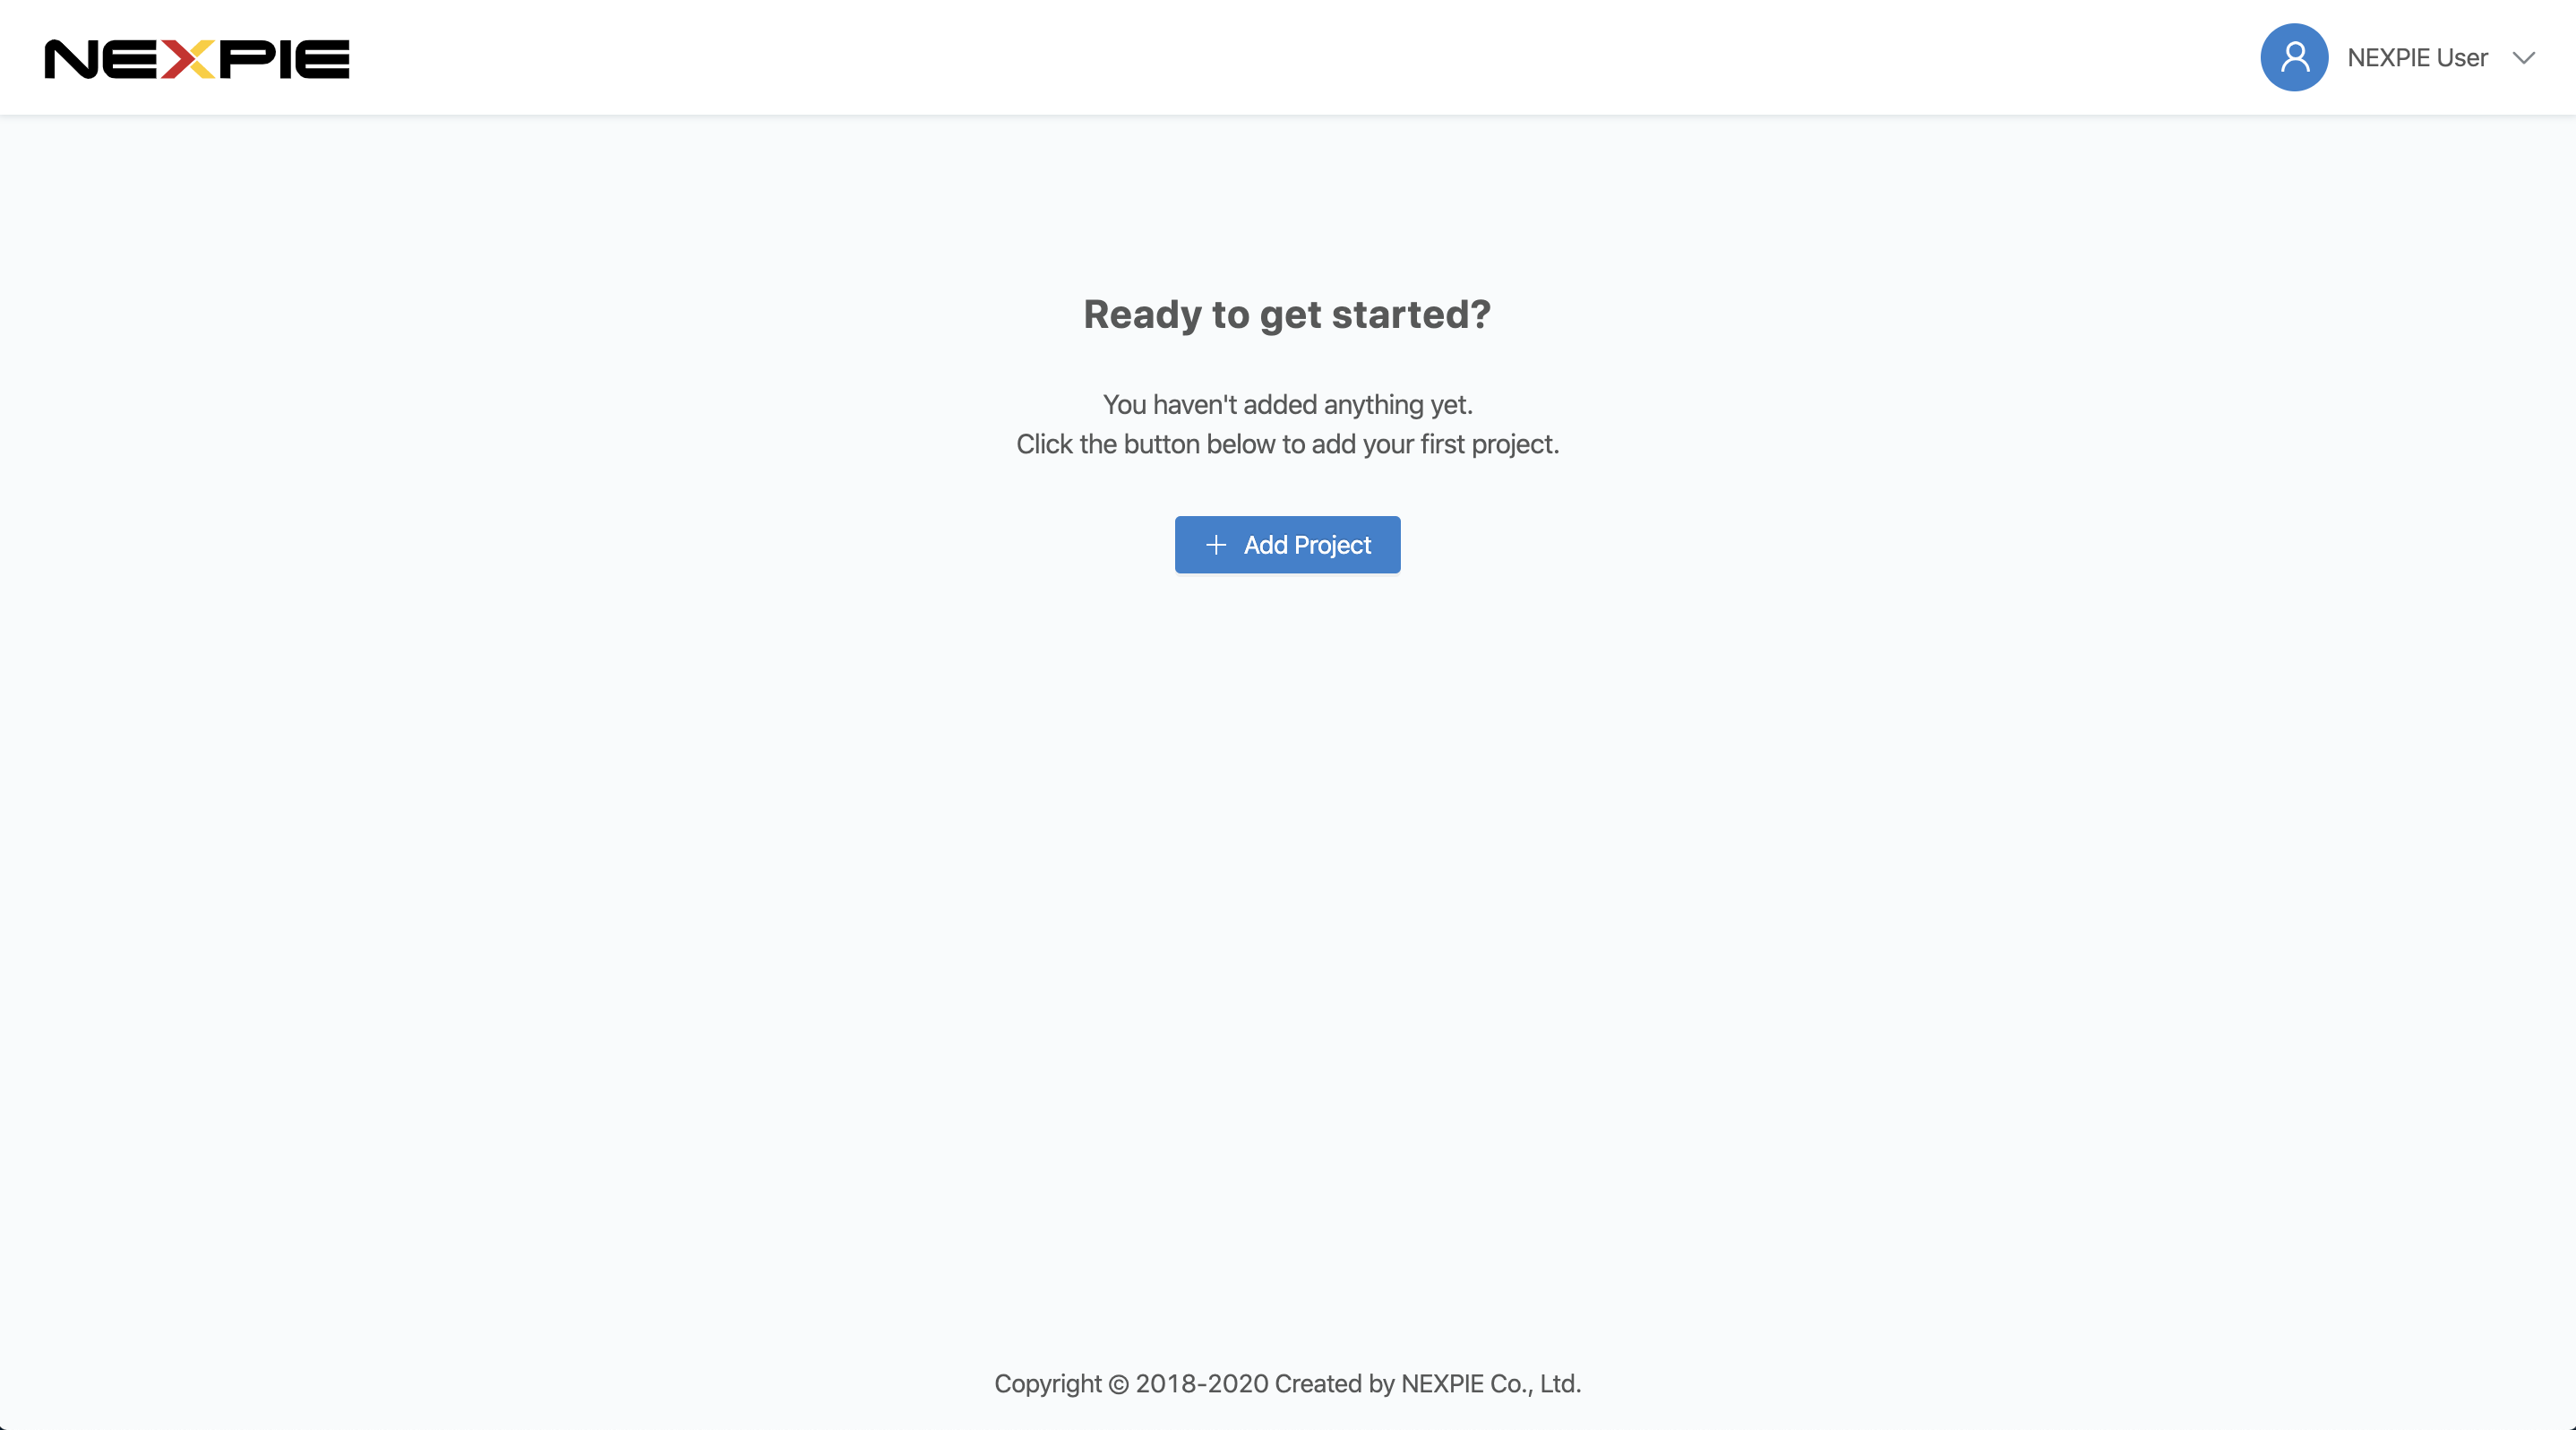
ถ้ายังไม่มีให้ทำการสร้าง Project โดยคลิกที่ “Add Project” จะปรากฏฟอร์มดังรูปด้านล่าง
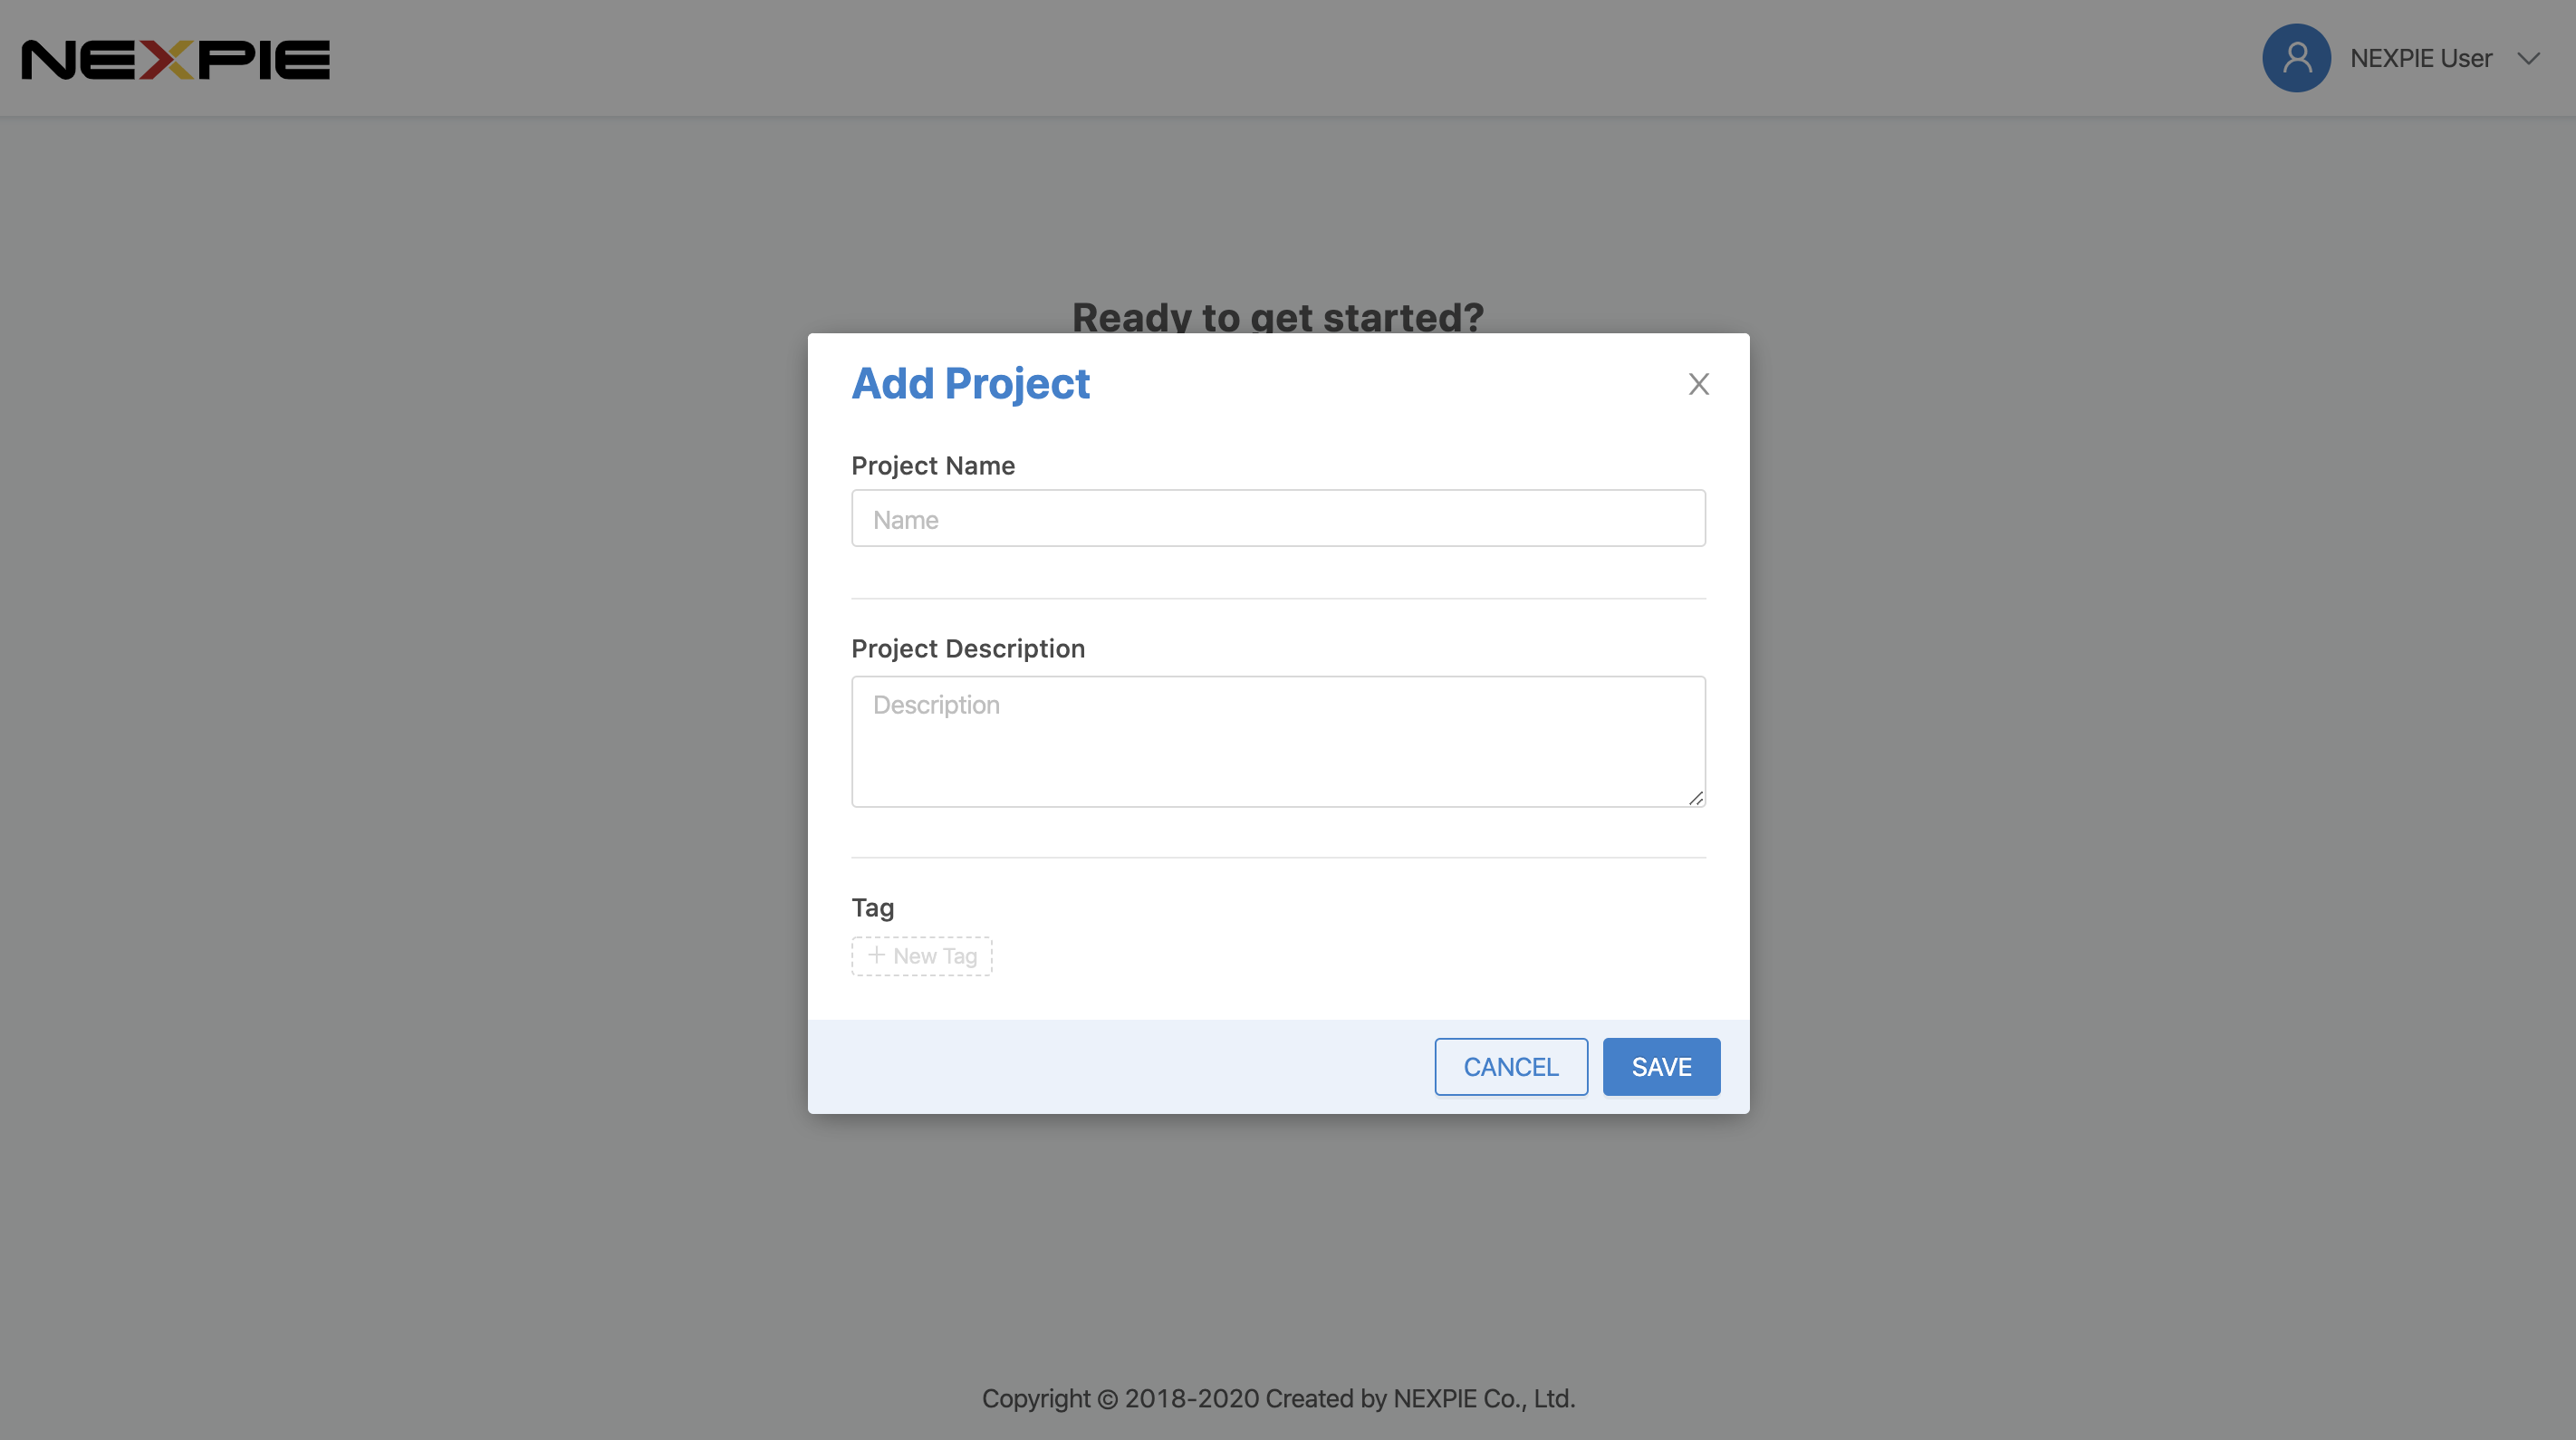
กรอกข้อมูล Project จากนั้นคลิกที่ปุ่ม “SAVE” ระบบจะทำการสร้าง Project และแสดงรายละเอียดต่างๆ ของ Project
สร้าง Device
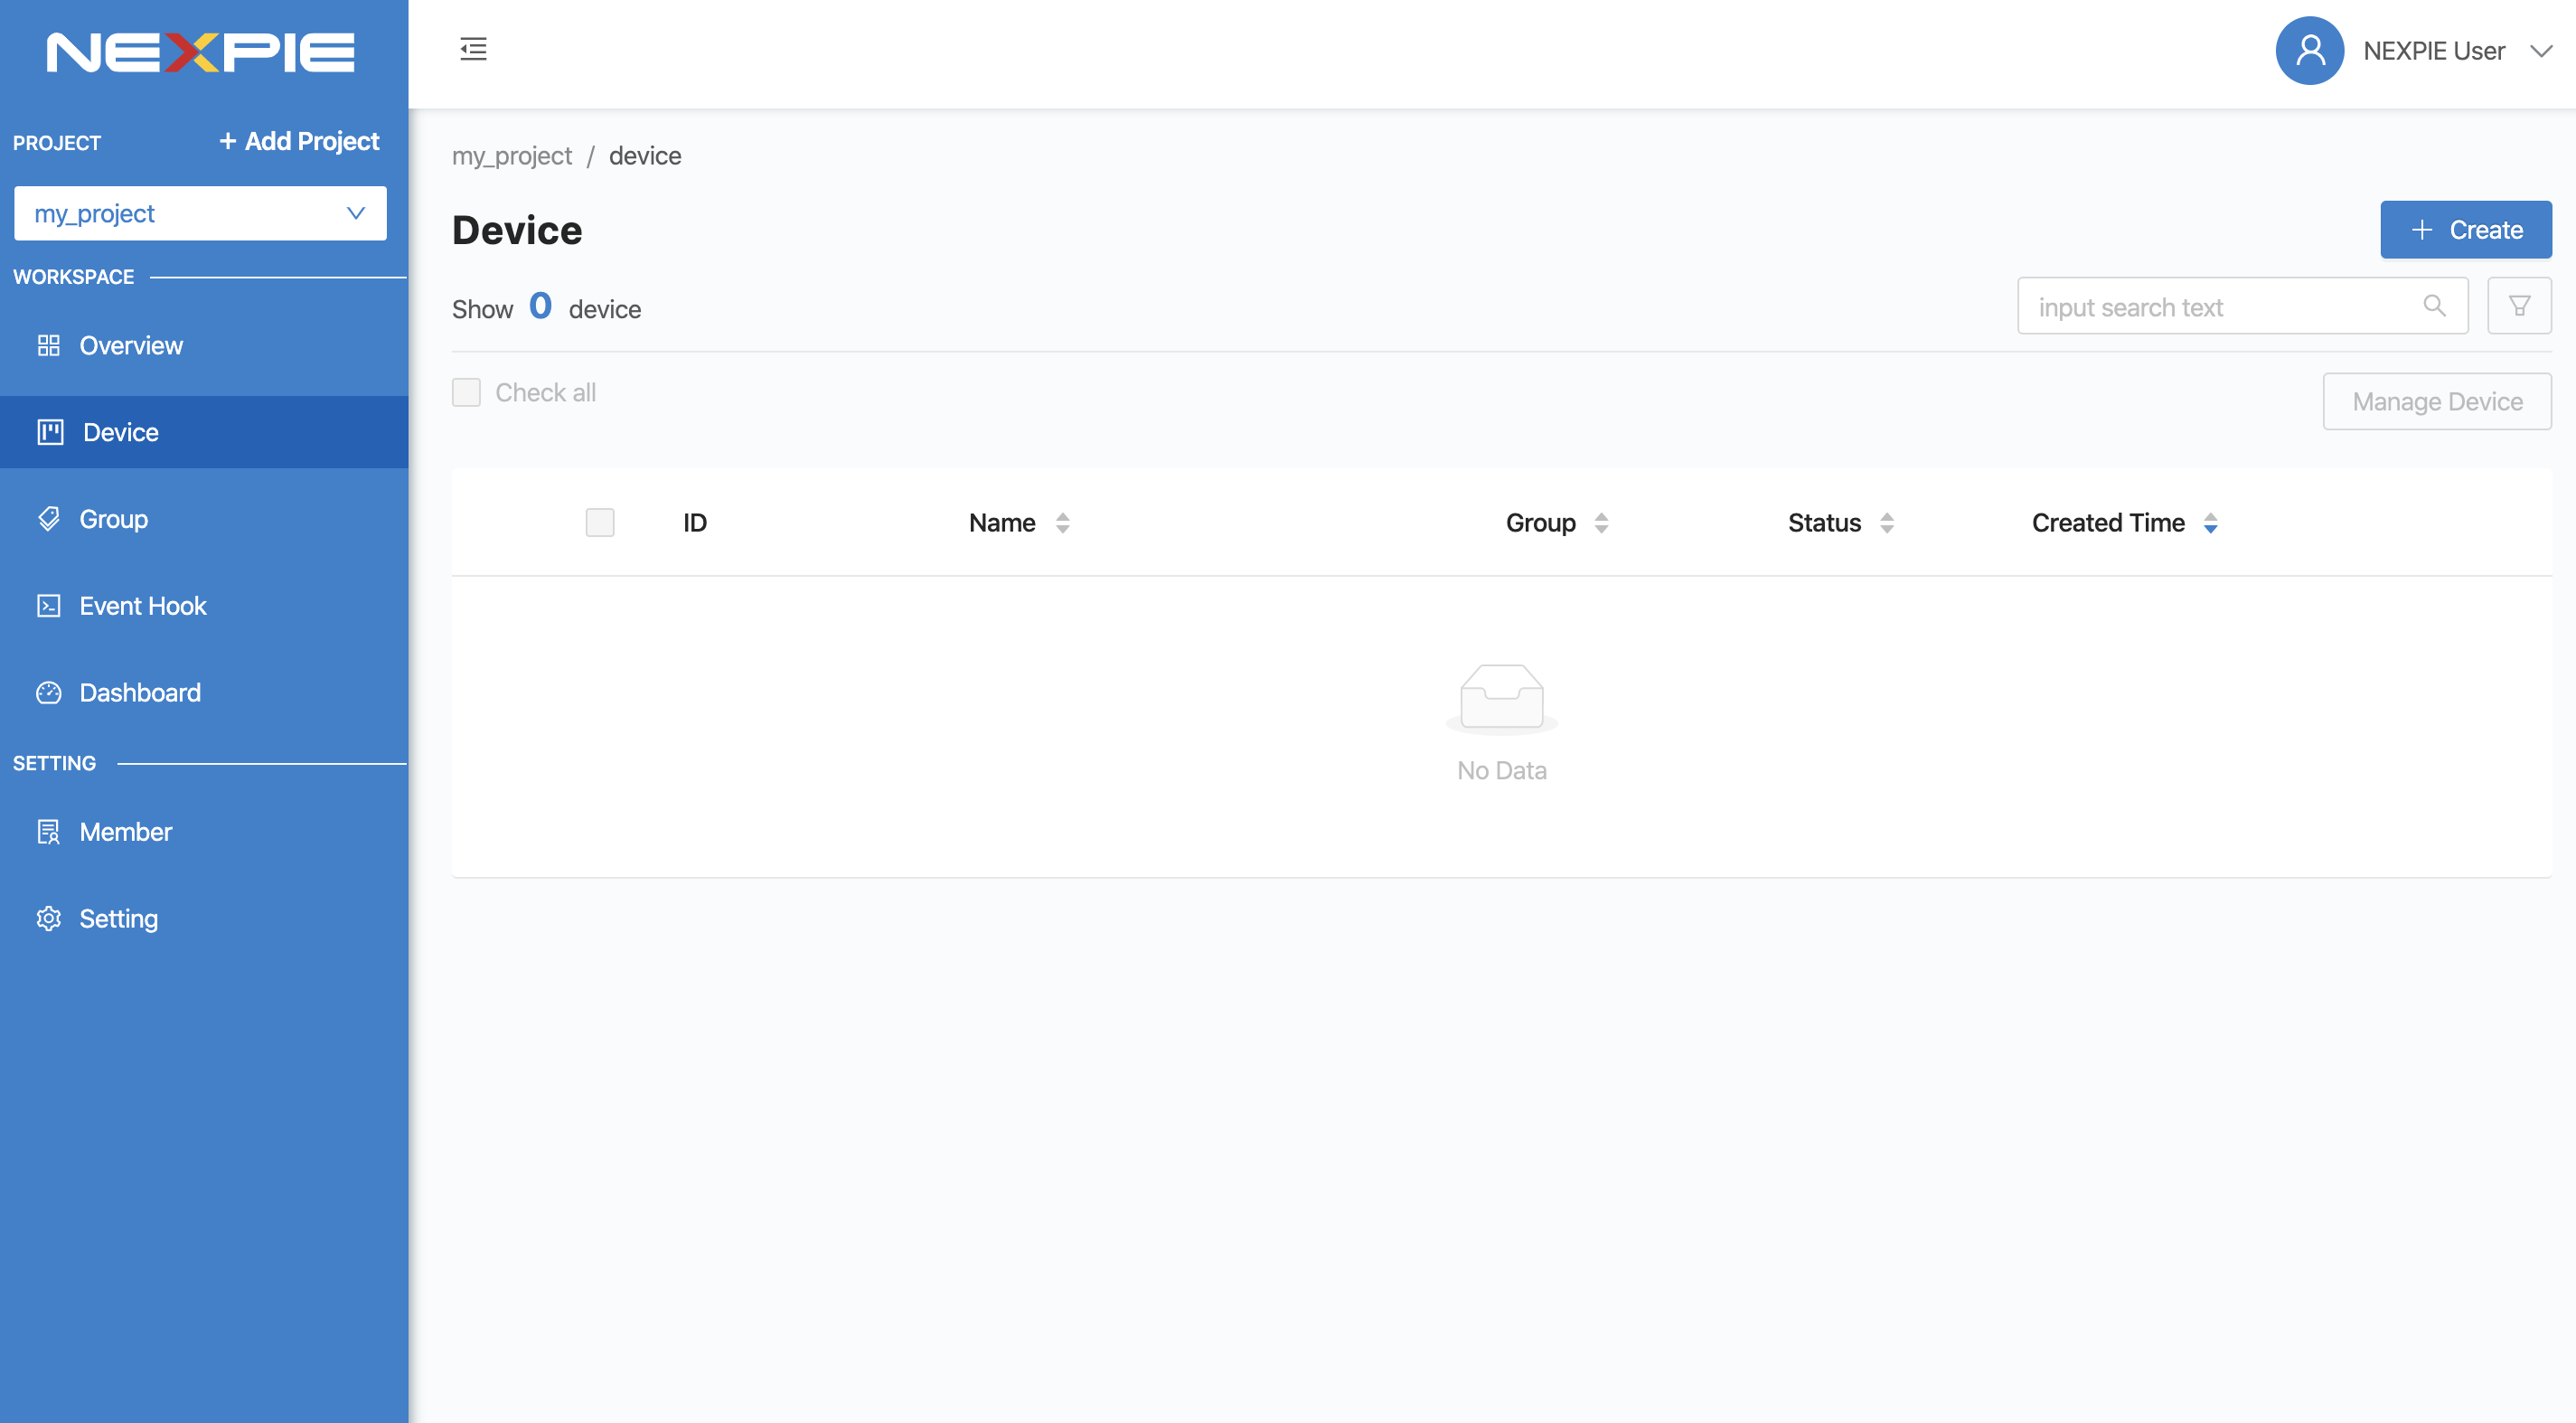
คลิกที่เมนู “Device” ด้านซ้ายมือ จะปรากฏหน้าจอสำหรับจัดการข้อมูล Device ดังรูปต่อไปนี้
หลังจากนั้นให้คลิกที่ปุ่ม “Create” ที่มุมบนขวามือ เพื่อสร้าง Device ใหม่ จะปรากฏฟอร์มให้กรอกข้อมูลของ Device
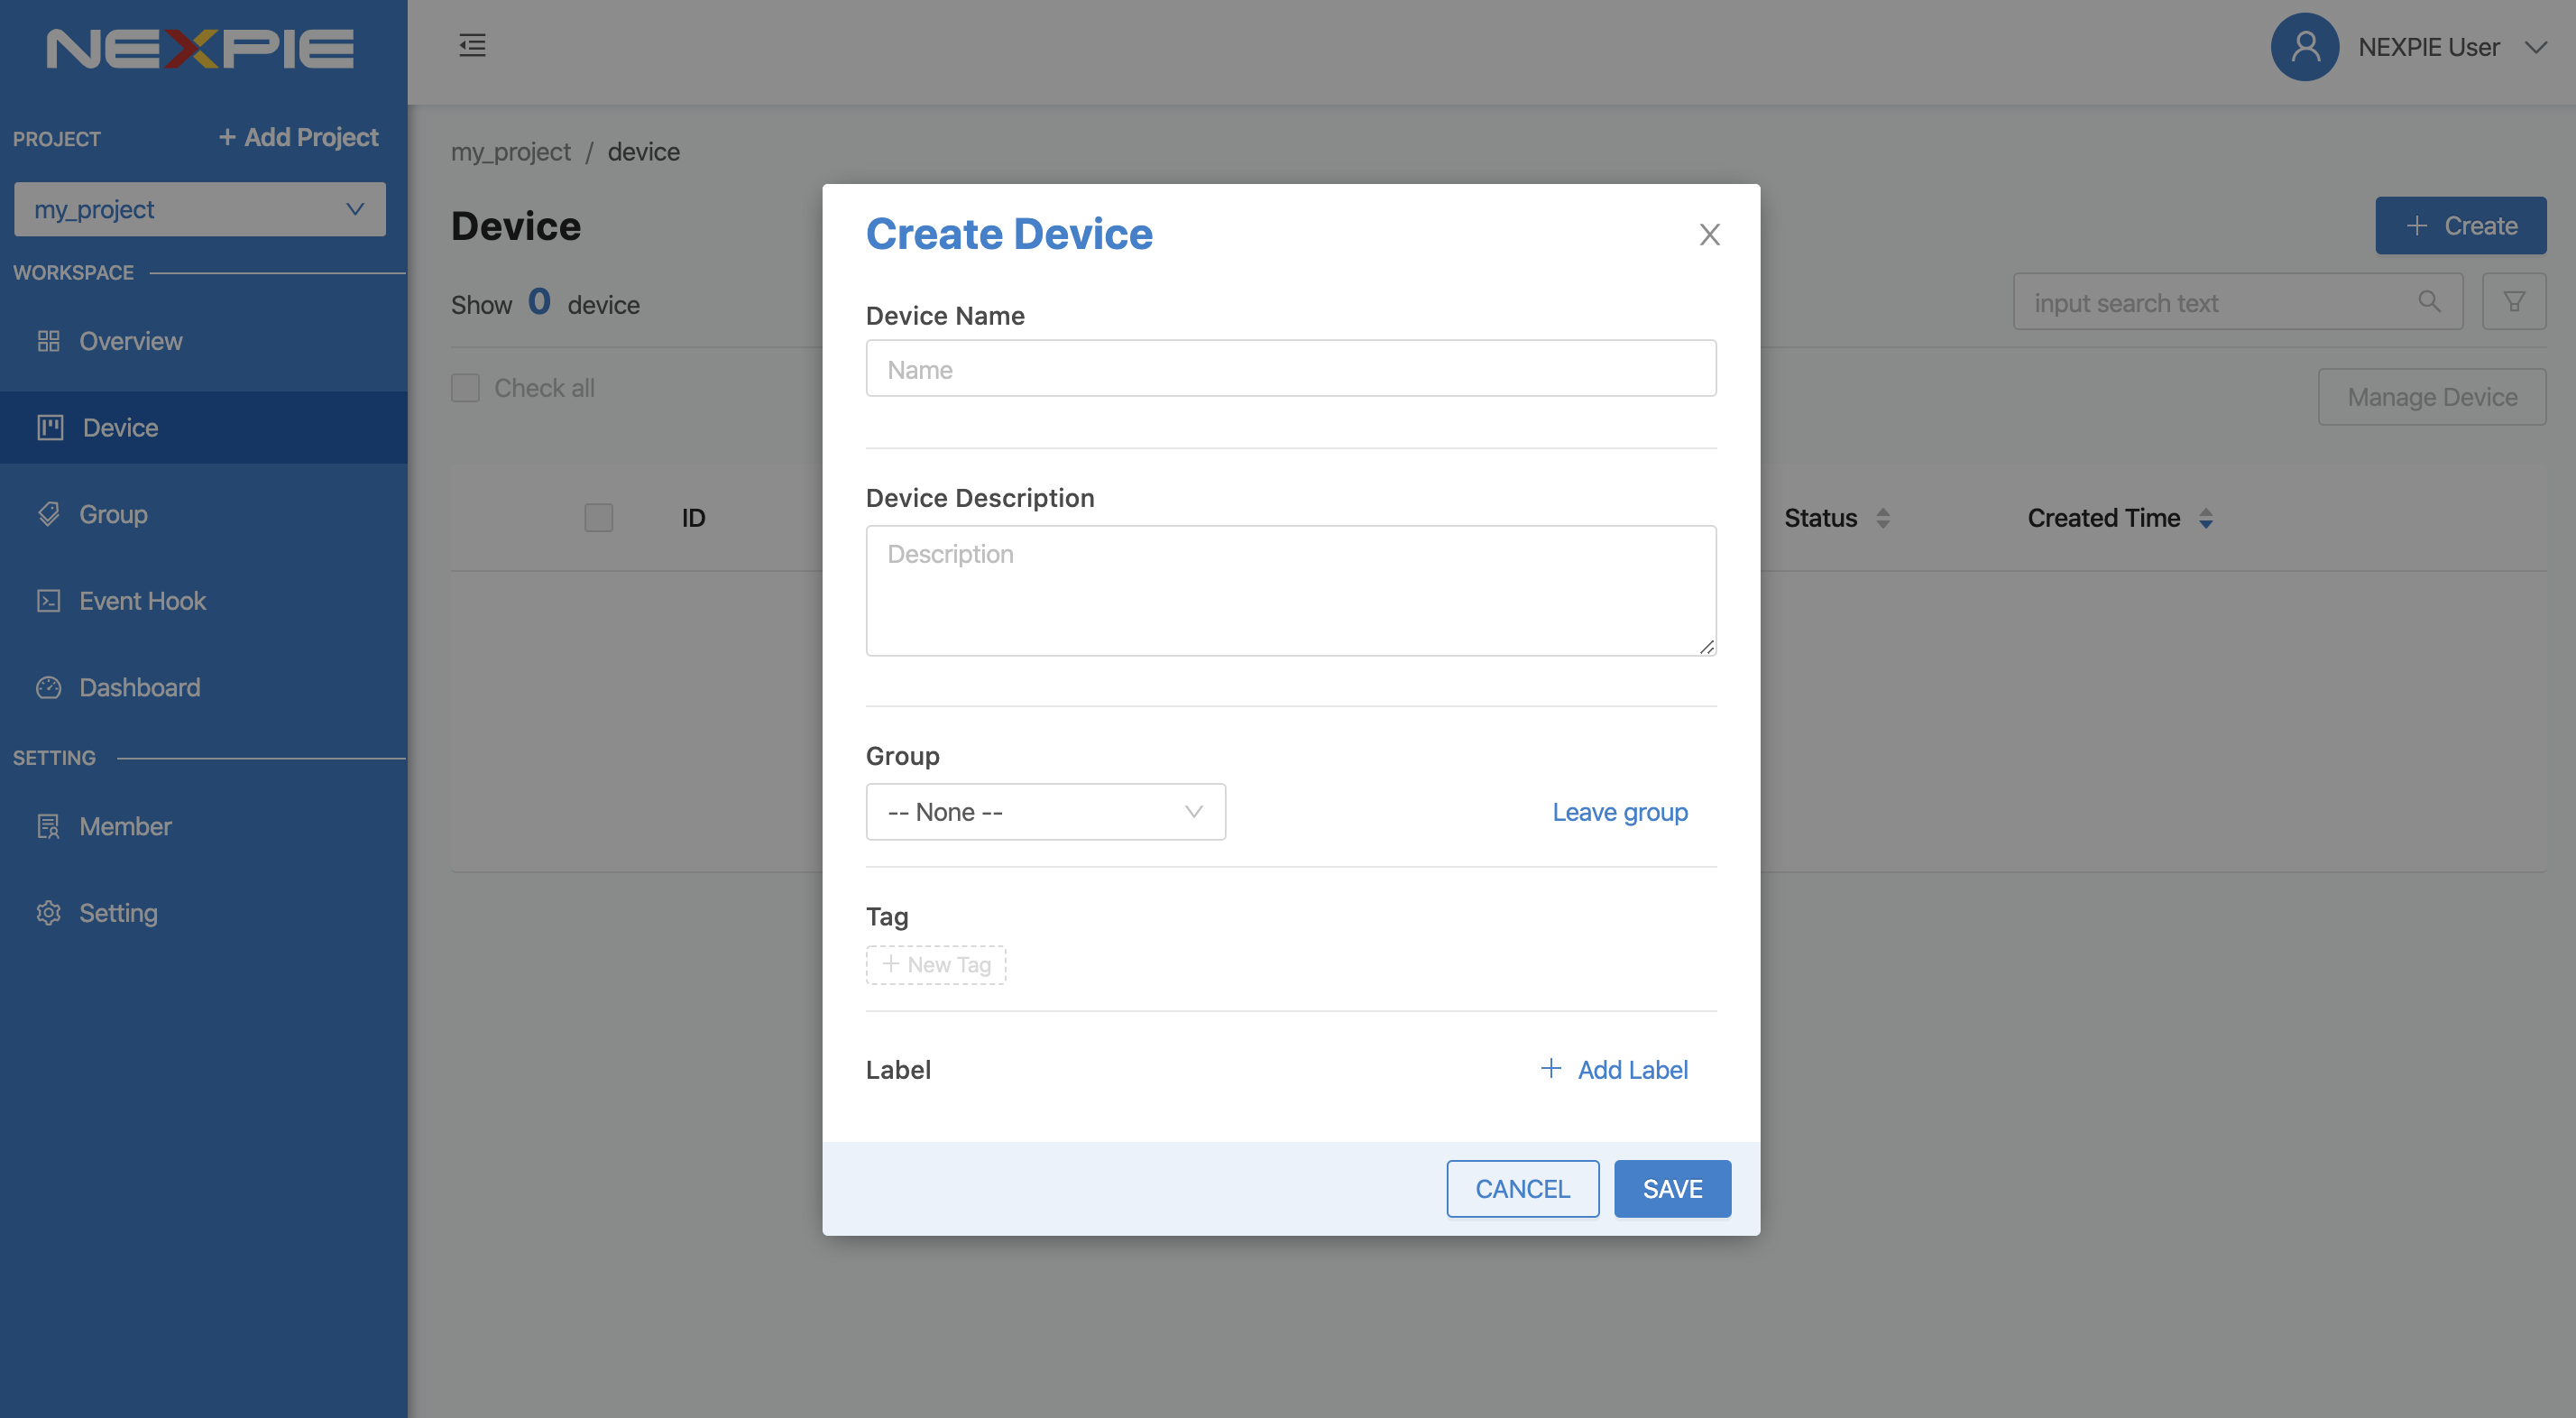
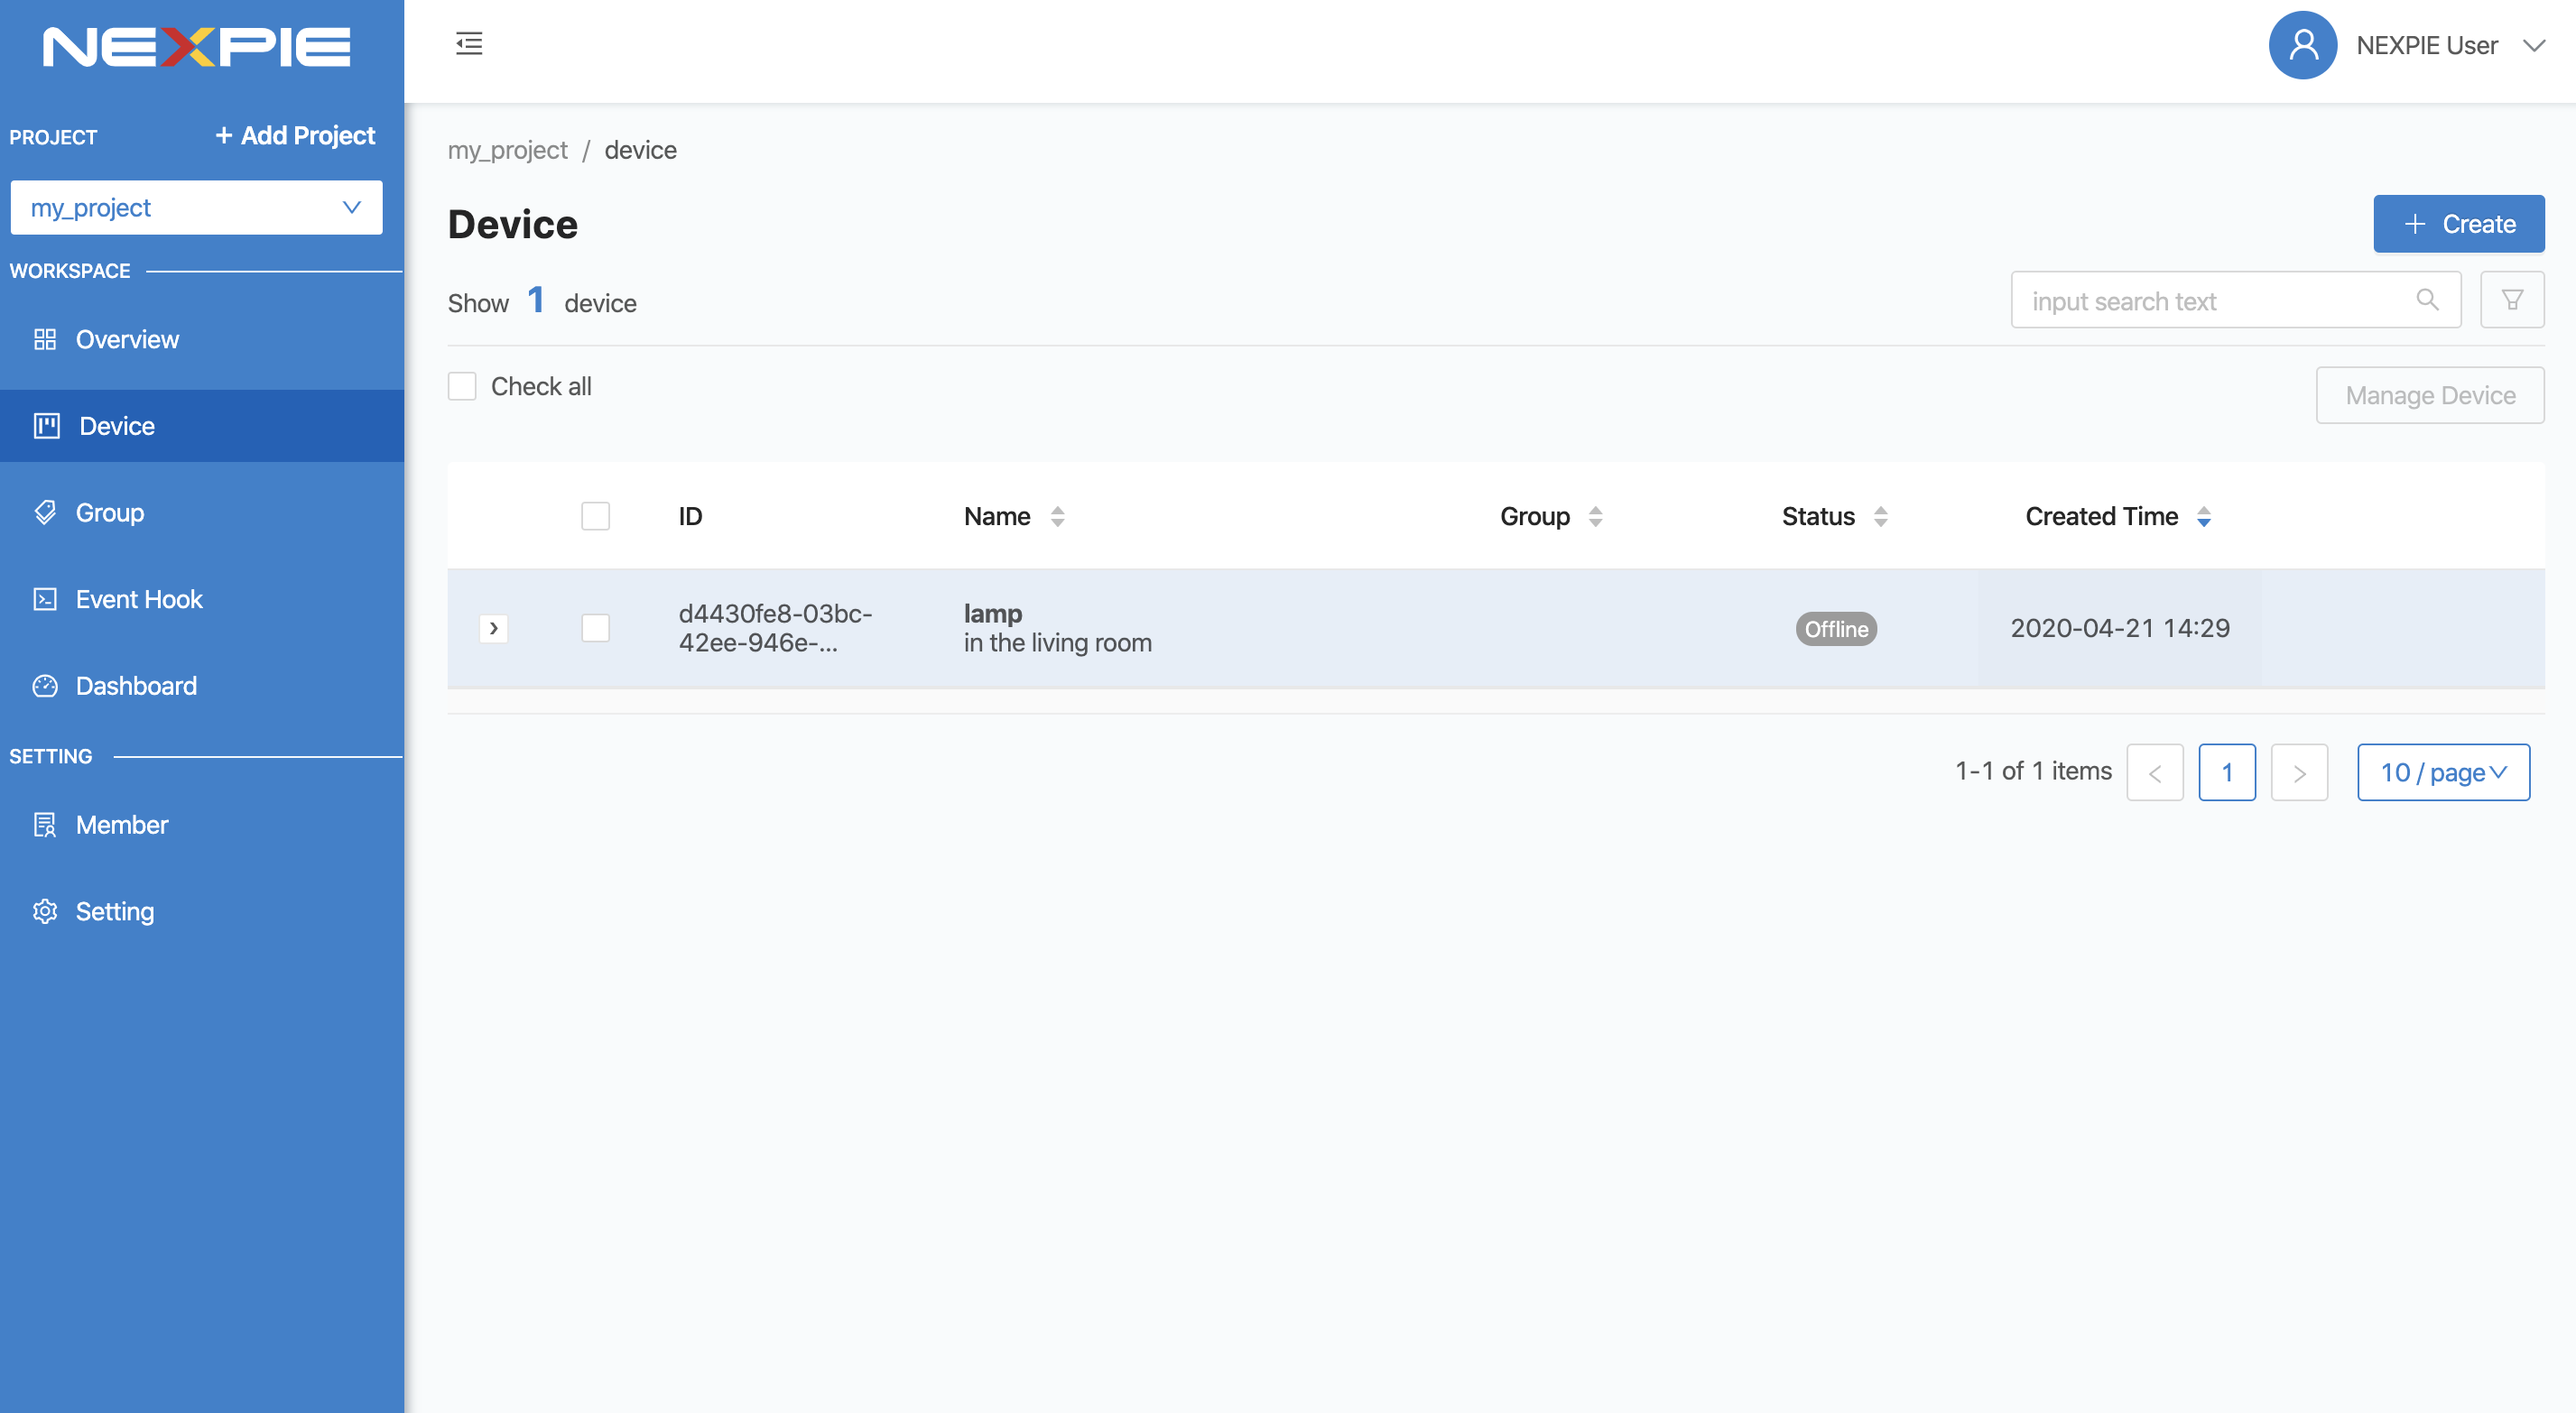
กรอกข้อมูล Device จากนั้นคลิกที่ปุ่ม “SAVE” ระบบจะทำการสร้าง Device ให้
คลิกเข้าไปที่ Device จะปรากฏหน้าจอแสดงรายละเอียดข้อมูลต่าง ๆ ของ Device เหล่านั้น รวมถึง Key, Token และ Secret ที่จะนำไปใช้เพื่อให้ Device สามารถเชื่อมต่อเข้ามายัง Platform ได้

การนำ Key ไปใช้กับ Device เพื่อเชื่อมต่อ Platform
ส่วนสำคัญที่ใช้ในการเชื่อมต่อ Platform ของ Device คือ Key
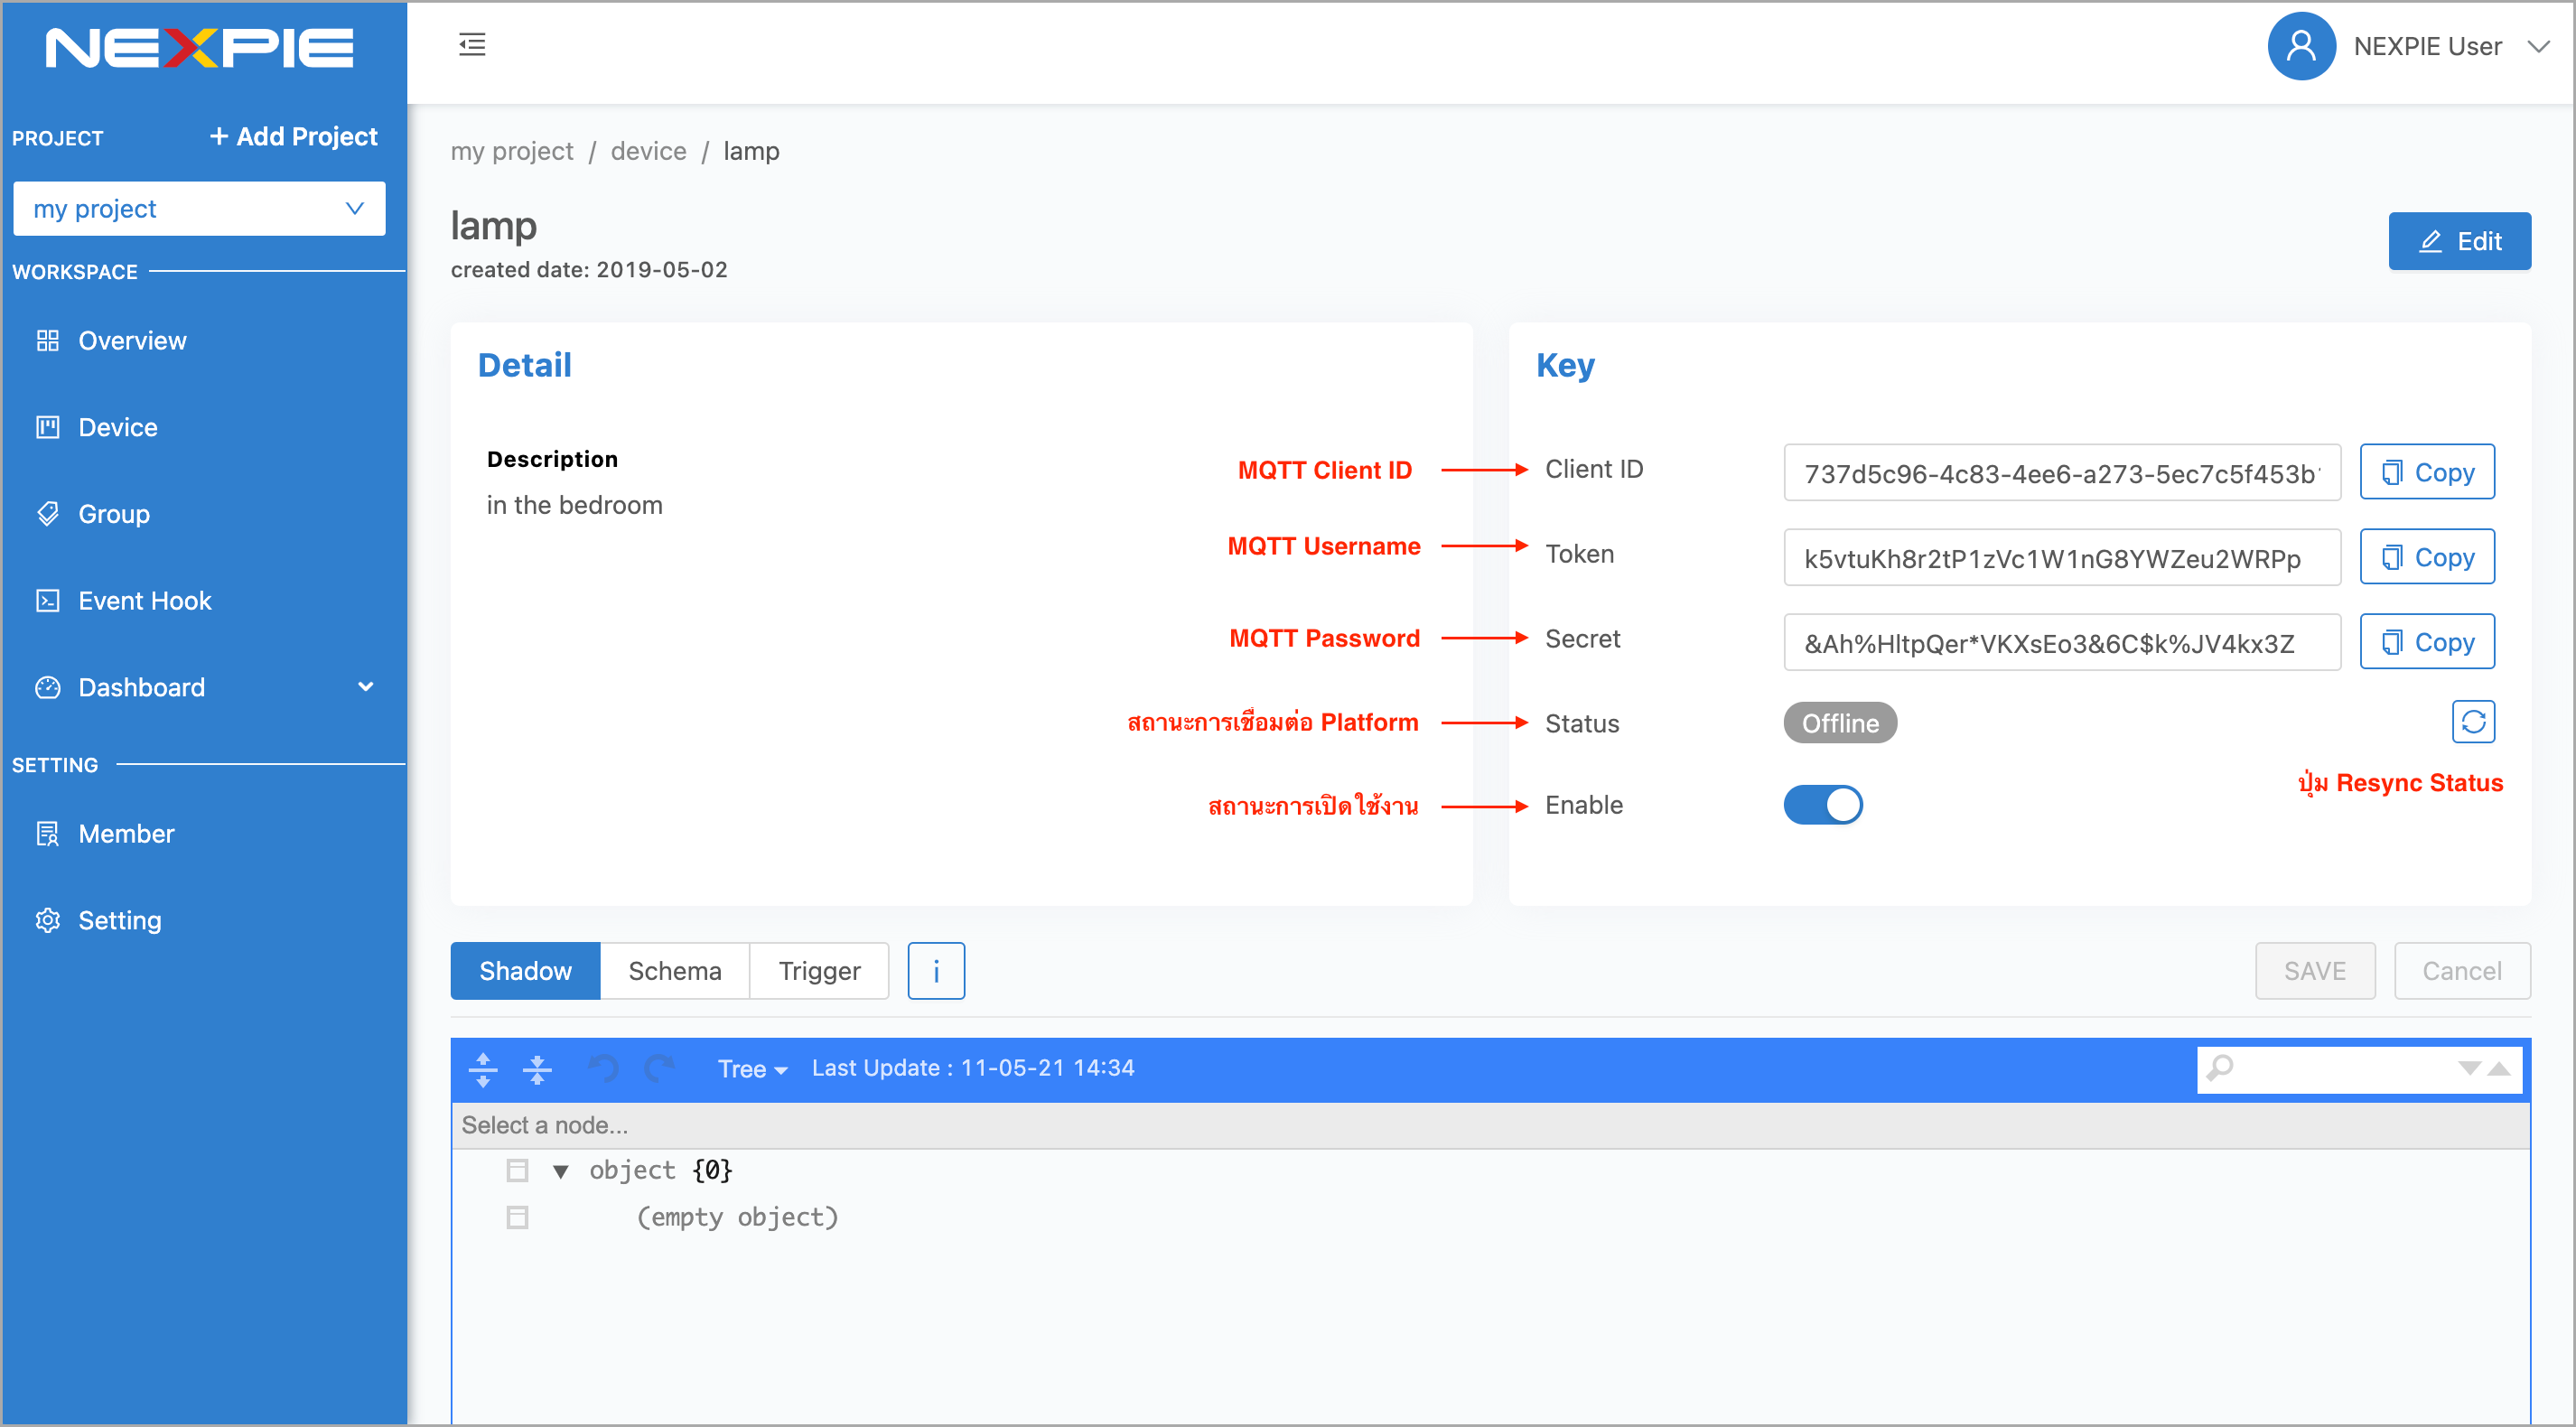
Key ใช้สำหรับการเชื่อมต่อของ Device มายัง Platform กรณีเชื่อมต่อผ่าน MQTT Protocol ให้เลือกใช้งาน MQTT Client Library ที่เหมาะสมหรือรองรับกับ Device ที่จะใช้ในการเชื่อมต่อ โดยการเชื่อมต่อของ MQTT จะต้องใช้ 4 Paramters คือ Host, Client id, Username และ Password โดยดูข้อมูลที่จะนำมาใช่ สามารถระบุค่าได้ดังนี้
Host |
mqtt.netpie.io |
Port |
1883 (mqtt), 1884 (mqtts) |
Client ID |
Client ID ของ Device ที่สร้างขึ้นใน NETPIE |
Username |
Token ของ Device ที่สร้างขึ้นใน NETPIE |
Password |
ยังไม่ต้องระบุ (ใช้สำหรับกรณีที่ต้องการตรวจสอบที่เพิ่มมากขึ้น) |
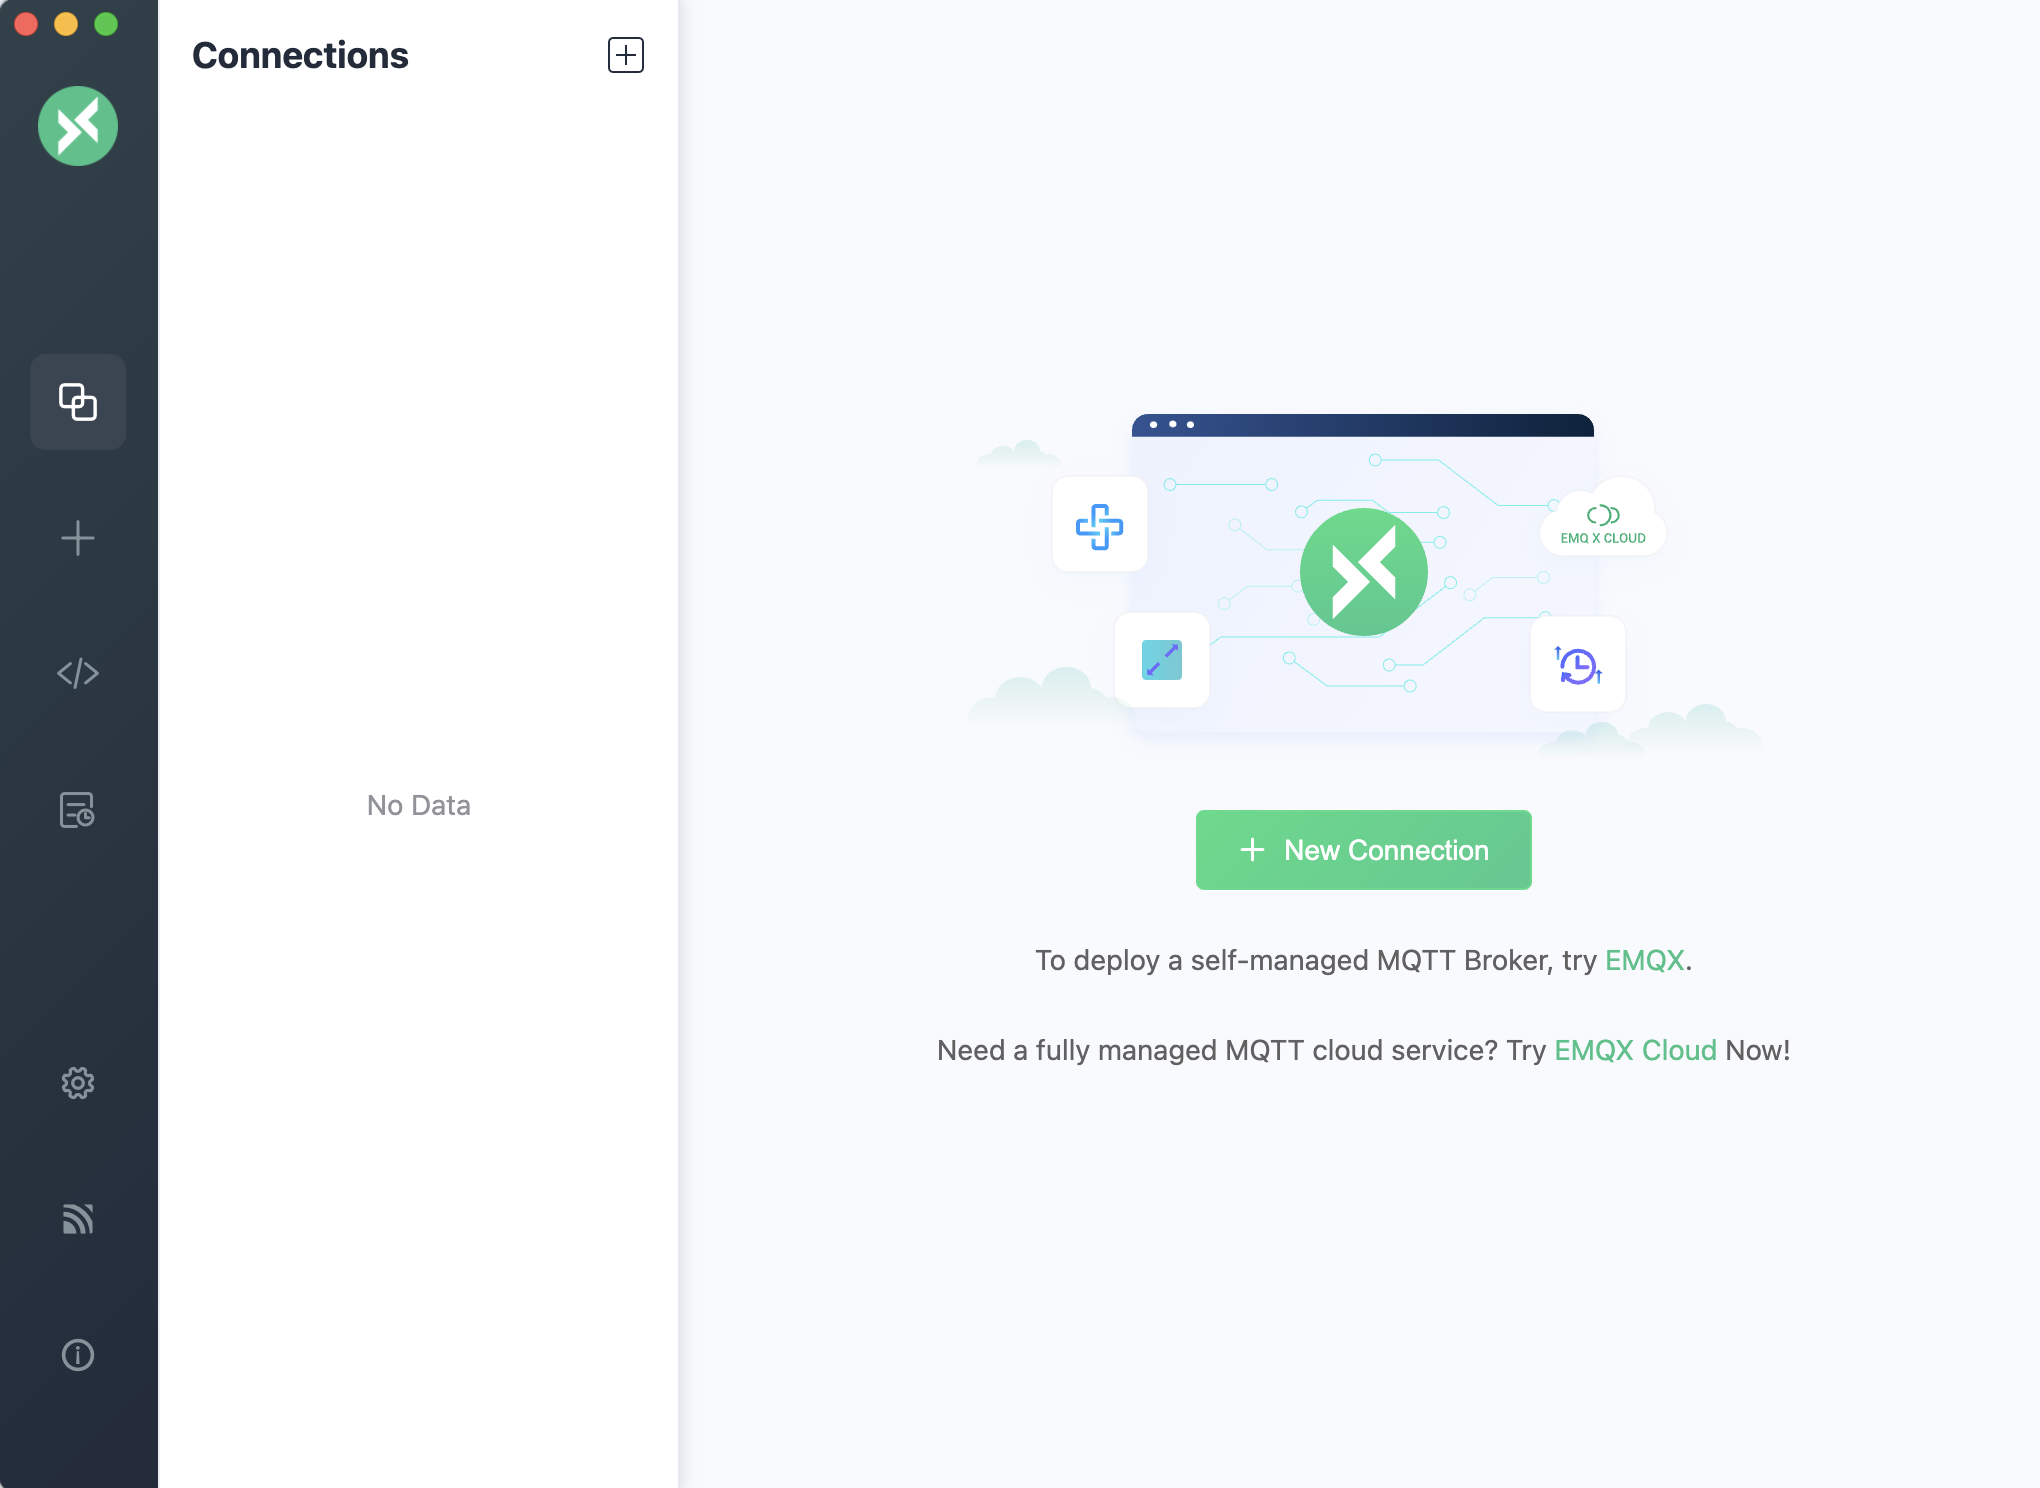
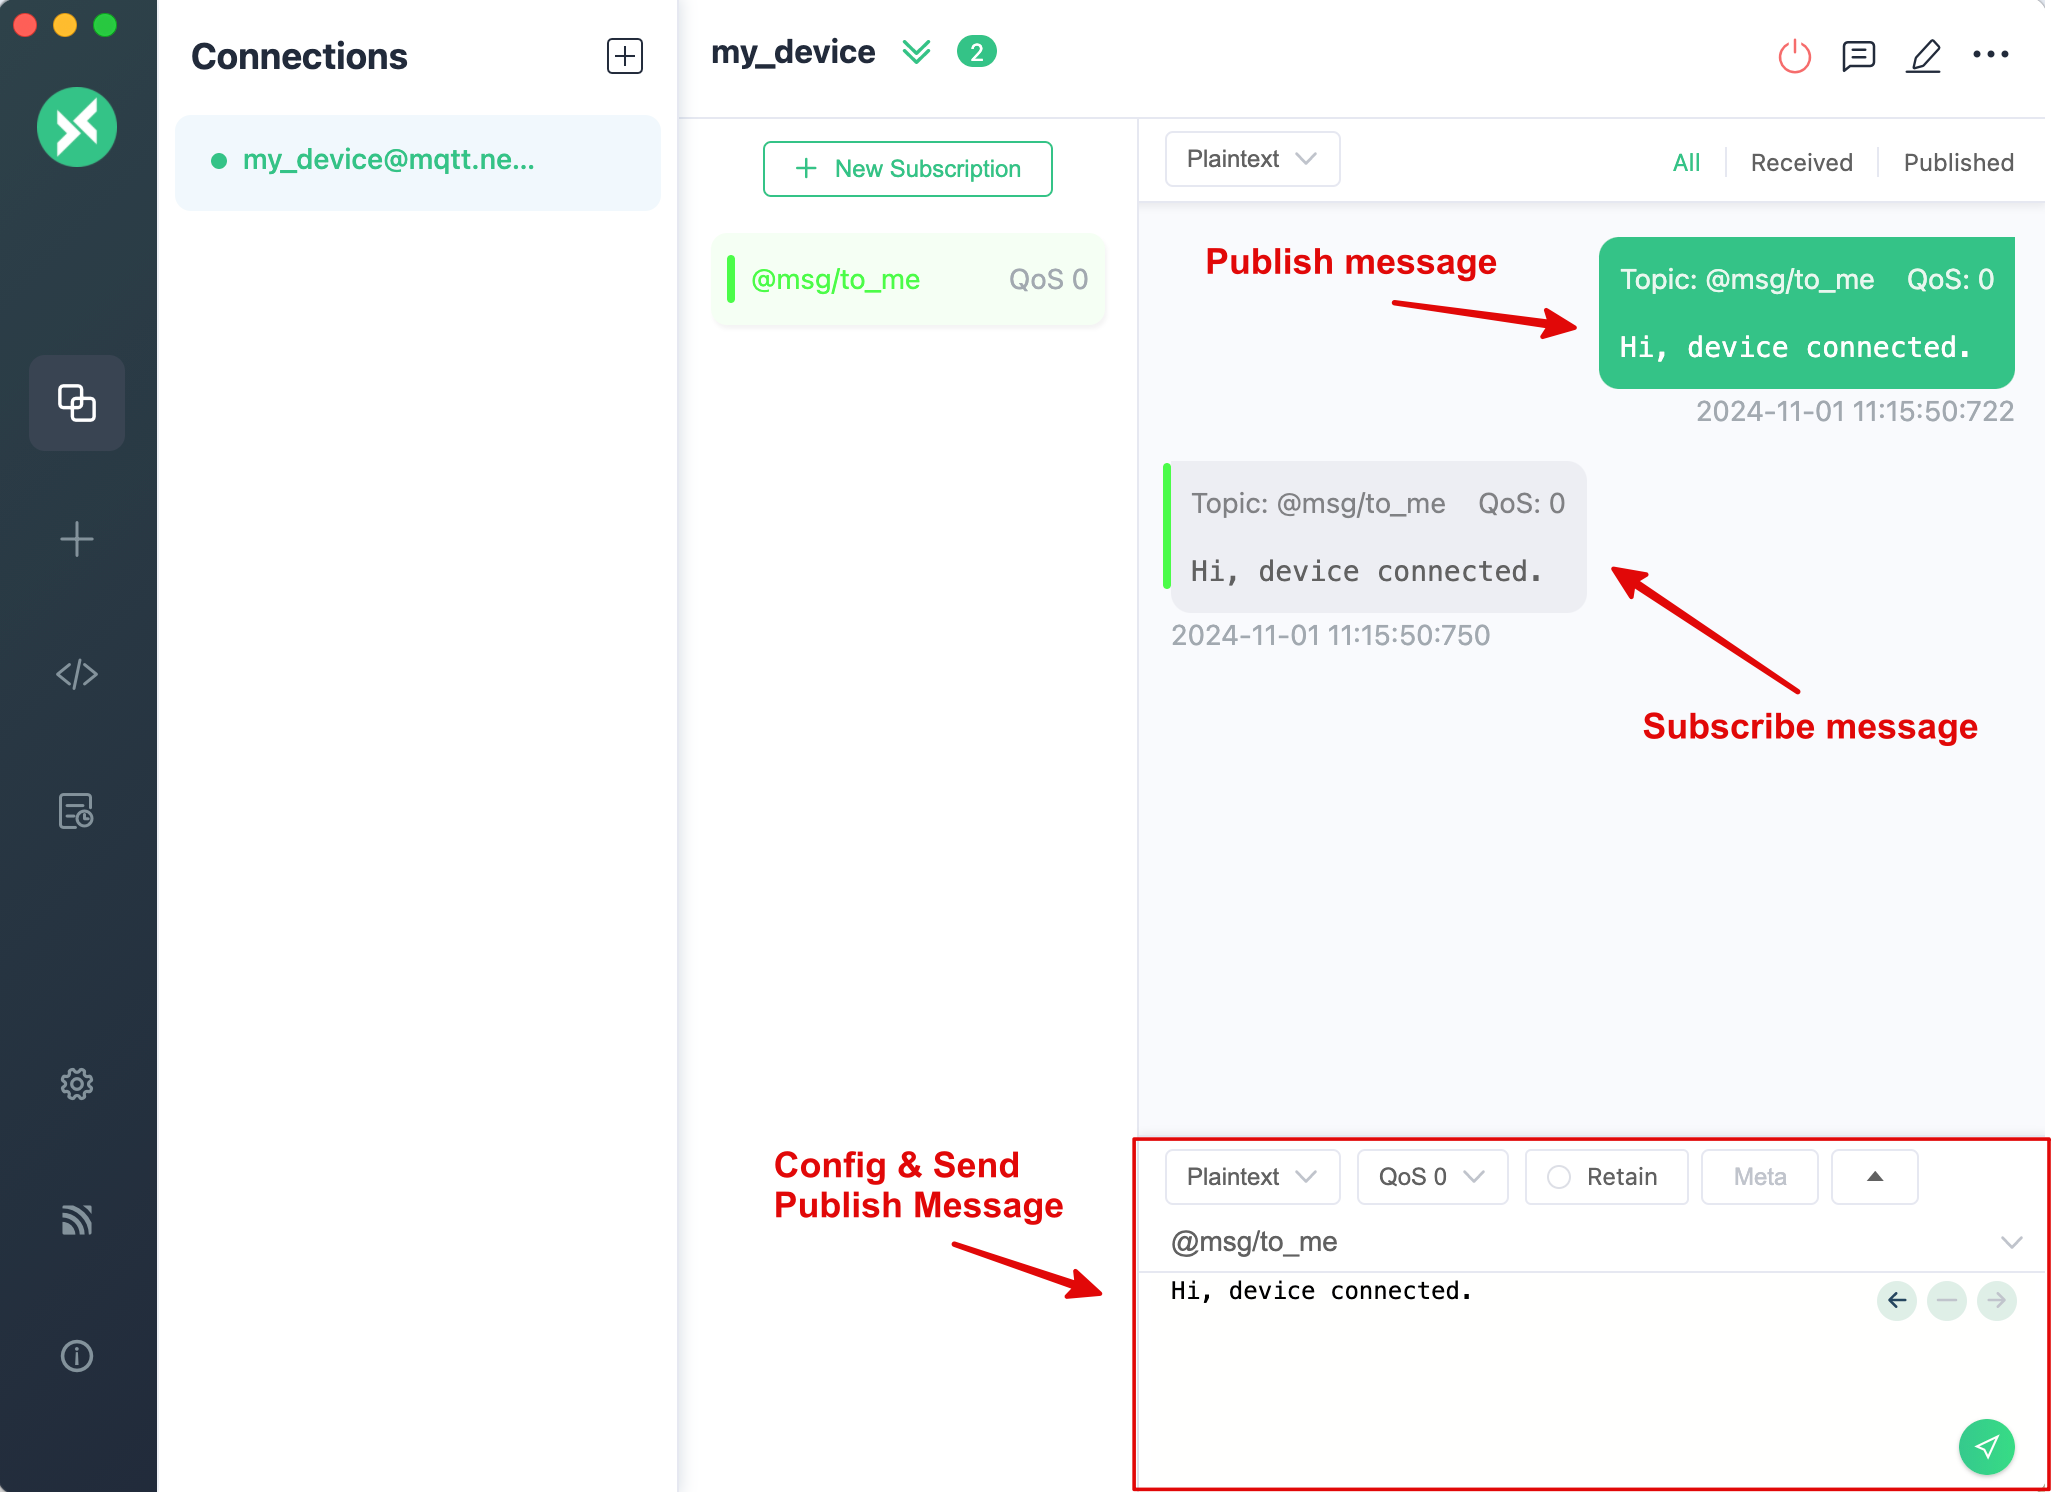
ทดลองเชื่อมต่อ Platform ด้วย MQTTX ซึ่งสามารถดาวน์โหลดได้จาก https://mqttx.app/downloads เมื่อดาวน์โหลดเรียบร้อยให้เปิดโปรแกรมขึ้นมาดังรูป
หลังจากนั้นคลิกที่ปุ่ม “New Connection” เพื่อสร้างการเชื่อมต่อไปยัง MQTT Server (ในที่นี้คือ NETPIE Platform)
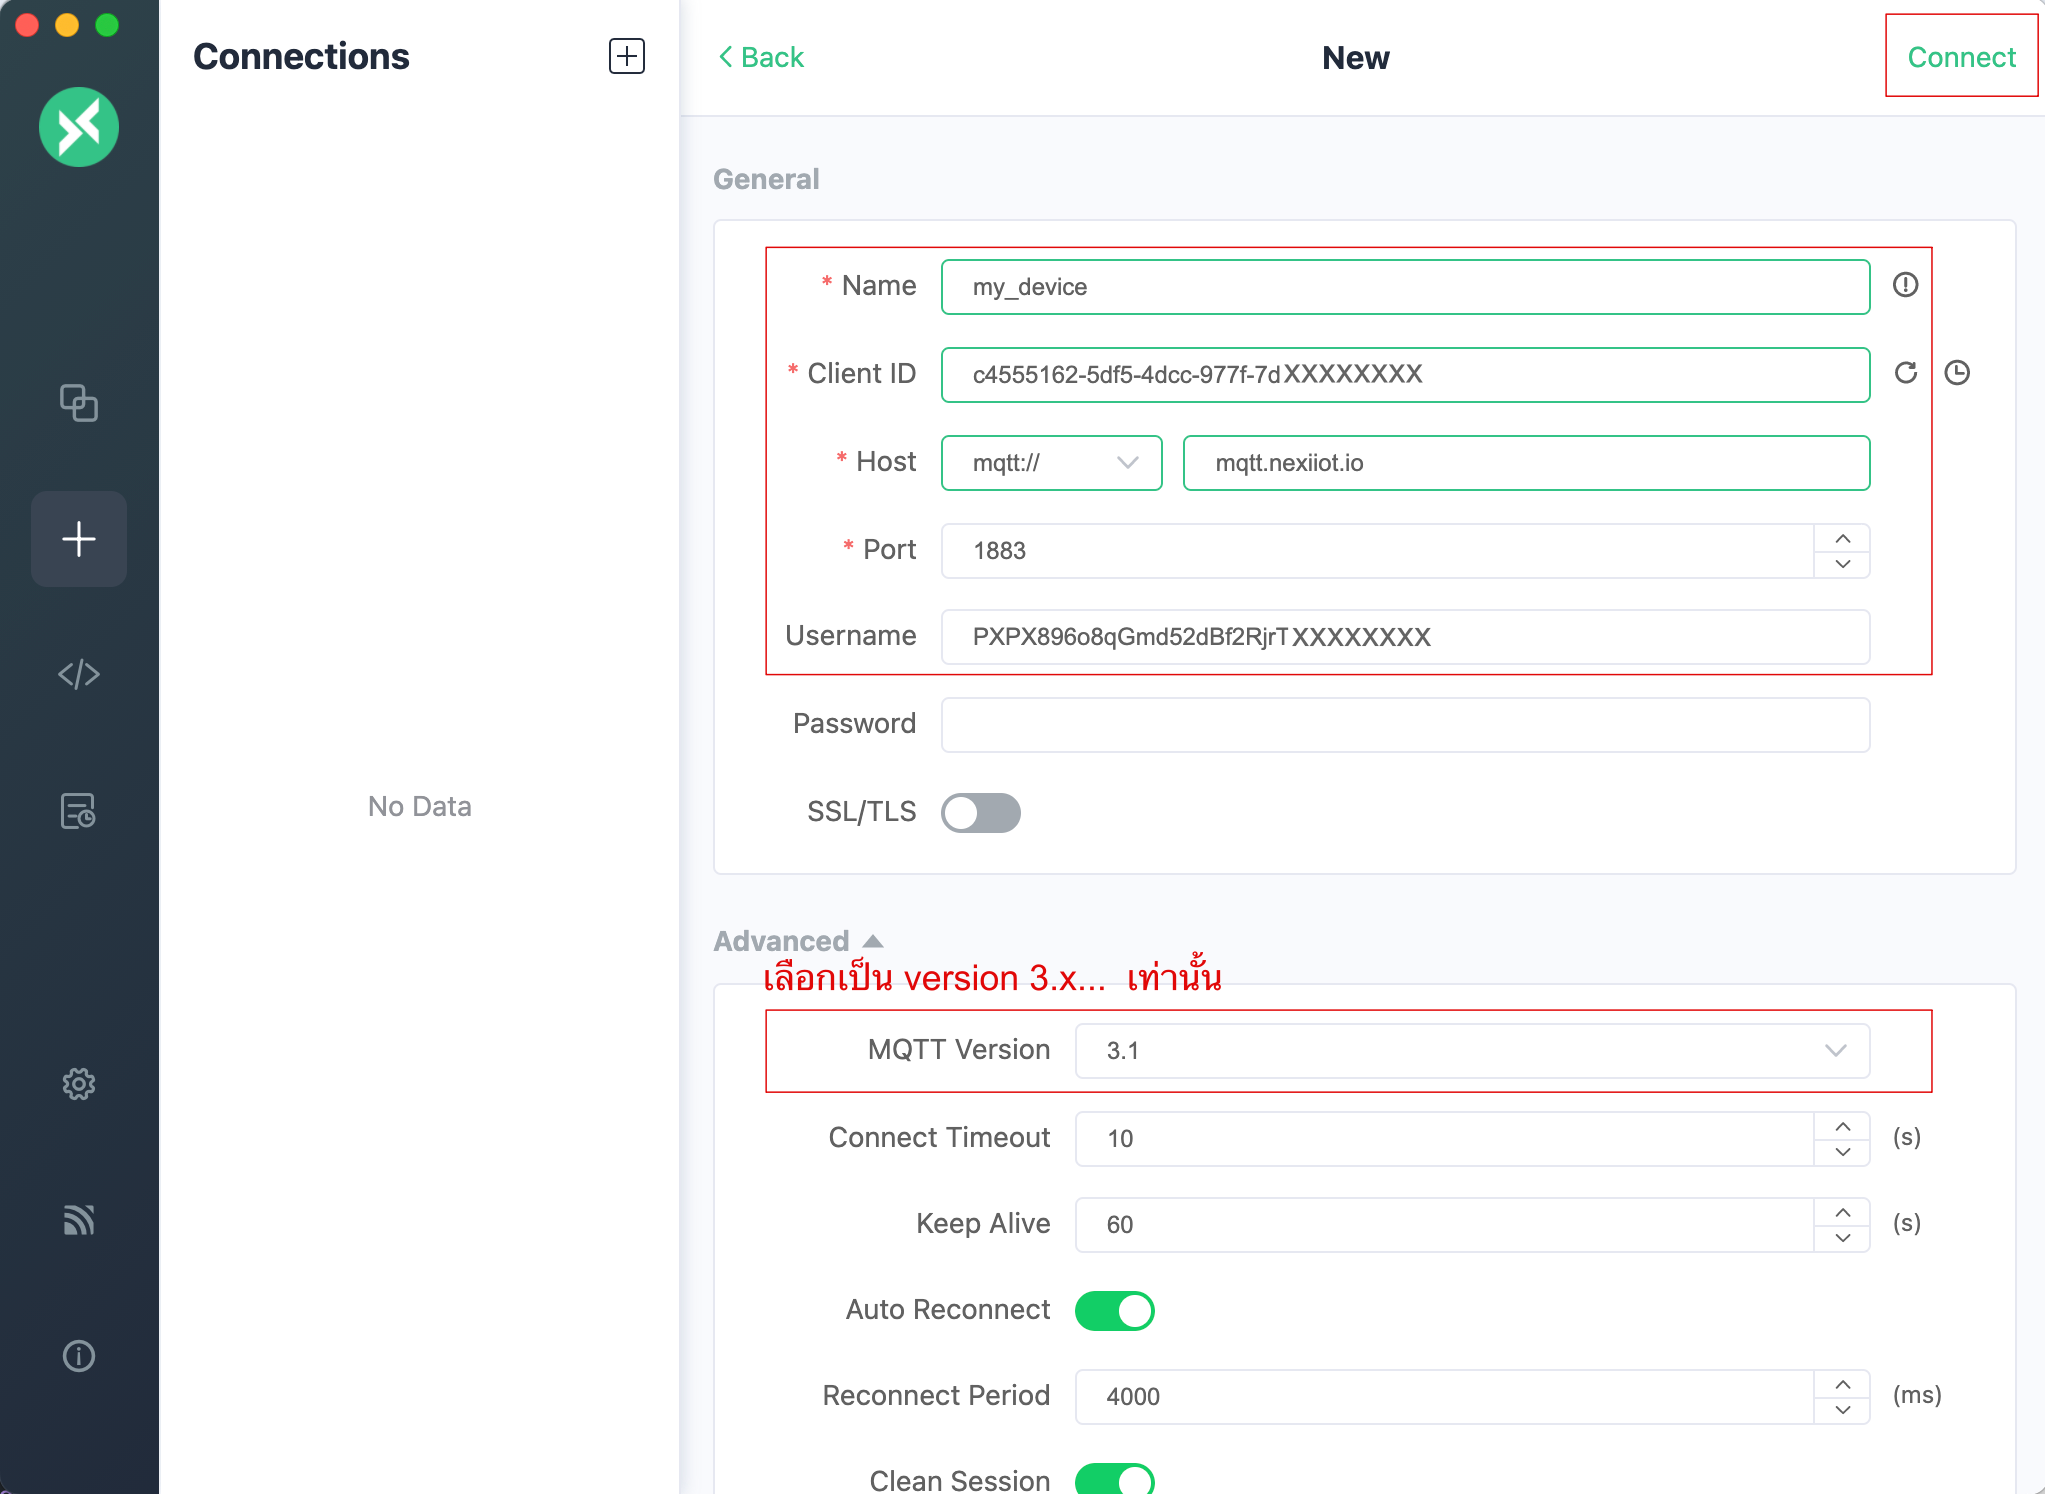
ระบุค่าการเชื่อมต่อให้ถูกต้อง จากนั้นคลิก “Connect” เพื่อทำการเชื่อมต่อ Platform หากเชื่อมต่อได้สำเร็จจะเป็นดังนี้
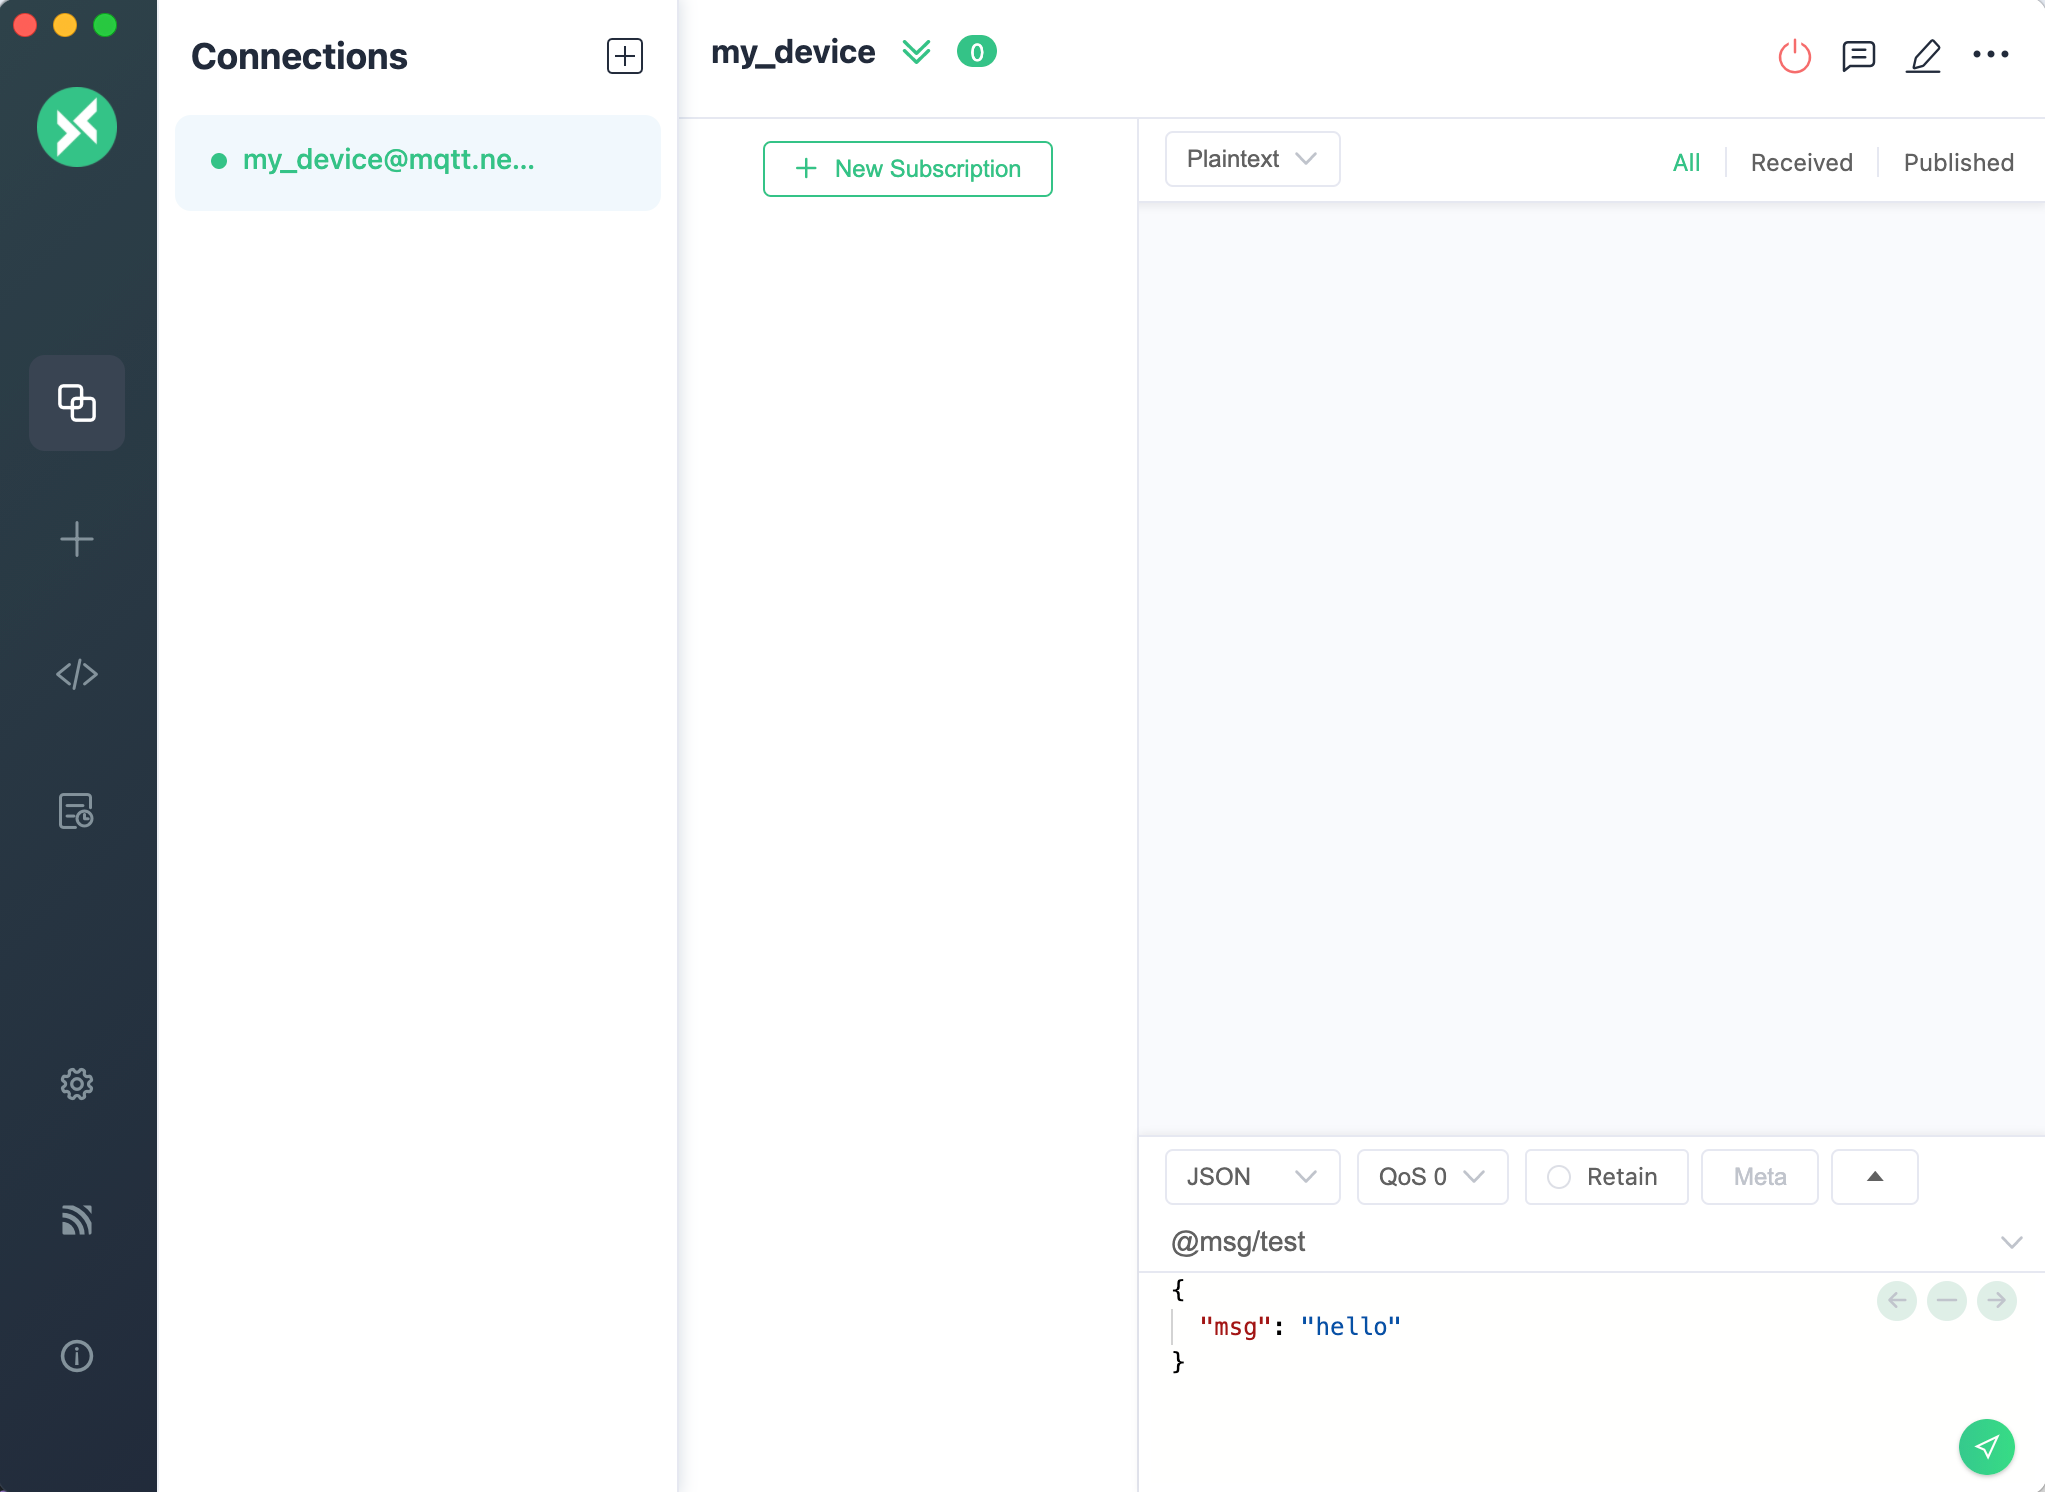
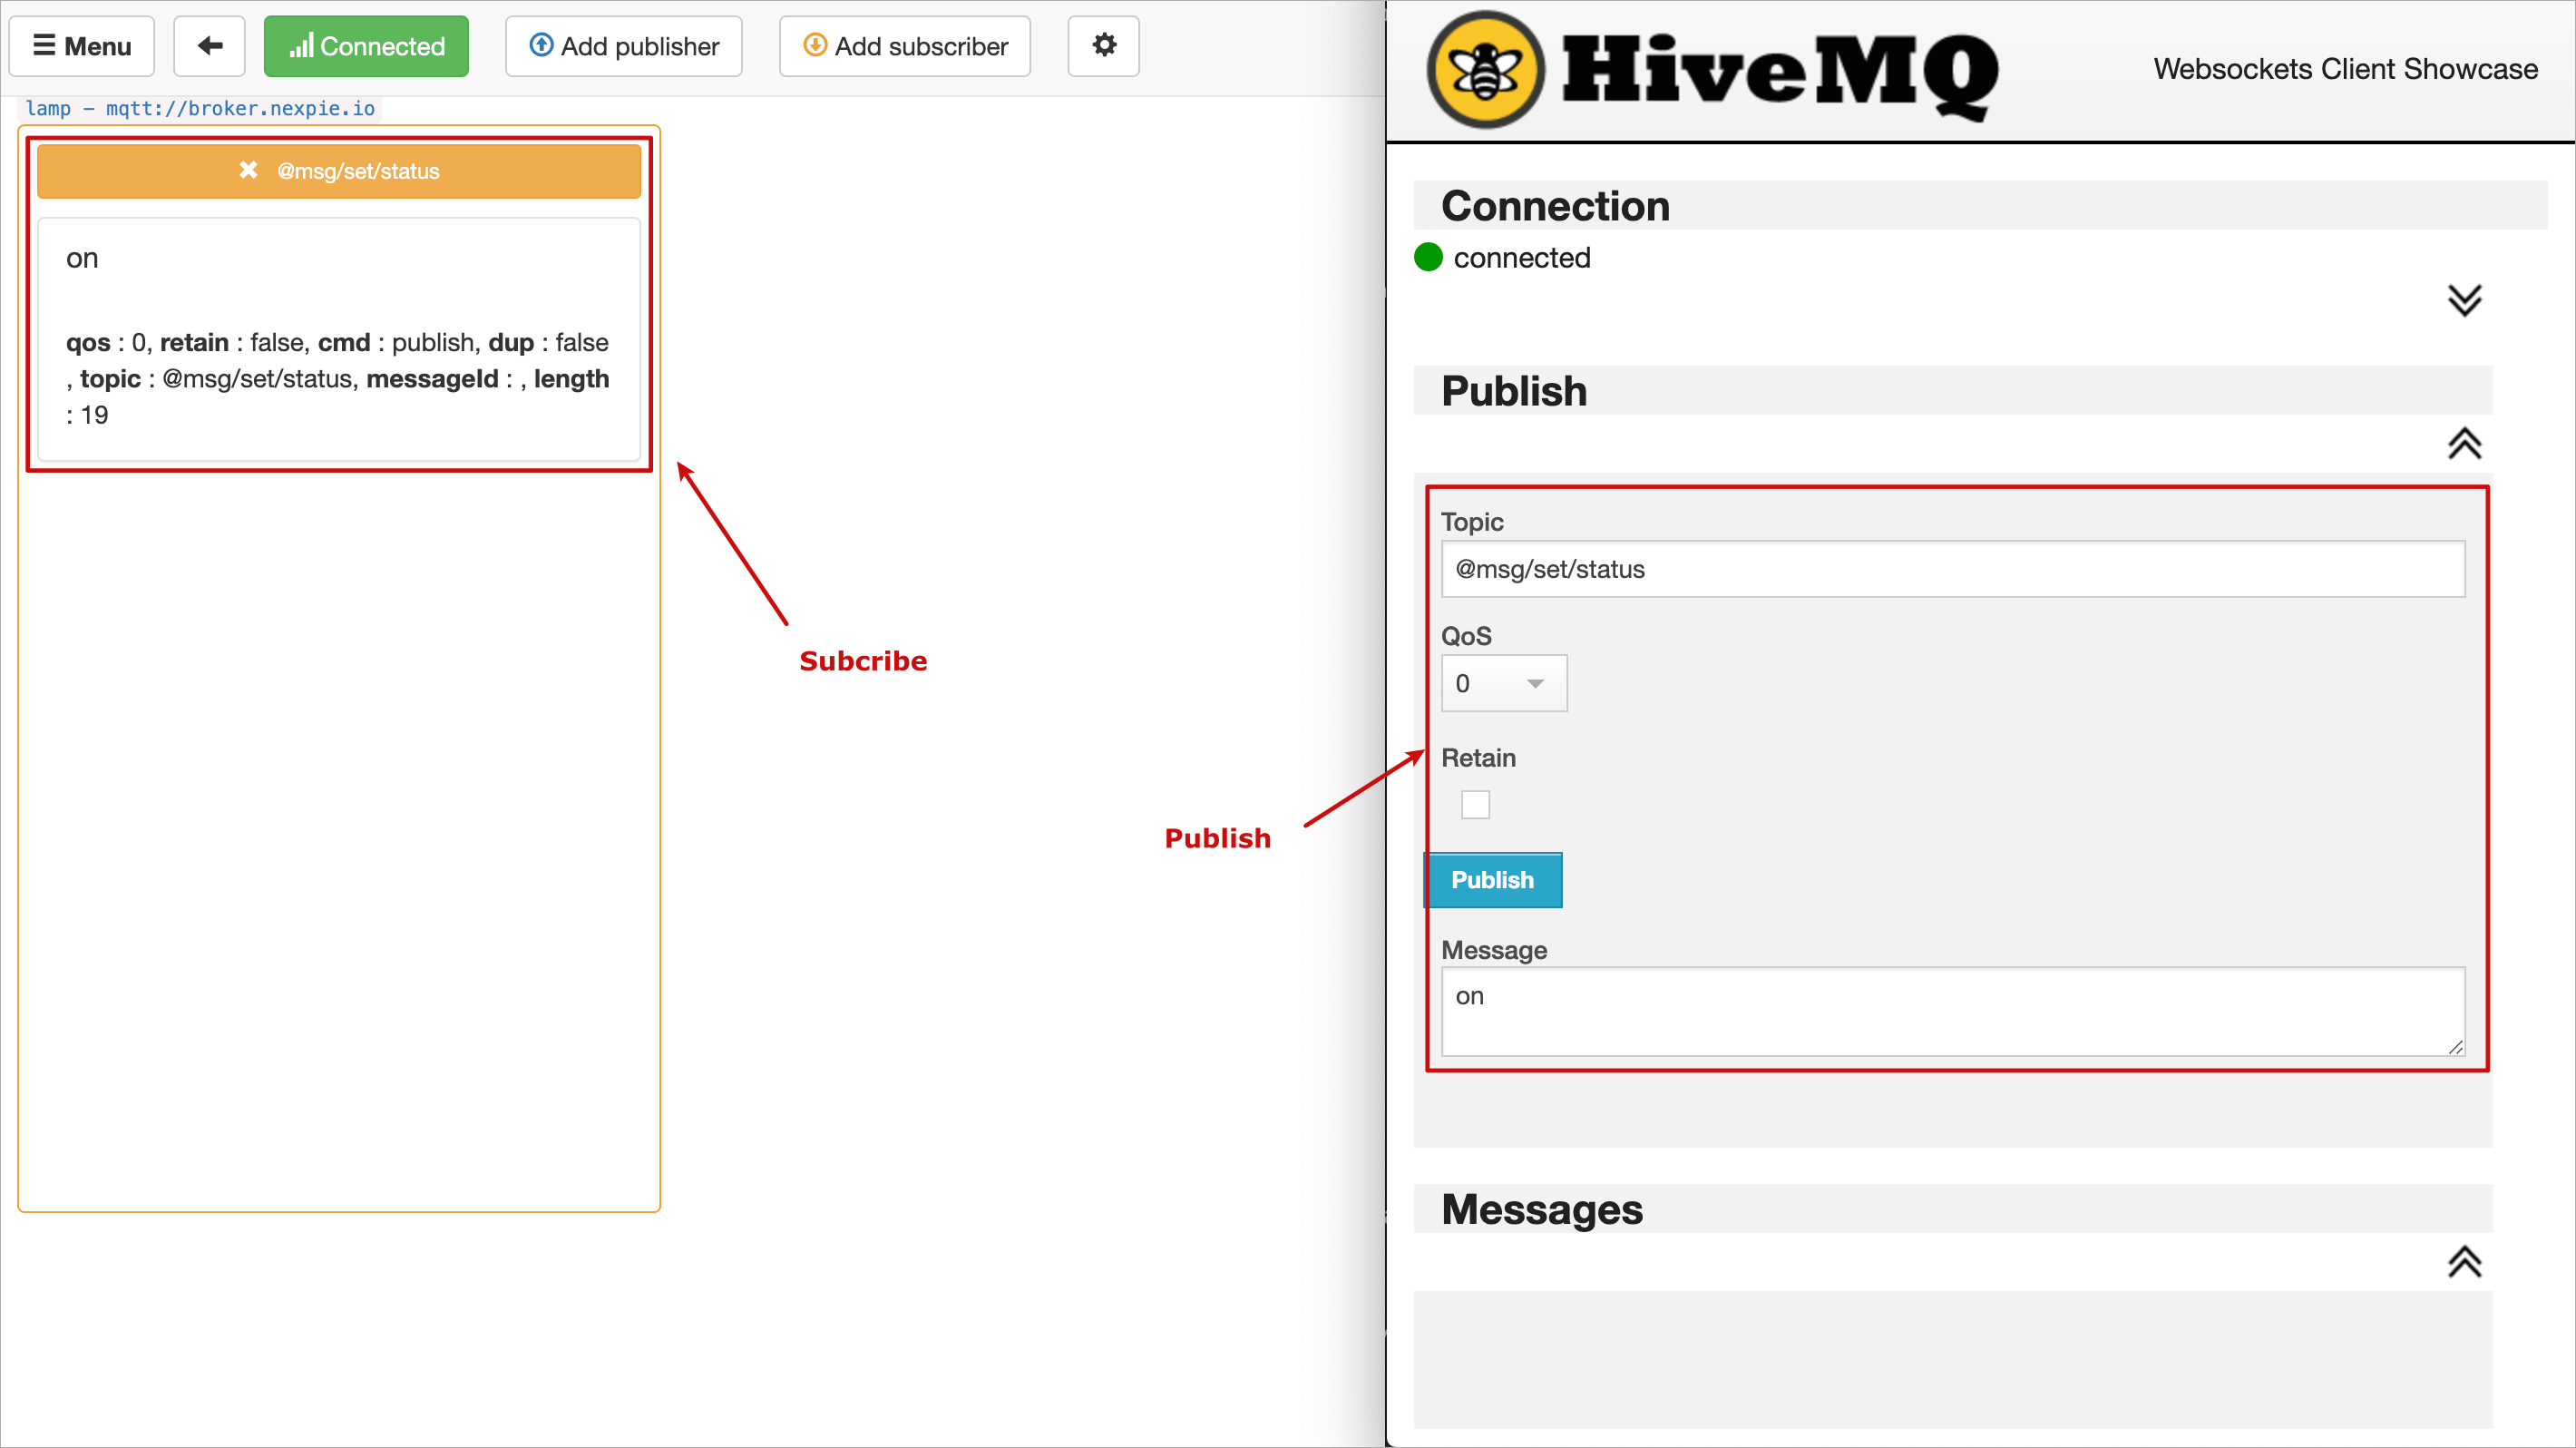
ทดสอบว่าสามารถเชื่อมต่อ Platform ได้จริงโดย Publish เข้าหาตัวเอง การเซ็ตค่า Topic ที่จะ Publish/Subscribe ให้ขึ้น Topic ด้วย @msg/ (สร้าง “Subscribe” ก่อนที่จะทำการ “Publish”)
การสื่อสารระหว่าง Devices
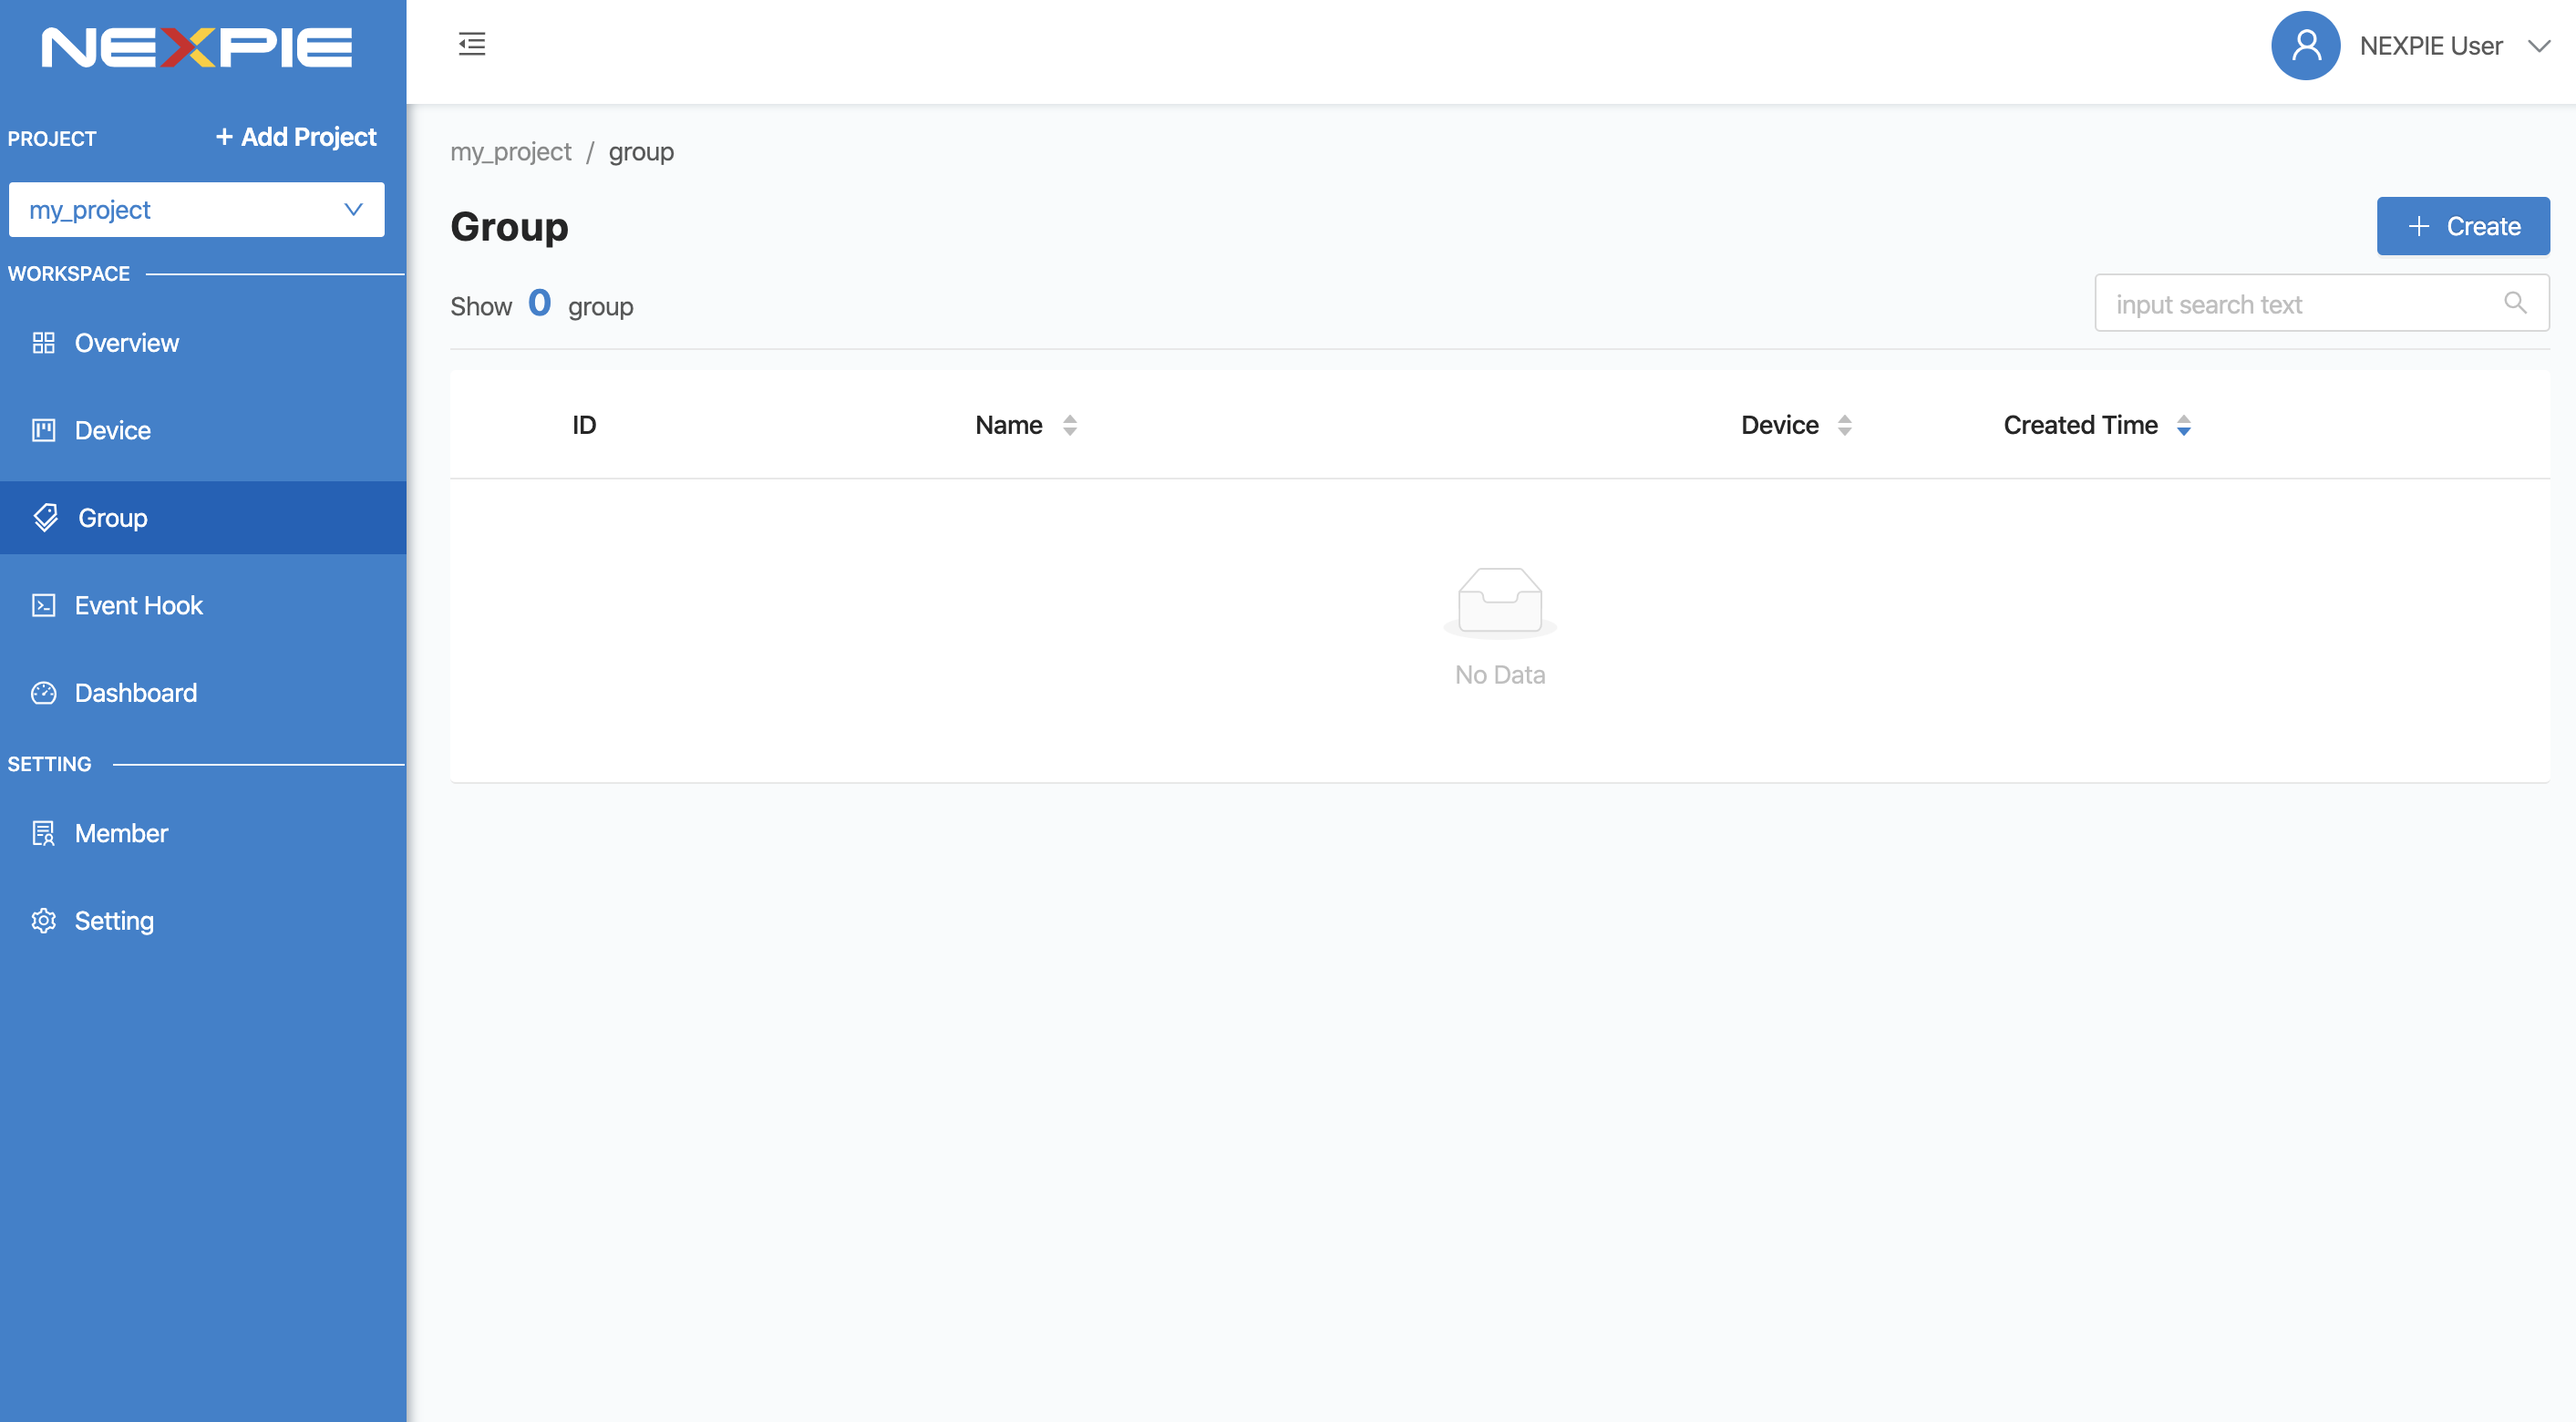
Device ที่จะสามารถสื่อสารกันได้ต้องอยู่ภายใต้ Group เดียวกัน โดยการสร้าง Group ให้เข้าไปที่เมนู “Group” ด้านซ้ายมือ
ให้ทำการสร้าง Group โดยคลิกที่ปุ่ม “Create” อยู่มุมบนด้านขวามือ จะปรากฏฟอร์มให้กรอกข้อมูลของ Group
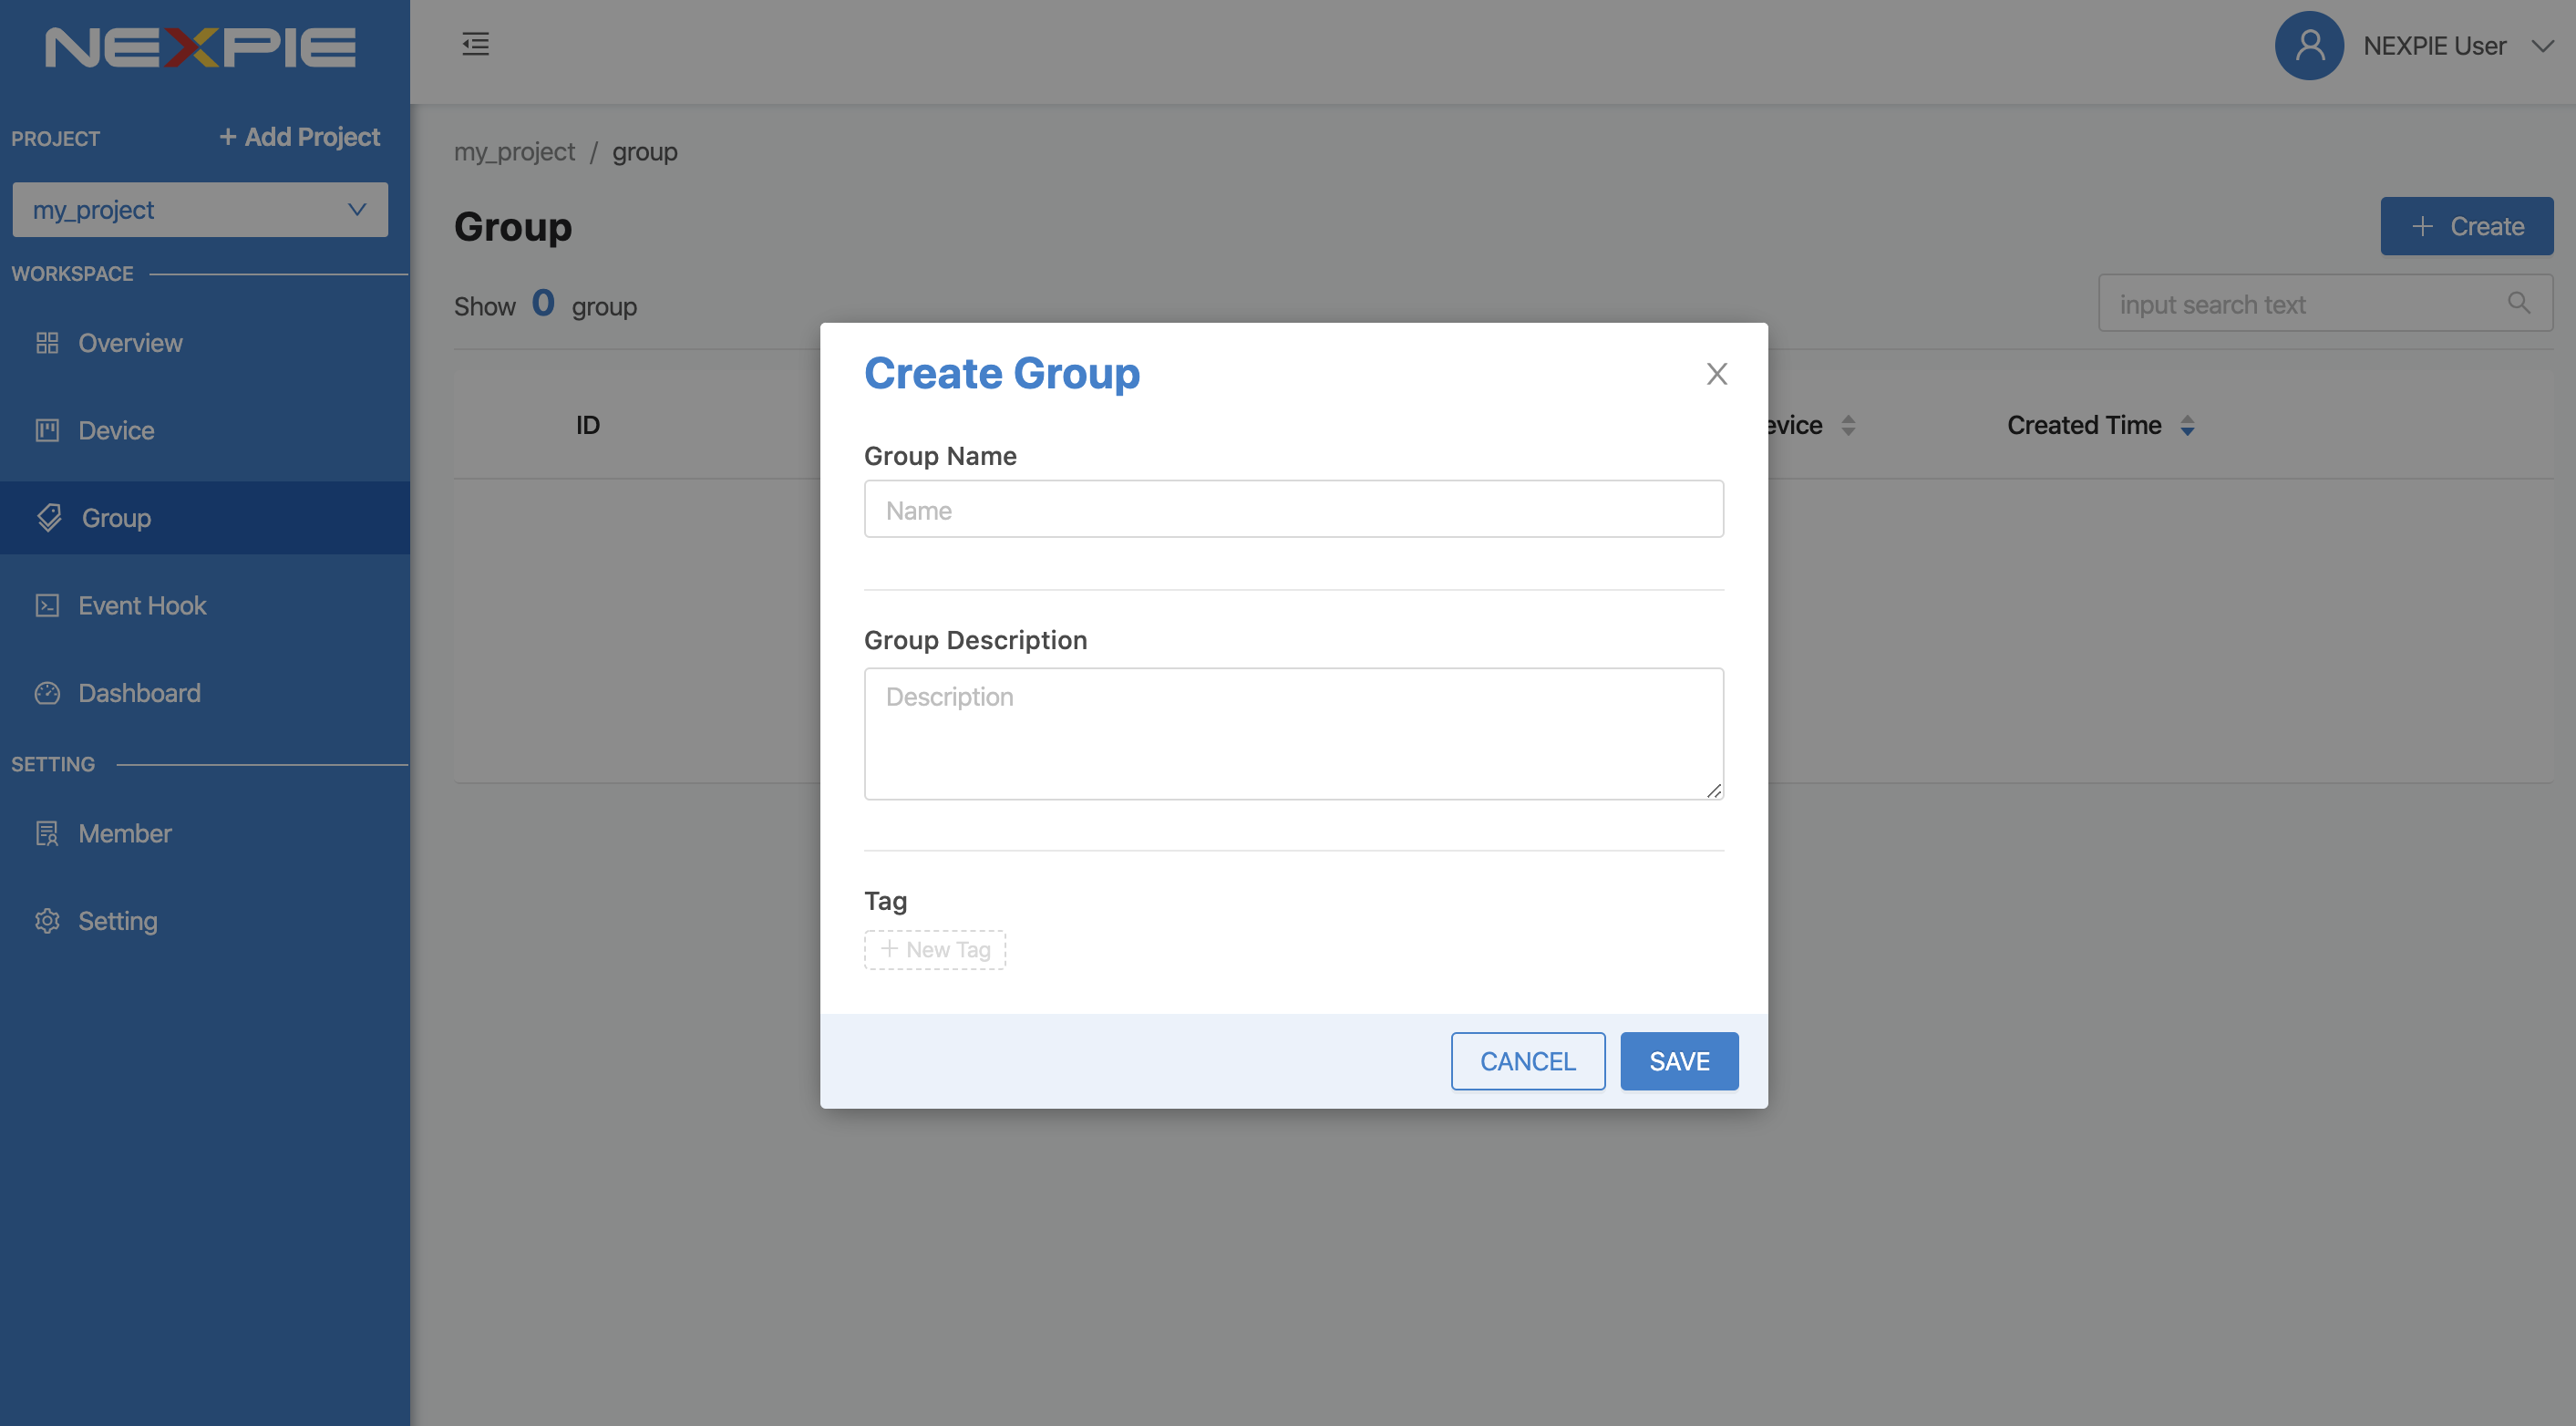
กรอกข้อมูล Group จากนั้นคลิกที่ปุ่ม “SAVE” ระบบจะทำการสร้าง Group ให้
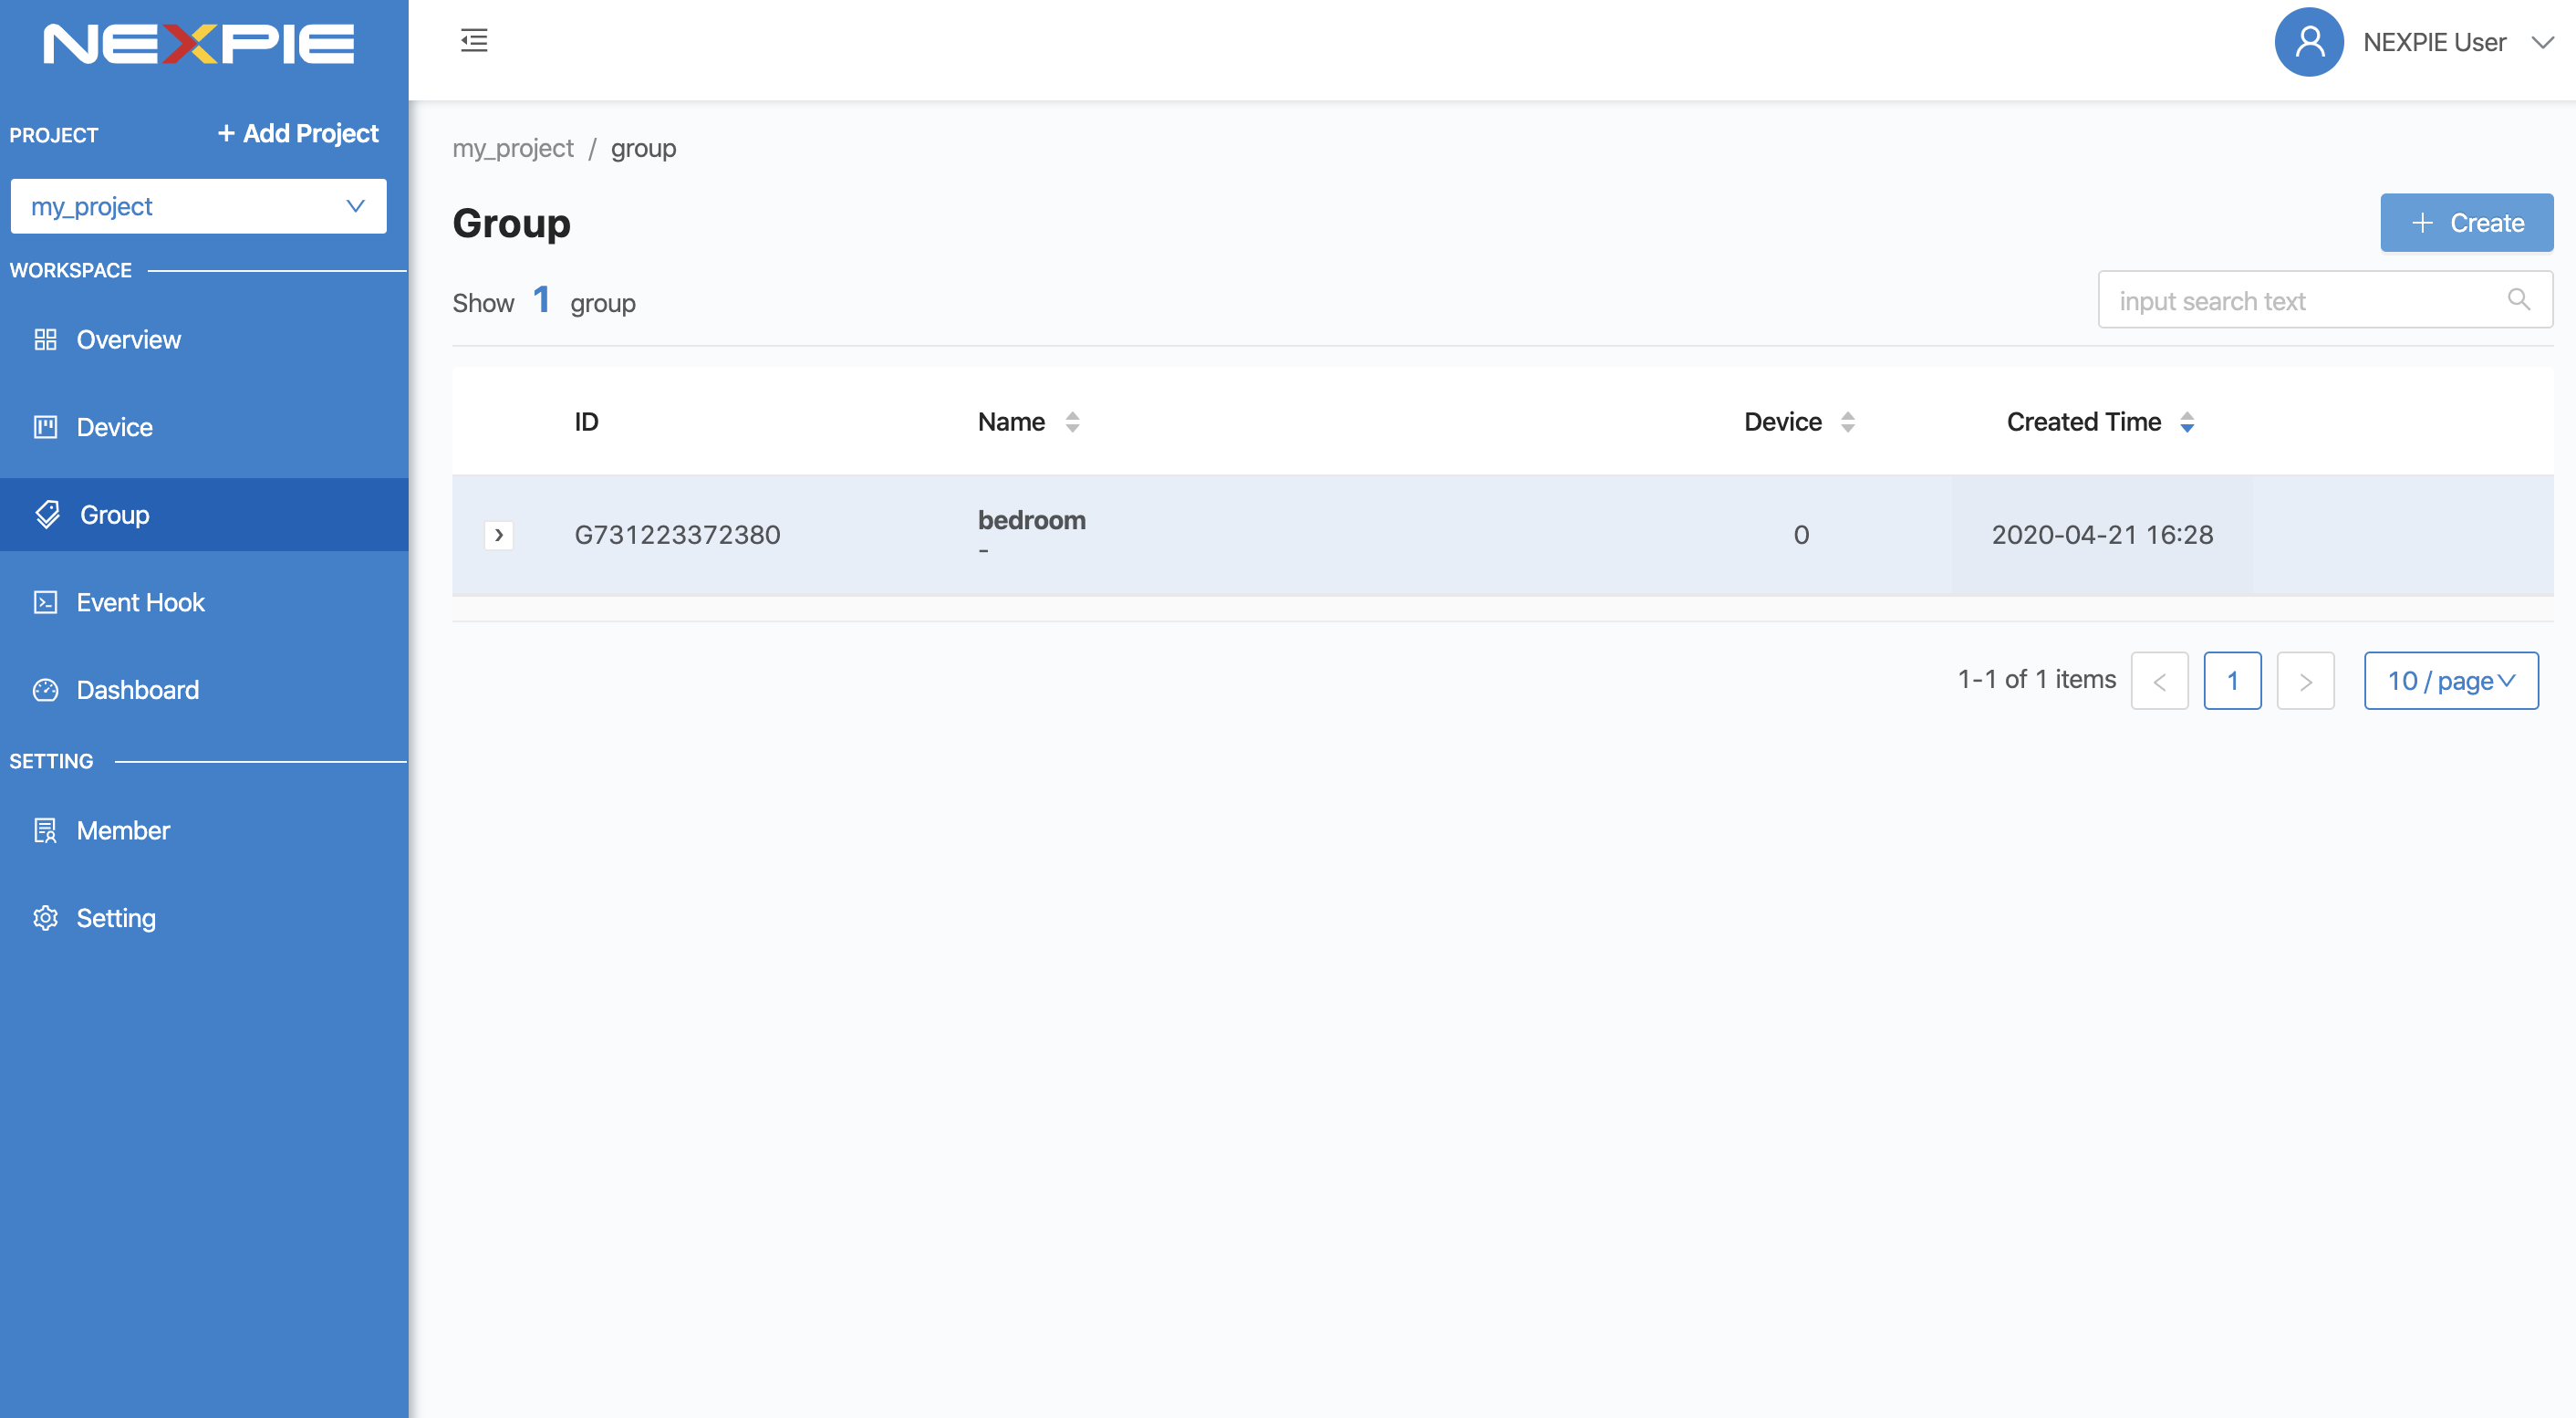
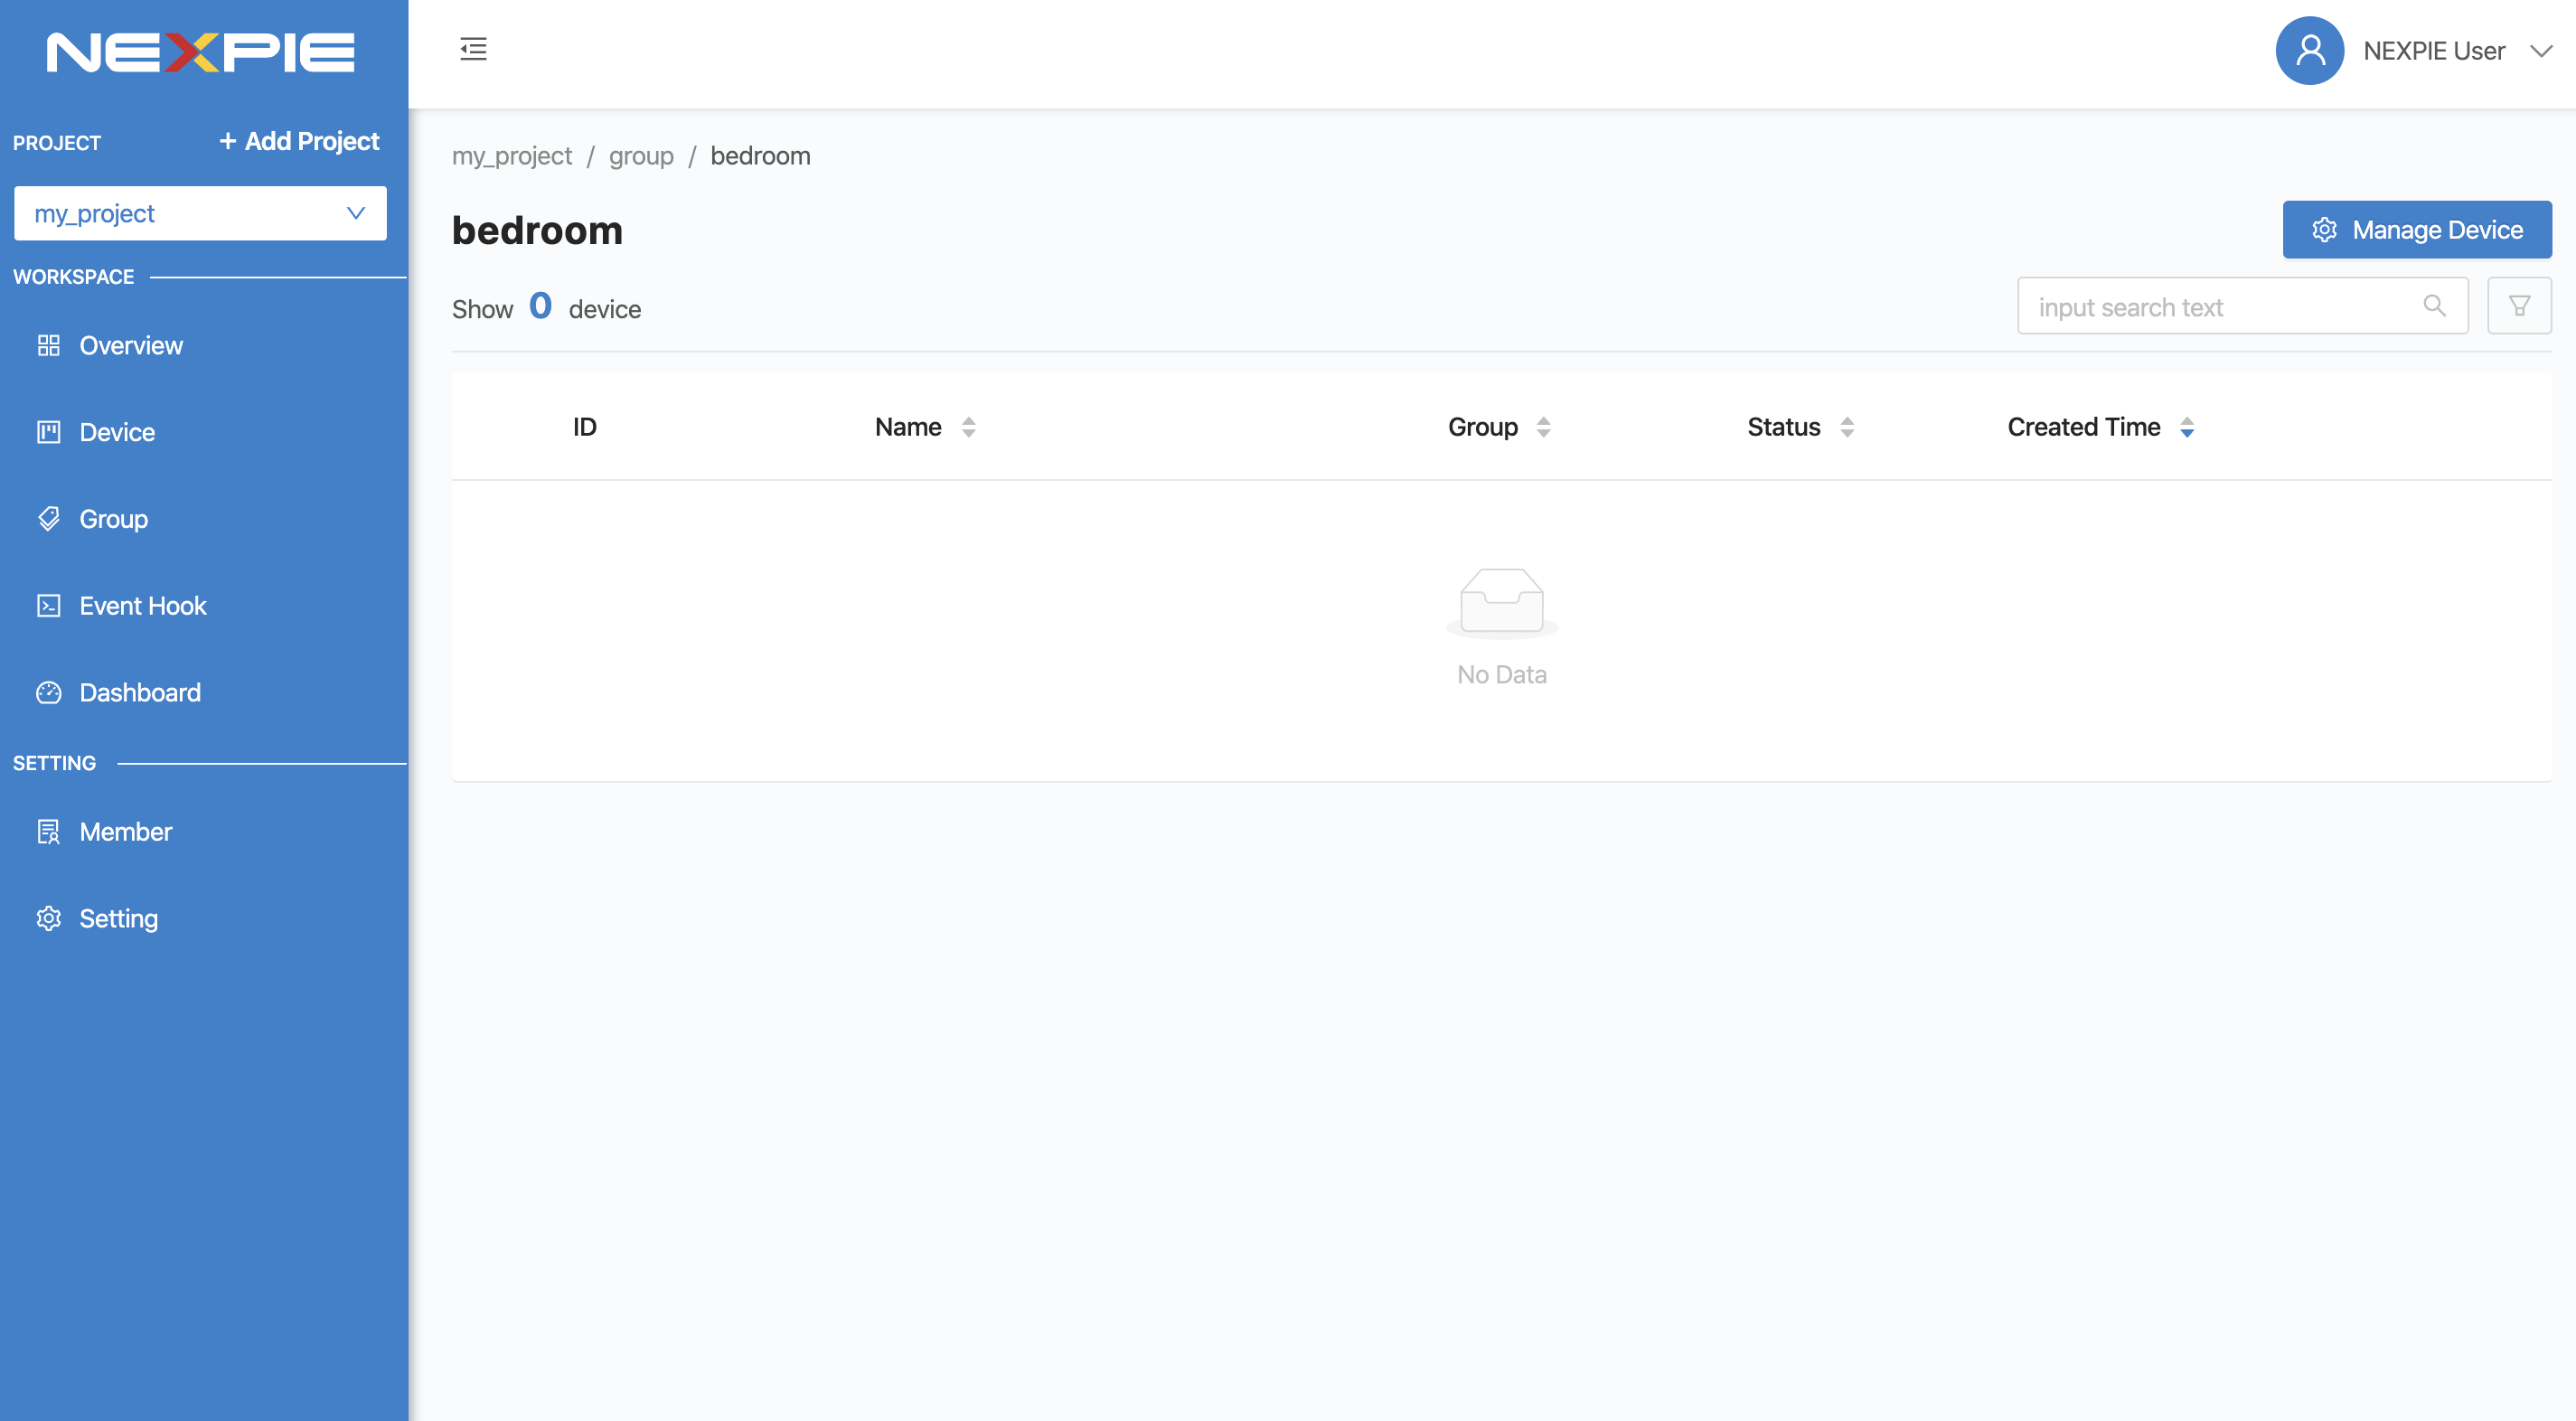
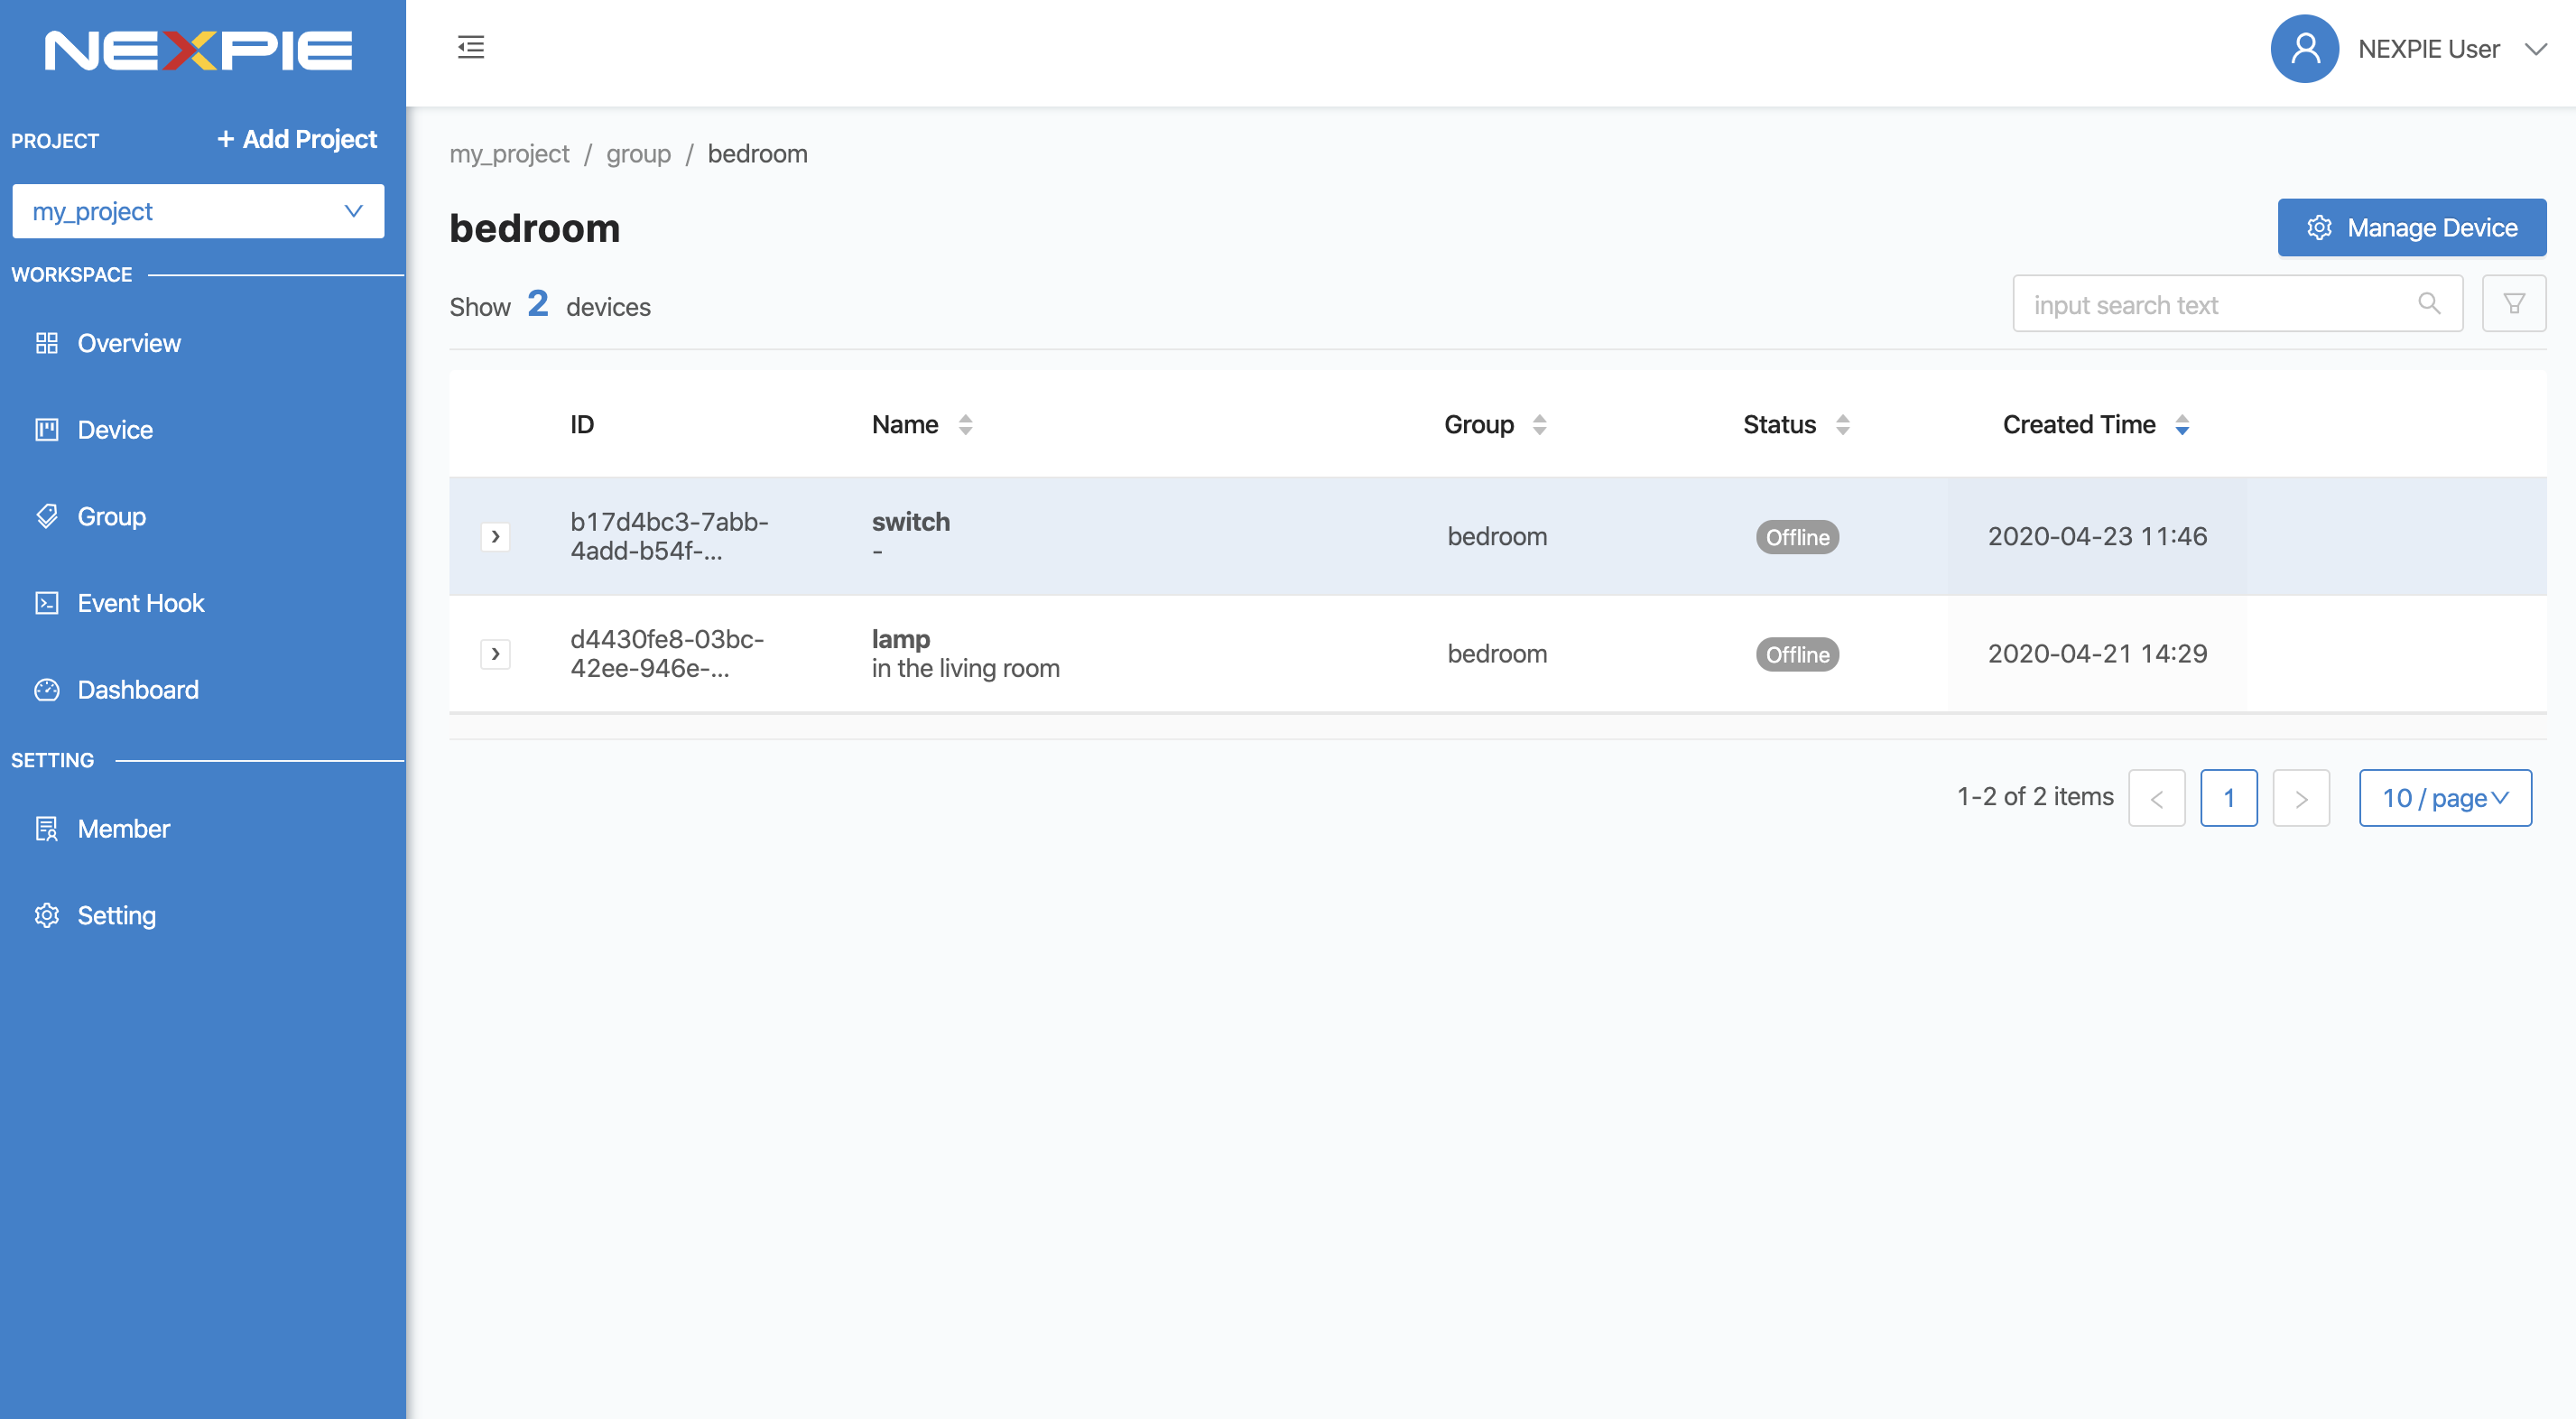
จากนั้นคลิกที่ Group ที่สร้างไว้เพื่อจัดการ Device ภายใน Group นั้น ๆ ถ้ามี Device อยู่ใน Group ดังกล่าวก็จะแสดงรายการ Device ในหน้านี้
การจัดการ Device ภายใน Group ให้คลิกที่ปุ่ม “Manage Device” ที่มุมบนขวามือ เมื่อคลิกแล้วจะปรากฏหน้าจอสำหรับนำ Device เข้า/ออก จาก Group
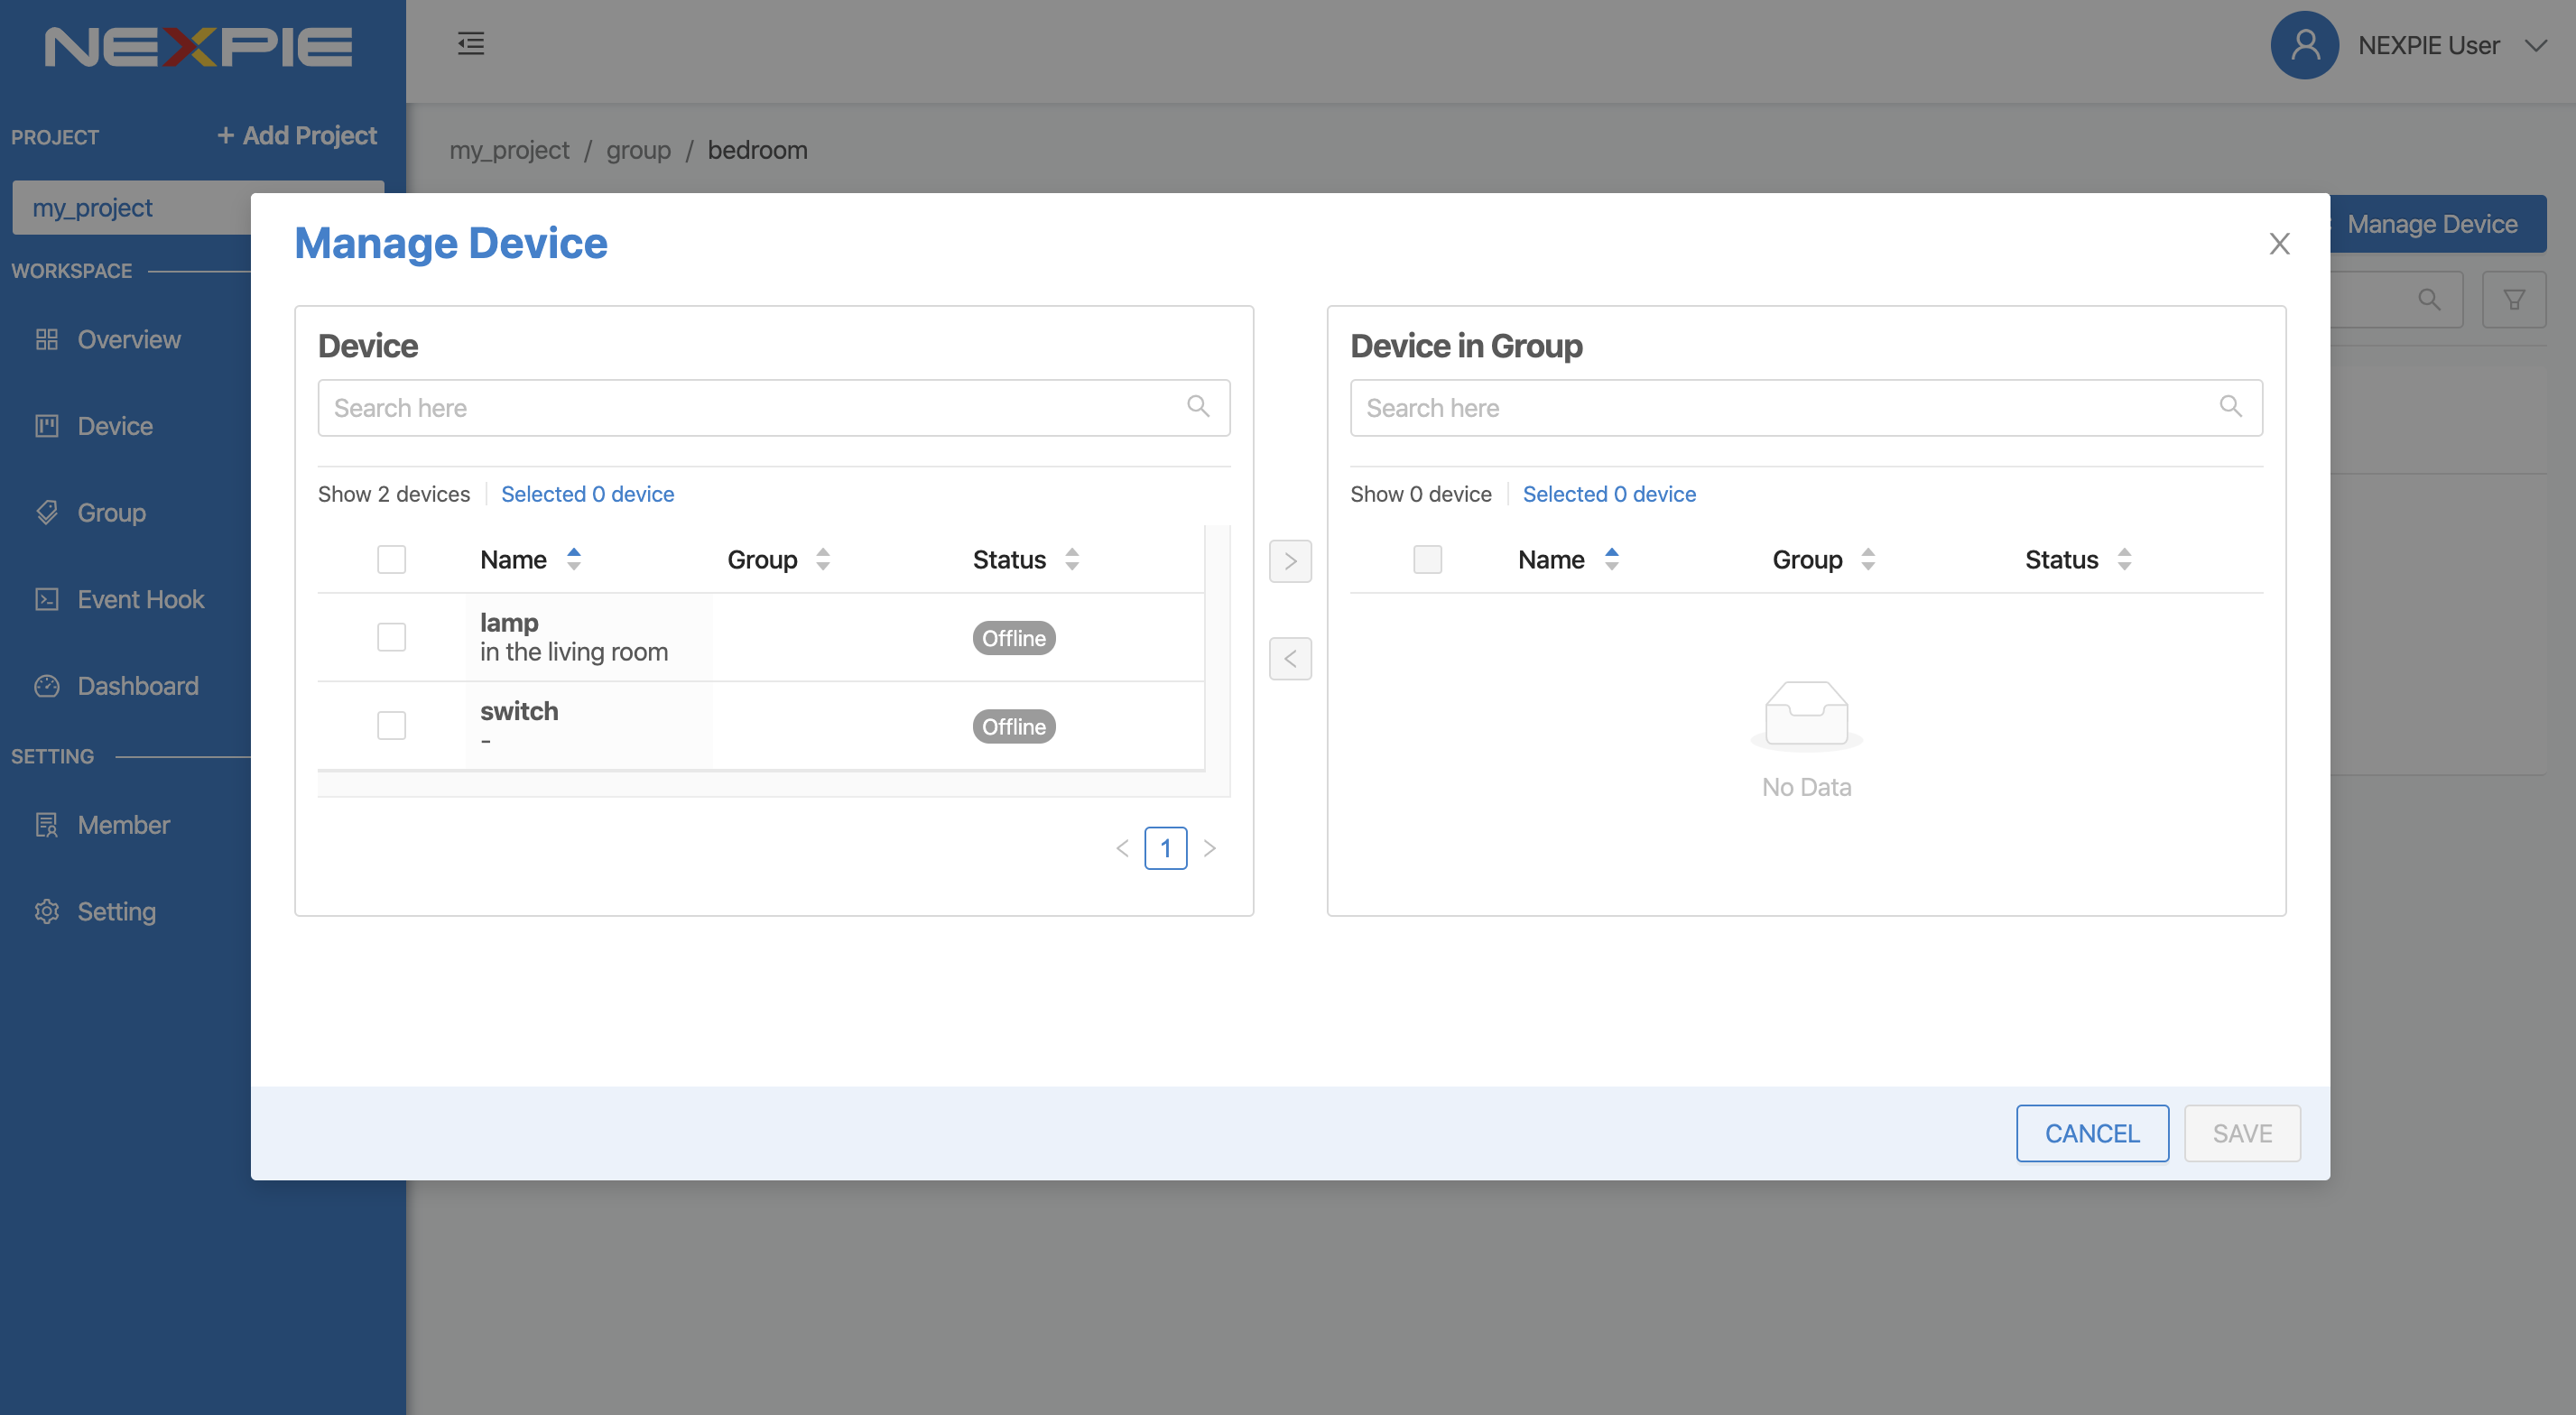
จากรูปด้านบน คลิกเลือกที่ Check Box หน้า Device ในกรอบด้านซ้ายมือที่ต้องการจัดเข้า Group นี้ จากนั้นคลิกที่ปุ่ม “>” เพื่อย้ายรายการ Device มายังกรอบด้านขวามือ ซึ่งก็คือการจัด Device เข้า Group
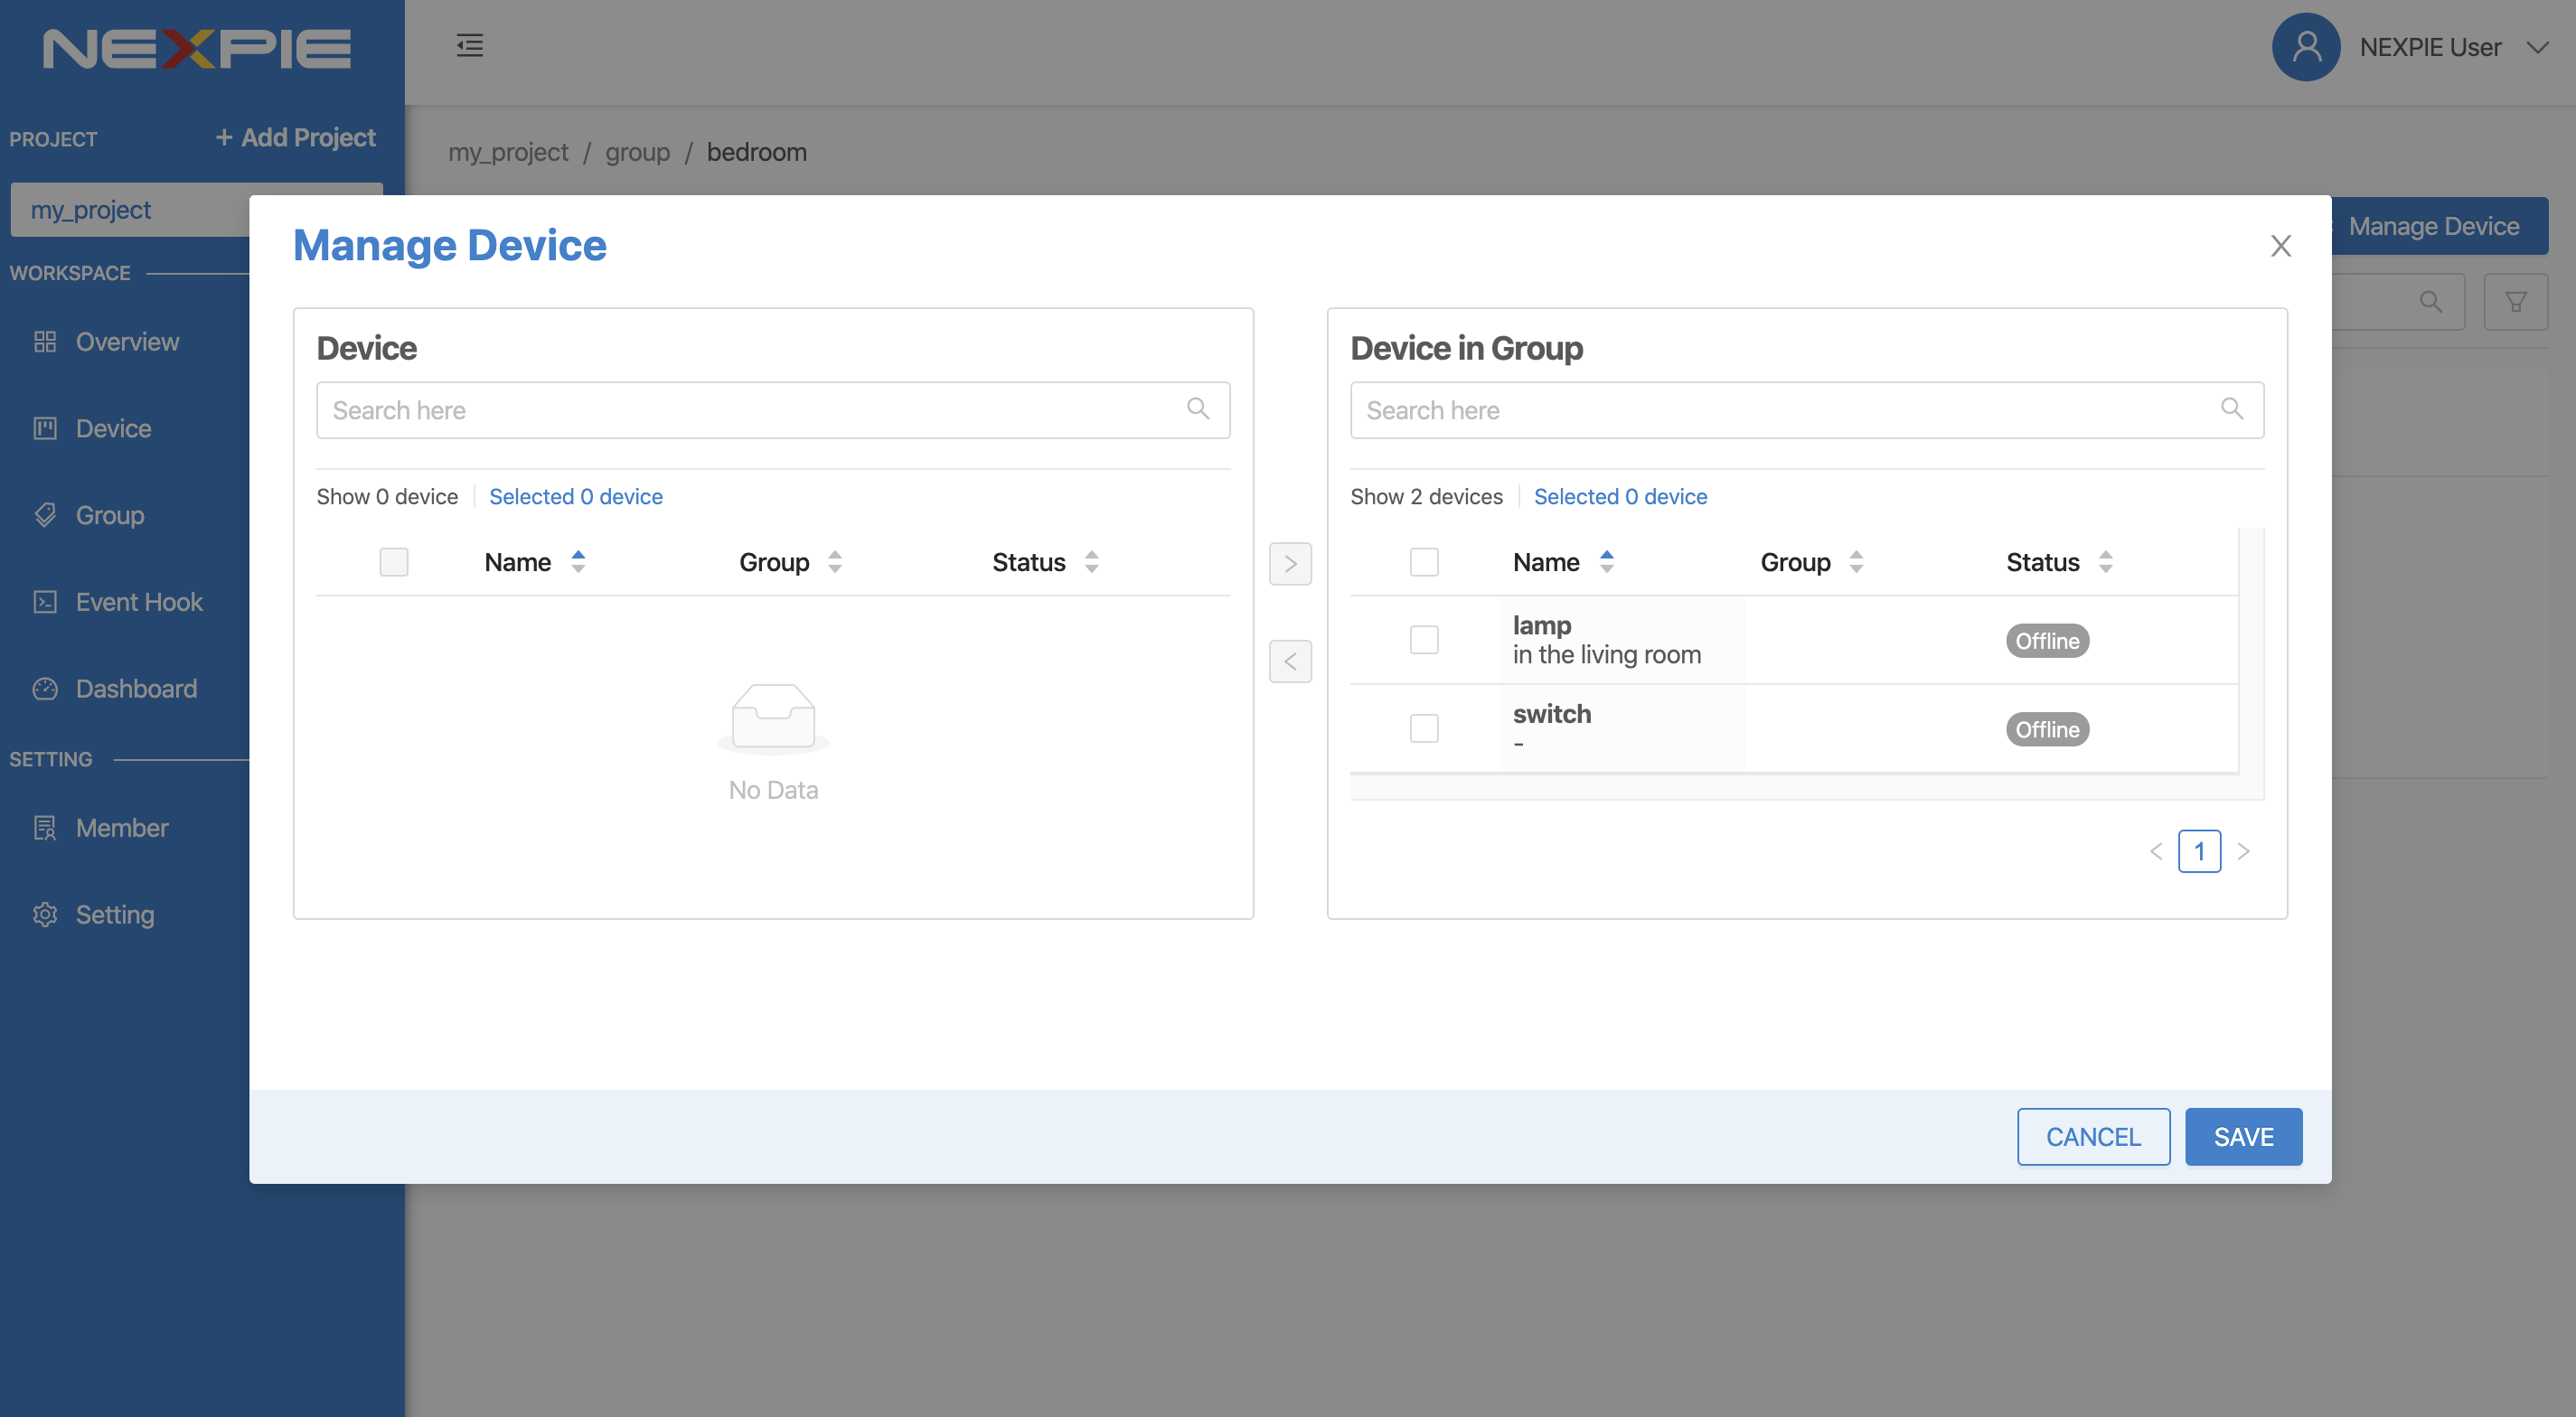
จากรูปด้านบน เมื่อเลือก Device เรียบร้อยแล้วคลิกที่ปุ่ม “SAVE” เพื่อบันทึกข้อมูลก็จะมาปารกฏใน Group
เมื่อจัด Device เข้า Group เรียบร้อยแล้ว ทำการเชื่อมต่อ Device ทั้ง 2 ตัวที่จัดเข้า Group เดียวกันเมื่อก่อนหน้านี้ผ่าน MQTTX ดังรูปต่อไปนี้

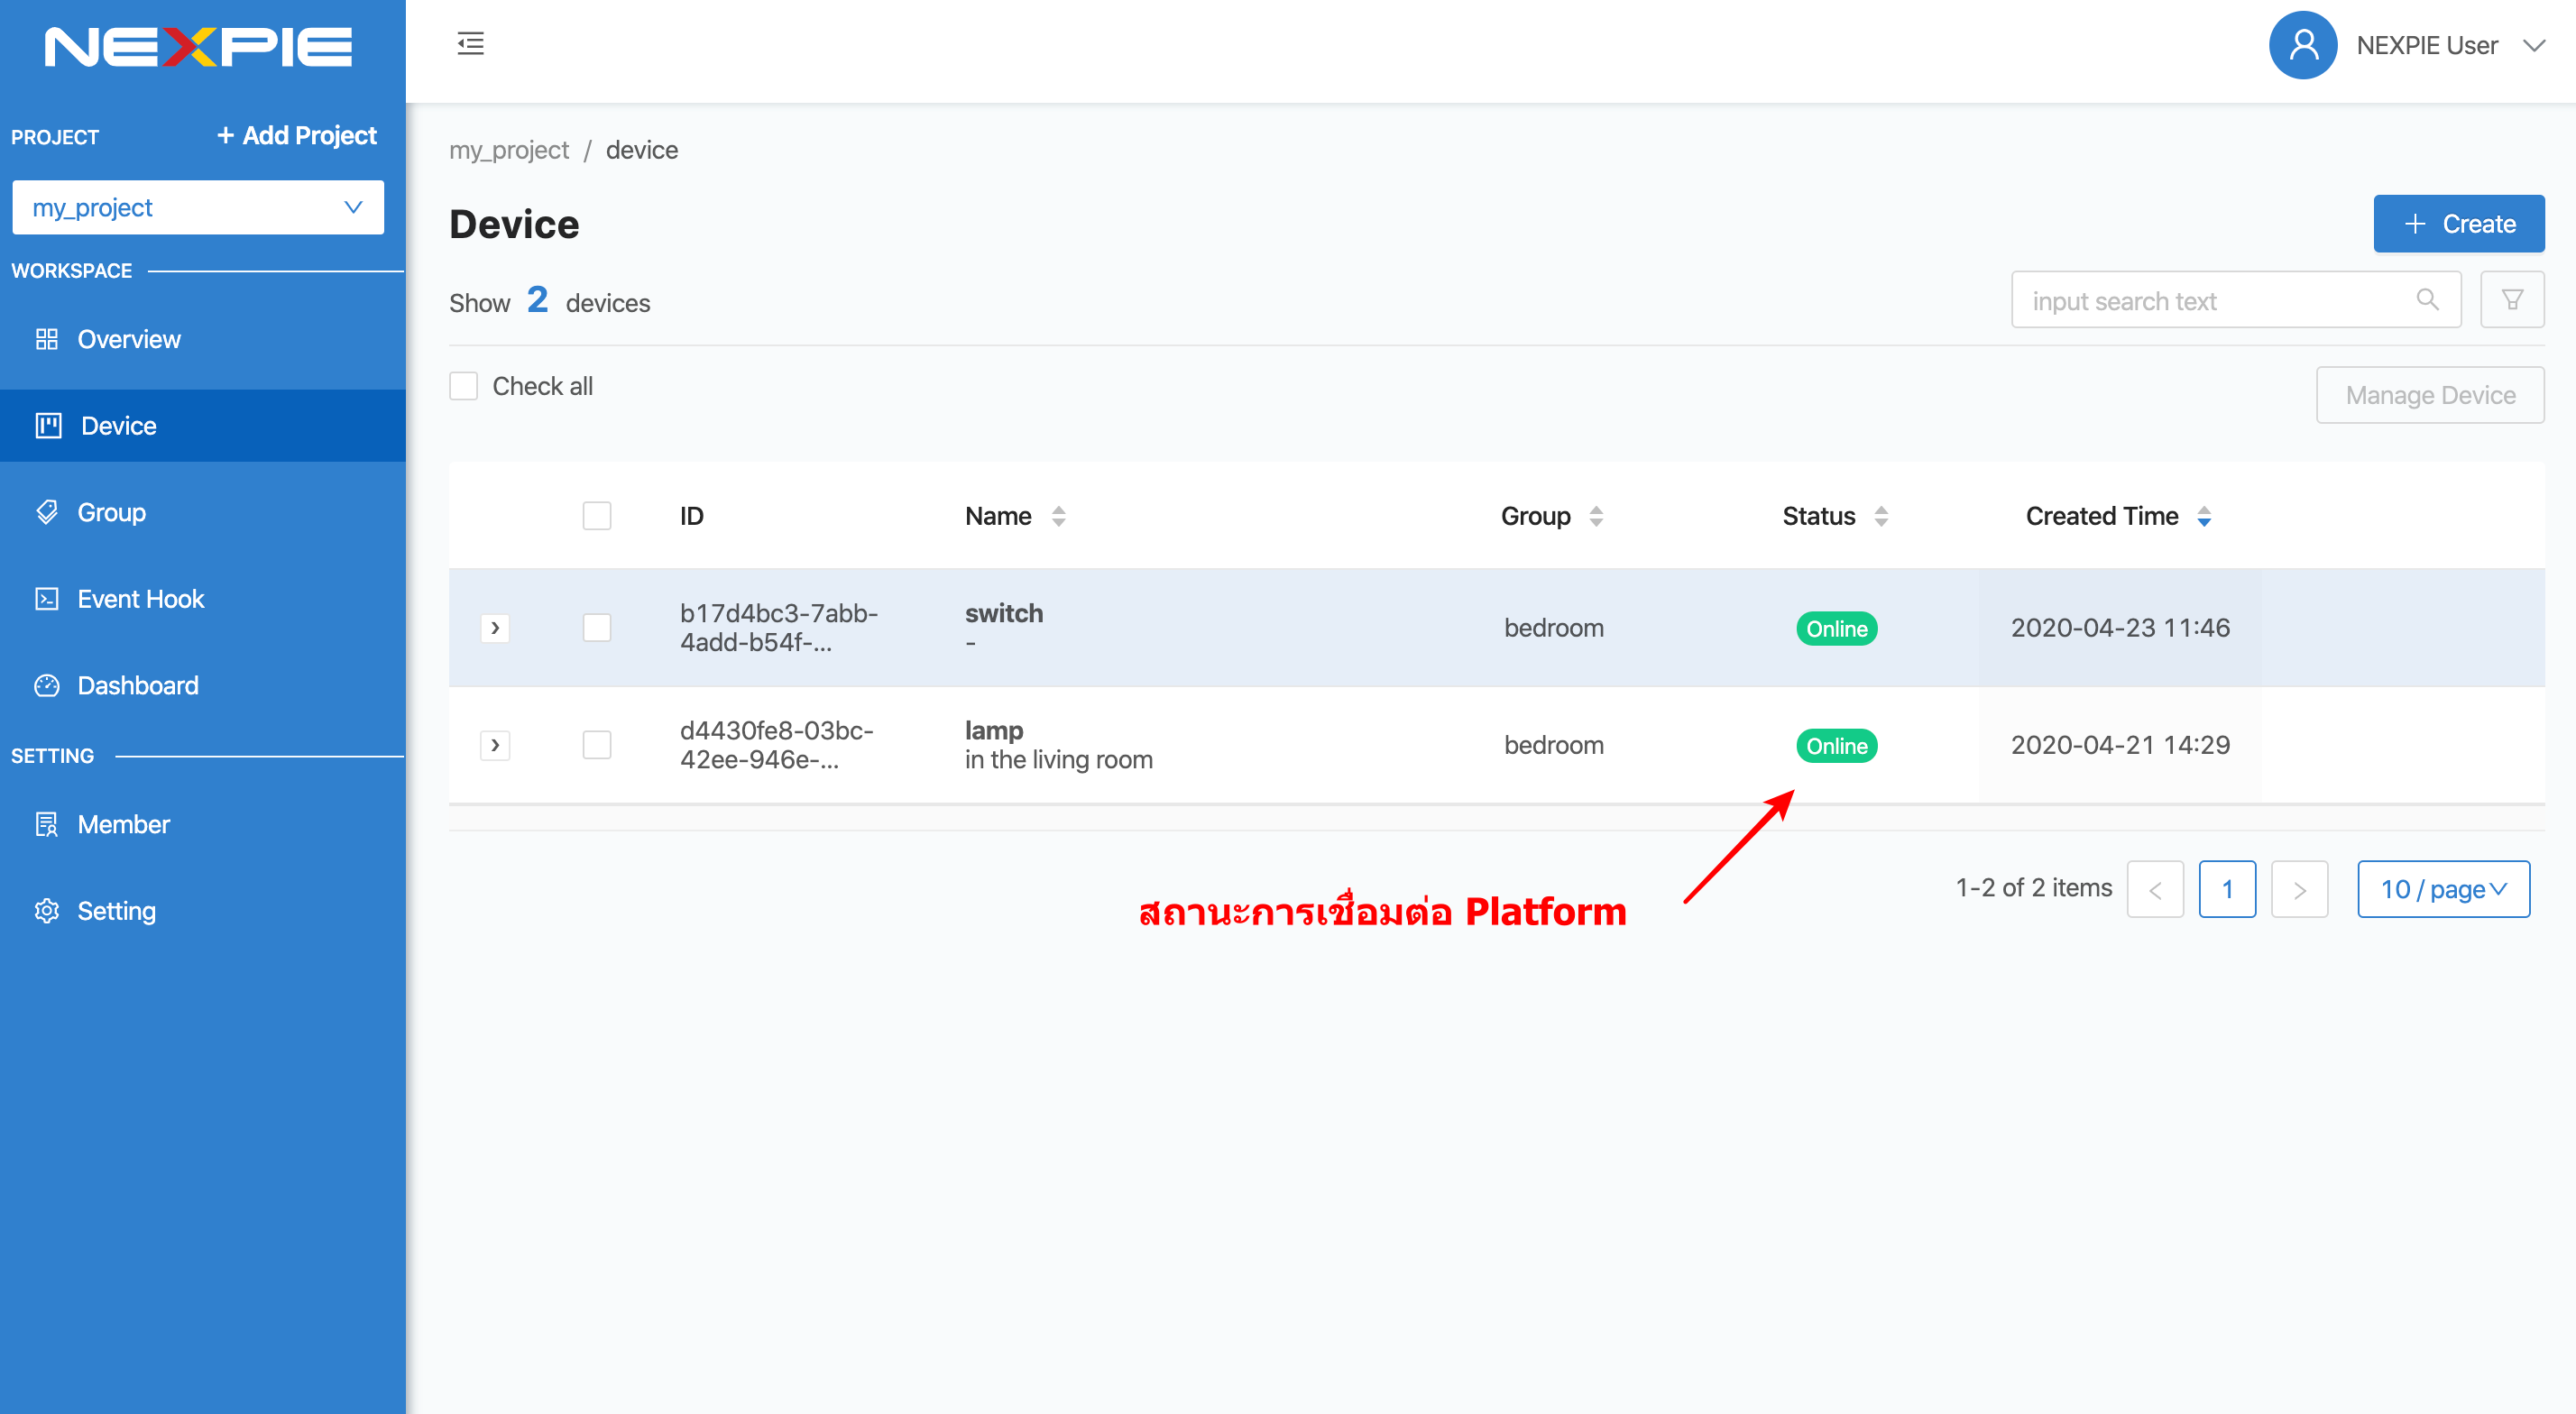
กลับไปที่หน้าเว็บ https://portal.netpie.io เข้าไปที่เมนู “Device” ด้านซ้ายมือ จะพบว่า Device ทั้ง 2 ตัว เชื่อมต่อ Platform เรียบร้อยแล้ว
ทดสอบสื่อสารระหว่าง 2 Devices คือ “lamp” และ “switch” ในที่นี้จะทดลองให้ “switch” ส่งข้อความไปหา “lamp” เพื่อให้ เปิด/ปิด ไฟ กำหนด Topic ที่ต้องการ Publish (ส่งข้อมูล) และ Subcribe (รอรับข้อมูล) ให้ตรงกัน โดย “switch” จะทำหน้าที่ Publish ส่วน “lamp” จะ Subscribe เซ็ต Topic เป็น @msg/set/status (เปิด MQTTX แยก Device ละหน้าต่าง)